You can remove scuff marks from rubber gym flooring by using a tennis ball to rub them out, applying a melamine sponge (Magic Eraser) with water, or scrubbing with a pH-neutral cleaner. These methods lift the rubber residue without damaging the floor surface or its slip-resistance.
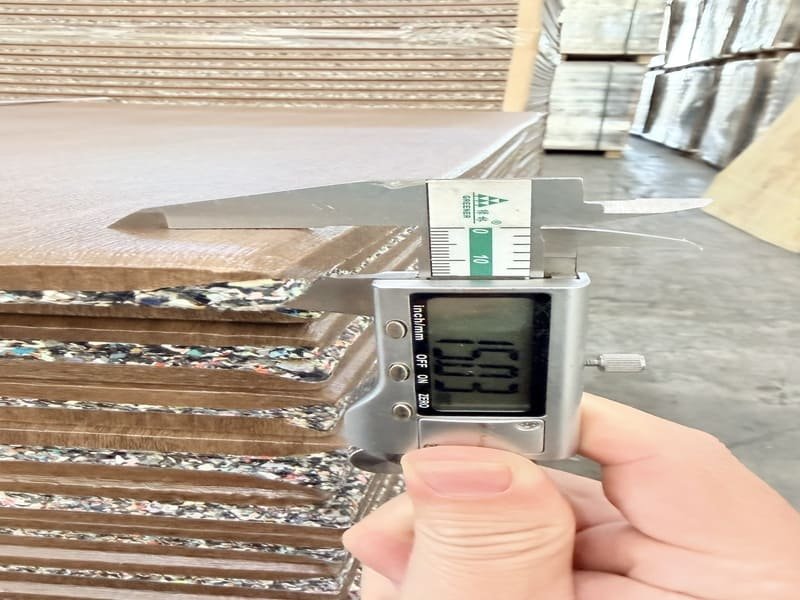
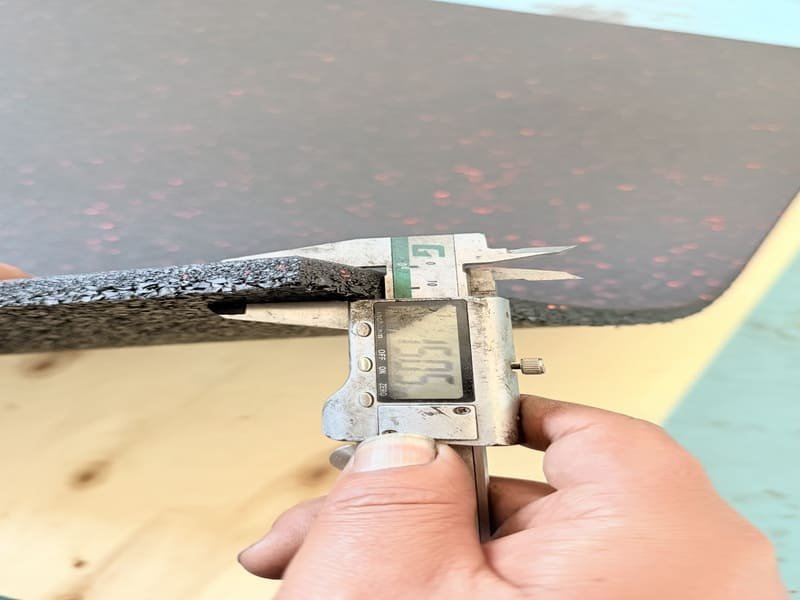
As a quality control specialist who has spent 20 years on the factory floor, I have seen how friction affects different rubber densities. Scuff marks are not actually scratches; they are a form of "material transfer." When a shoe sole or a heavy weight drags across the floor, the heat from friction causes a tiny amount of rubber to soften and stick to the surface. In our lab tests, we find that the higher the density of the rubber tile (measured in kg/m³), the easier it is to remove these marks because the surface is less porous. However, if you use the wrong chemicals, you can cause the rubber to "bloom" or degrade. Understanding the bond between the scuff and the floor is the first step toward restoring that factory-fresh look without compromising the material integrity.
This guide will show you exactly how to handle these marks based on real manufacturing standards.
Why Does Rubber Flooring Get Scuff Marks?
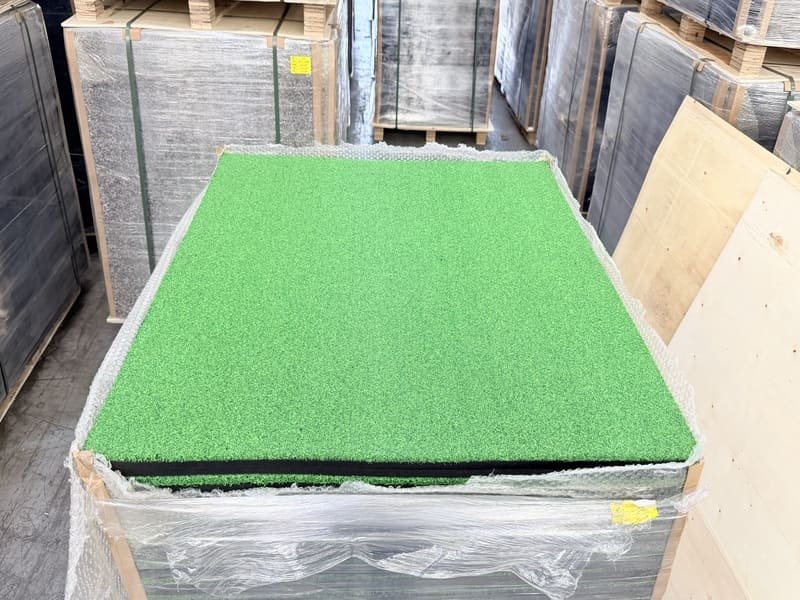
Rubber flooring gets scuffs because friction creates heat that transfers material from shoe soles or equipment onto the floor. This happens more often on recycled rubber tiles than on high-density vulcanized rubber because the porous surface of recycled mats provides more "teeth" for the scuff to grab onto.
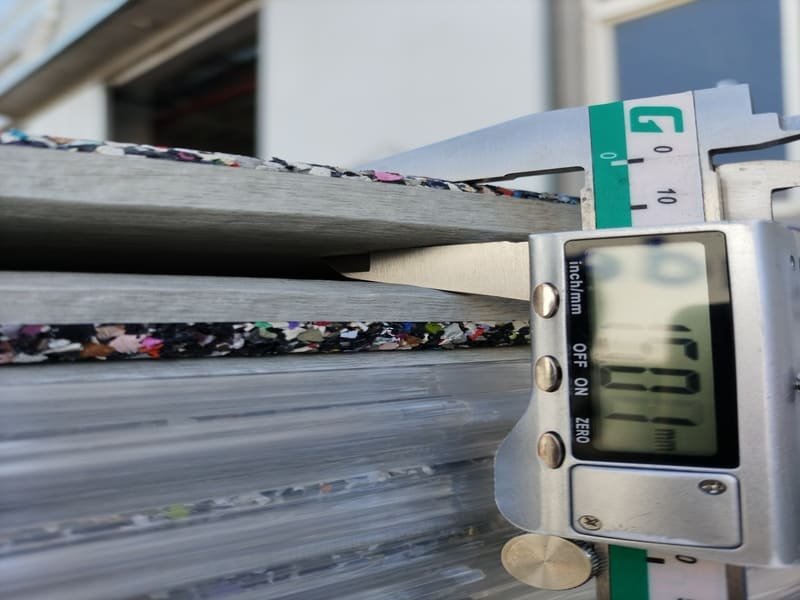
In the production line, we distinguish between vulcanized rubber and cold-molded tiles. Vulcanized rubber is baked under high pressure and heat, making it almost non-porous. Recycled tiles use a polyurethane binder to hold crumbs together. I have noticed that if a gym owner uses petroleum-based cleaners, it softens this binder. Once the binder is soft, the floor attracts scuffs like a magnet. You must avoid any cleaner that contains oil or harsh acids because they rot the rubber from the inside out.
| Cecha | Guma wulkanizowana | Recycled Rubber Tiles |
|---|---|---|
| Porowatość | Bardzo niski | Średni do wysokiego |
| Scuff Resistance | Wysoki | Umiarkowany |
| Cleaning Difficulty | Łatwy | Requires more effort |
| Tekstura powierzchni | Smooth/Dense | Granular |
The type of rubber you have determines which tool from the quick-fix toolkit you should grab first.
Can You Use a "Quick Fix" Toolkit for Minimal Effort?
Yes, you can use a tennis ball or the sole of a clean sneaker to remove light scuffs through dry friction. These methods work by using a material with similar or higher "grip" to pull the scuff mark off the floor without using any liquid or chemicals.
During my routine inspections, I often carry a tennis ball with a small "X" cut into it, stuck onto a broom handle. This is a classic industry trick. The felt on the tennis ball is abrasive enough to grab the scuff but soft enough to leave the rubber floor unharmed. I once saw a client try to use a plastic scraper, which ended up gouging the floor. I told them to stop and use their own sneaker sole instead. If the shoe is clean and made of non-marking rubber, the friction between the shoe and the mark is often stronger than the bond between the mark and the floor.
Technical Analysis of Dry Friction Cleaning
Using dry friction is the safest way to maintain the Coefficient of Friction (COF) of your flooring. When you introduce liquids, you risk changing the slip-resistance of the tile.
- Tennis Ball Method: Best for small black streaks from shoes.
- Shoe Rub: Best for fresh marks that haven’t been "set" by floor heat.
- Microfiber Buffing: Essential for removing the fine dust that makes scuffs look permanent.
This method is great for daily spots, but for heavy-duty marks, you need a liquid approach.
What Are the Best Step-by-Step Cleaning Methods?
The best methods range from a simple pH-neutral soap solution for light marks to melamine sponges for medium scuffs, and specialized degreasers for heavy-duty residue. Always start with the mildest option and ensure you rinse the floor to prevent a slippery film from forming.
In our factory quality tests, we use a specific ratio of neutral cleaner to water to ensure we do not strip the UV coating from the tiles. For Level 1 cleaning, a few drops of dish soap in warm water is usually enough. If that fails, I recommend Level 2: the Magic Eraser. You must get the sponge wet first. A dry melamine sponge is too abrasive and can leave a dull spot on a shiny floor. For the most stubborn equipment marks, a rubber-specific degreaser like Simple Green is necessary. I always tell my team to rinse the area twice. If you leave soap residue, the floor becomes a safety hazard when wet.
| Cleaning Level | Metoda | Potrzebne narzędzie | Cel |
|---|---|---|---|
| Level 1 | Mild Soap & Water | Soft Bristle Brush | Dust & Light Streaks |
| Level 2 | Melamine Sponge | Magic Eraser + Water | Deep Scuffs & Stains |
| Level 3 | Specialized Degreaser | pH-Neutral Chemical | Equipment Oil & Heavy Rubber Transfer |
Even with the right tools, I have seen many people ruin their floors by making simple mistakes.
Jakich typowych błędów należy unikać?
You must avoid using bleach, ammonia, or petroleum-based products, as these chemicals dry out the rubber and cause it to crack or crumble. Additionally, never use steel wool or flood the floor with water, which can lead to mold growth under the tiles.
I remember a case where a gym manager used a high-acid floor stripper to clean scuffs. Within three months, the rubber started to "chalk"—a white powder appeared on the surface because the chemicals broke down the carbon black in the rubber. This is a common failure point I look for during QC. Steel wool is another enemy. It creates micro-scratches. These scratches might look clean today, but they will trap dirt tomorrow, making the floor look permanently gray. Also, if you have interlocking tiles, keep water to a minimum. If water gets into the seams, the adhesive will fail, and the floor will start to shift.
Prohibited Materials for Rubber Floors
- Bleach/Ammonia: Causes "dry rot" and discoloration.
- Steel Wool: Destroys the surface texture and safety grip.
- Nadmiar wody: Leads to subfloor mold and adhesive breakdown.
Keeping the floor clean is hard work, so it is better to prevent the marks from happening.
How Can You Implement Pro-Level Maintenance?
Prevent future scuffs by checking equipment feet for plastic pads, enforcing a "no-black-sole" shoe policy, and applying a specialized rubber floor sealer. A sealer creates a thin, sacrificial layer that takes the damage so the actual rubber flooring does not have to.
As a manufacturer, I always suggest that my clients look at the bottom of their weight racks. Metal feet will gouge and scuff rubber easily. Adding felt or rubber pads is a cheap way to save a ten-thousand-dollar floor. I also advocate for a strict footwear policy. Some cheap sneaker soles are made of low-grade rubber that marks floors instantly. Finally, consider a sealer. In my experience, a sealed floor is 50% easier to clean. The scuff stays on top of the sealer instead of getting into the pores of the rubber.
| Strategia zapobiegania | Punkt działania | Korzyści |
|---|---|---|
| Kontrola sprzętu | Add rubber/felt pads | Prevents deep gouges |
| Footwear Policy | Non-marking shoes only | Reduces black streaks |
| Floor Sealing | Apply 2 coats of sealer | Makes cleaning 50% faster |
Even with the best prevention, some marks are just too tough for a standard cleaning.
How Do You Troubleshoot Stubborn Marks?
If a mark does not come off with scrubbing, it might be a friction burn or a deep gouge rather than a scuff. In these cases, cleaning will not work, and you must decide whether to leave the mark or replace the individual tile if the damage affects safety.
Sometimes, a heavy machine is dragged so hard that it actually melts the surface of the floor. This is a "burn." As a QC specialist, I test for this by feeling the texture. If it feels smooth and dipped, the material is gone. You cannot "clean" a hole. If you have a modular tile system, this is where the value of your investment shows. You can simply pop out the damaged tile and drop in a new one. This is why I always tell customers to buy 5% extra material during the initial purchase. It ensures the color match is perfect because rubber batches can vary slightly in shade.
This troubleshooting step will help you decide if you need to clean or replace.
Summary Checklist
Perform a daily dry dust, a weekly damp mop with pH-neutral soap, and a monthly deep scrub of high-traffic areas to maintain the floor’s lifespan and appearance.
Wnioski
Clean floors ensure safety, grip, and a long-lasting professional gym environment.
If you are looking for high-density, professional-grade rubber flooring that is easier to clean and maintain, or if you need specific advice on floor maintenance for your gym project, feel free to contact me directly. As a factory specialist, I can help you choose the right materials to minimize scuffing and maximize durability. 私信我 for a technical consultation or a product catalog!