Your installation choice depends on tile thickness. Use adhesive for thinner tiles 10mm to 15mm for maximum stability. Use mechanical connectors for thicker tiles 20mm and above for portability and quick installation. This simple rule prevents shifting and costly re-installs.
Understanding Installation: Why Thickness is the Simple Rule
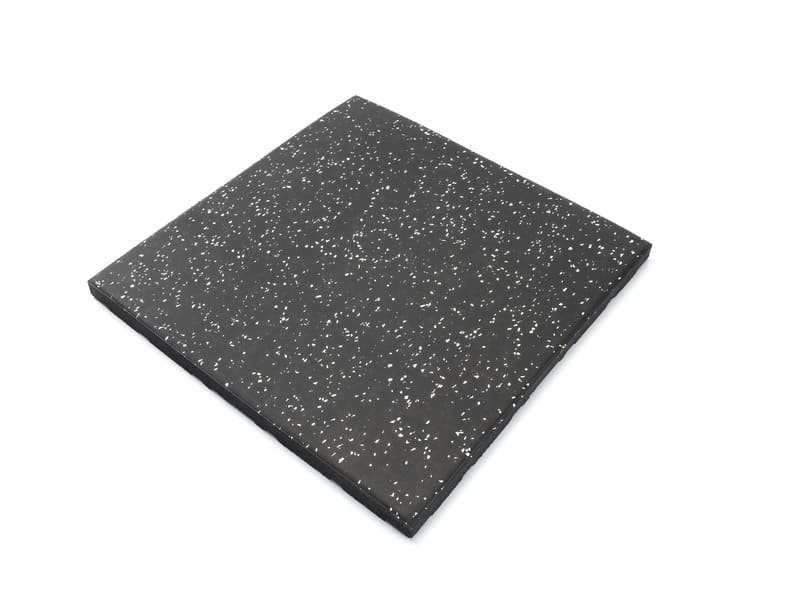
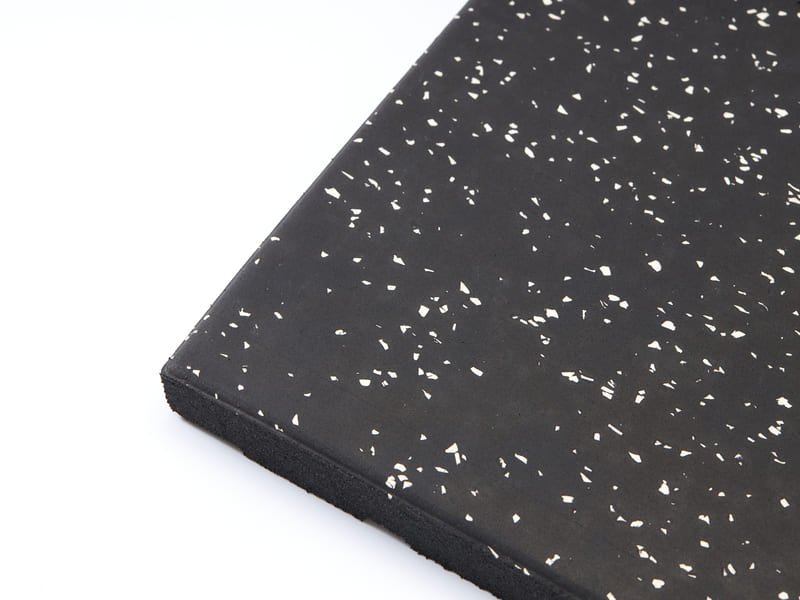
I have overseen the production of thousands of square meters of rubber gym flooring. I can tell you the most common customer mistake is choosing the wrong installation method. This leads to shifting floors, tripping hazards, and expensive fixes. The confusion often starts because people think all rubber tiles install the same way. They do not. The simple physics of mass and friction mean your installation strategy must change with the tile’s thickness. Thinner tiles (10mm to 15mm) do not have enough inherent weight to resist the constant lateral forces from weightlifting, running, or pivoting during exercise. They need to be physically fixed to the subfloor. Thicker tiles (20mm and above) offer the necessary weight and, critically, allow for integrated connecting systems. Choosing the right method based on thickness saves time, money, and ensures a safer, more professional-looking gym floor for years to come. This focus on thickness is the key to successful installation.
You can get stability and longevity from any rubber gym floor tile. But, you must select the right anchoring method. I will detail the specific techniques for each thickness. You will learn the best way to secure your floor, no matter the tile size.
Why Glue-Down Is Best for Thin Tiles 10mm to 15mm?
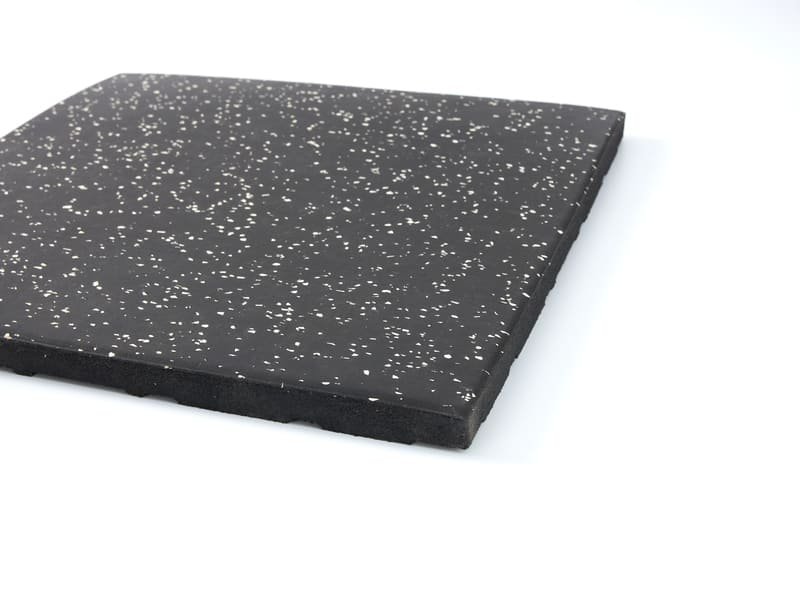
Thinner rubber gym tiles lack the weight and mass to stay in place under high use. Full-surface adhesion using a quality polyurethane adhesive is necessary for low-profile tiles to prevent dangerous shifting, curling edges, and overall floor movement. This method creates a highly stable, uniform, and seamless semi-permanent finish.
Why Thin Tiles Need Adhesive: A Stability Issue
In the factory, we ensure high-density material even for thin tiles. However, physics dictates that a 10mm tile simply cannot weigh as much as a 25mm tile. This lack of mass is the primary pain point for installation. Without glue, these thinner tiles are highly susceptible to movement. Imagine a heavy dumbbell dropped near an unsecured tile edge. The shockwave can push the tile sideways. Over time, constant friction from foot traffic and equipment movement causes lateral shifting. This movement creates gaps and lifts the edges, leading to trip hazards. Our recommended technique is full-surface adhesion for tiles with a flat bottom. This ensures maximum contact area for the adhesive.
Critical Steps for Full-Surface Adhesion
I always tell my customers that subfloor preparation is the most important step. If you skip this, the best glue will fail. The subfloor must be:
| Preparation Task | Key Action | Why it Matters (Expertise) |
|---|---|---|
| Cleaning | Vacuum and clean thoroughly. | Adhesion strength is directly proportional to surface cleanliness. Dust acts as a bond breaker. |
| Leveling | Fill large cracks or uneven areas. | Glue cannot bridge significant height differences. Unlevel areas will cause weak spots and tile memory. |
| Moisture Check | Ensure the subfloor is completely dry. | Most polyurethane adhesives are moisture-cured. Too much moisture in the subfloor causes bubbling and bond failure. |
Using a quality polyurethane rubber adhesive ensures a strong bond. While this method is semi-permanent, meaning removal is difficult, it offers the absolute highest level of stability. This full bond prevents curling and guarantees a completely uniform appearance for your low-profile floor.
The permanent glue-down method works well for home gyms and fixed commercial spaces. But, many customers need flexibility. For those who move or need easy access to the subfloor, a different system is better.
Why Connectors/Clips Are Ideal for Thick Tiles 20mm and Above?
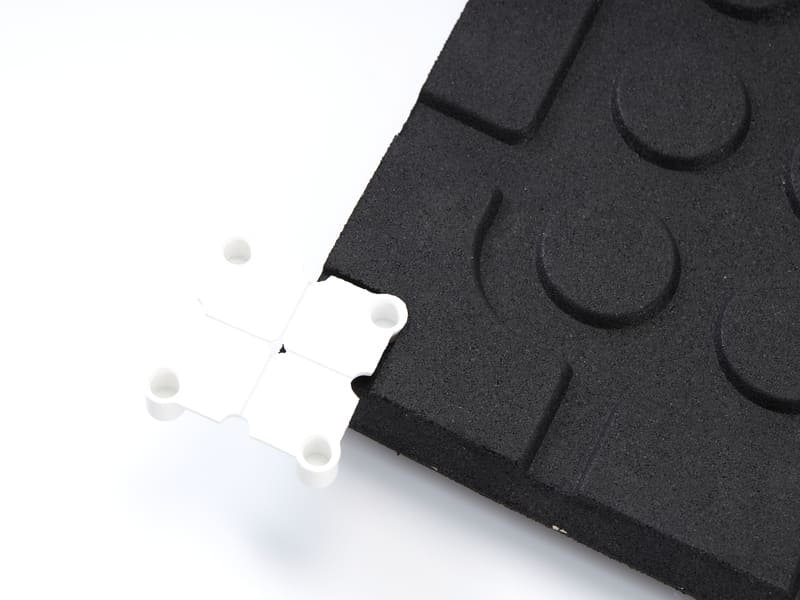
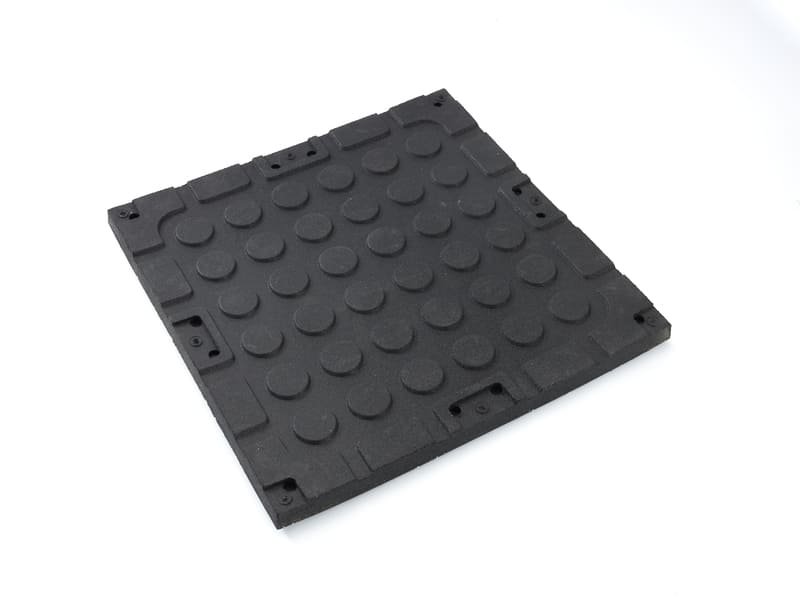
Thick rubber tiles provide significant inherent stability and weight, making them suitable for installation without liquid adhesives. The increased thickness allows for the successful integration of plastic or metal connector/clip systems, which interlock adjacent tiles to create one large, highly stable, unified mat.
The Power of Weight and the Connector System
Thick rubber tiles offer a major advantage: inherent stability. A 25mm tile naturally provides excellent friction with the subfloor. It simply has more mass pushing down. The tile’s thickness is not just for impact absorption; it enables the use of mechanical connector systems. We integrate channels or slots into the edges or base of the tile during manufacturing. These channels accept specialized plastic or metal clips. When two tiles are pushed together, the clip slides into both tiles, locking them firmly. This is much faster and cleaner than spreading glue.
Key Benefits of the Connector System
This system’s power lies in how it turns many single tiles into one large floor. When the clips are engaged, the floor acts as a single, stable entity. This eliminates the shifting problem seen with unglued thin tiles.
- Installation Ease: This is the greatest benefit. There is no waiting for glue to cure. The floor can be used immediately after the final tile is clipped. It significantly reduces overall installation time and mess.
- Portability: This is ideal for gyms that might relocate or for rental spaces. The clips can be quickly and easily disconnected using a simple hand tool. You can pack up the floor, move it, and reassemble it at a new site without damaging the tiles or creating waste.
- Simplified Maintenance: If one tile gets heavily damaged or deeply soiled, you do not need to cut out a section of glued floor. You simply disconnect the clips around the faulty tile, lift it out, and replace it. This is a huge time and cost saver over the life of the floor.
The connector system solves the key user pain point of a permanent commitment. It delivers high stability with maximum flexibility.
Essential Installation Tips for a Professional Finish
Installing your rubber floor requires attention to detail, regardless of the method you choose. As a production manager, I know that even the best-made tiles will look bad if the installation is rushed. Following a few simple steps ensures a clean, professional, and long-lasting result.
- Acclimation is Key: You must let the tiles adjust to the room. Rubber material expands and contracts slightly with temperature and humidity changes. Bring the tiles into the gym space and stack them loosely for at least 24 to 48 hours before cutting or laying. This prevents the floor from gapping or buckling later.
- Subfloor Preparation is Non-Negotiable: I cannot stress this enough. Whether gluing or clipping, ensure the subfloor is structurally sound, clean, and dry. Even minor debris under a connector-based system can cause the tiles to sit unevenly.
- Cutting Techniques: Use a sharp, new utility knife and a long, straight edge or metal ruler. Score the rubber several times, applying pressure with each pass, instead of trying to cut through it all at once. This results in a much cleaner edge, especially for cuts along walls.
- Finishing the Edges: Think about safety. Around the perimeter of the gym, especially at doorways or where the rubber meets another floor type, install beveled or ramped edges. This is an inexpensive addition that prevents people from tripping over the tile’s exposed edge and gives a clean, finished look.
Conclusion: Making the Right Choice
The choice between installation methods is simple and tied to the product itself. Choose Glue-Down for low-profile tiles (10mm to 15mm) when you need maximum stability and a permanent floor. Choose the Connector System for heavy-duty tiles (20mm and above) when you need a fast, clean, stable, and completely portable solution.
We understand the engineering behind every rubber tile we make. If you are unsure about which thickness or installation method is best for your specific facility—whether it is a small home gym or a large commercial space—my team can help. Contact us today to discuss your project specifications, request a free sample of our connector system tiles, or get a comprehensive quote for your next rubber flooring order. We are here to partner with you for a successful installation.