
The "correct" installation of PVC roll flooring is a matter of chemical bonding and dimensional stability, not just aesthetics. It requires strict adherence to subfloor moisture limits (<75% RH), precise adhesive open times, and correct thermal acclimatization. While DIY is possible, understanding the "Hidden Failure Costs"—from specialized tooling to irreversible cutting errors—is essential for a rational budget decision.
The Engineering Reality: It’s All About Control
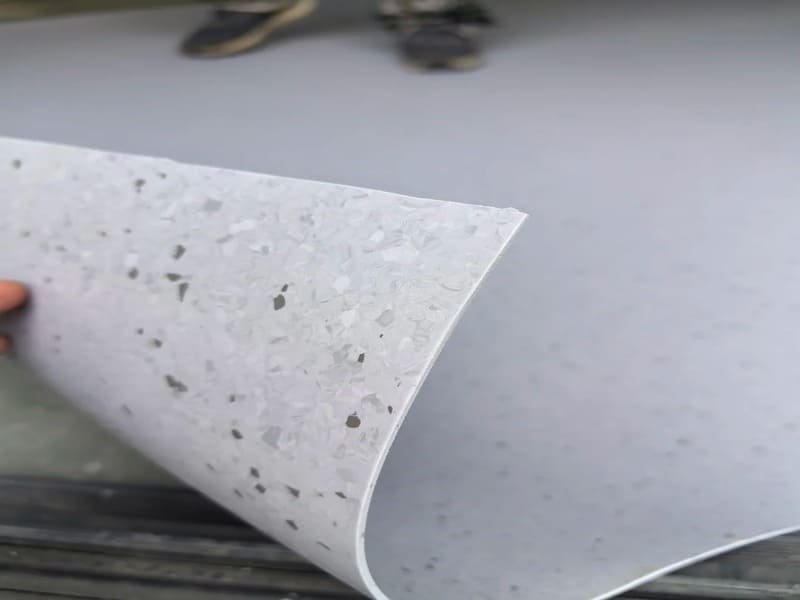
In my role overseeing PVC formulation and testing, I define a "successful installation" differently than a typical decorator. A floor that looks good on day one but bubbles on day thirty is a failure. PVC (Polyvinyl Chloride) is a thermoplastic; it expands and contracts with heat. The "correct" way to install it involves managing three forces: Moisture Vapor from below, Thermal Stress within the material, and Shear Strength of the adhesive.
Many guides oversimplify this to "spread glue and stick." That is dangerous. If you stick a tensioned sheet onto a damp concrete slab, the hydrostatic pressure will eventually emulsify the glue (saponification), leading to a complete system failure. This guide covers the strict industrial protocols we recommend to ensure your floor lasts its full 15-20 year design life.
Before opening the tool case, we must analyze the feasibility of the project from a cost perspective.
Is It Cost-Effective to Install PVC Roll Flooring Yourself?
Data suggests DIY can save ~40% of the upfront budget, but the risk of "Total Material Loss" due to cutting errors is high for novices. For areas larger than 20m² or requiring hot welding, professional installation is statistically more economical over the floor’s lifecycle.
The Cost/Risk Analysis (Per Square Meter)
To make an engineering decision, we look at the Total Installed Cost (TIC).
| Cost Component | DIY Estimate (per m²) | Professional Estimate (per m²) | Risk Factor |
|---|---|---|---|
| Material (Vinyl + Glue) | $15 – $45 | $15 – $45 | Low |
| Prep Materials (Leveling) | $5 – $8 | $5 – $8 | Medium (Application skill) |
| Labor | $0 (Your time) | $20 – $35 | High (Pro speed vs. DIY learning curve) |
| Tool Rental/Purchase | $3 – $5 (Amortized) | $0 (Included in rate) | Medium |
| Mistake Contingency | +20% Waste Factor | +5% Waste Factor | Critical |
The "Mistake Tax":
In professional estimating, we allow for 5-7% waste. For first-time DIYers, I recommend budgeting 15-20% extra material. If you miscut a 4-meter wide sheet at the main focal point, you cannot patch it seamlessly; the entire sheet becomes waste.
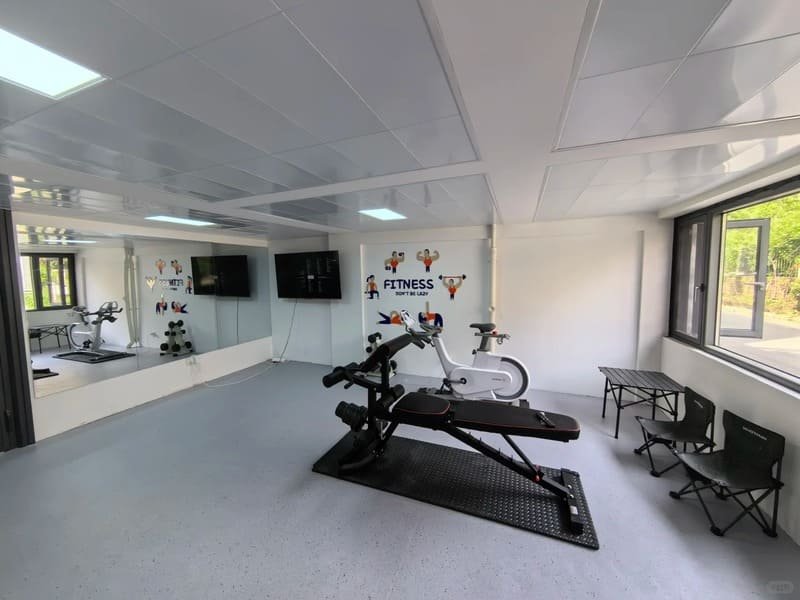
Verdict: For simple, square rooms (approx. 12-15m²), such as the residential or utility spaces highlighted in our guide on what are the best places to use PVC flooring, DIY is highly cost-effective. For complex layouts or wet rooms requiring hot welding, the cost of tools and potential waste often exceeds the professional labor fee.
What Tools and Materials Do You Need?
Success relies on controlling the adhesive application rate (using an A2/B1 trowel) and ensuring contact pressure (using a 50kg roller). Using improvised tools like flat spatulas or rolling pins will violate the adhesive manufacturer’s warranty.
The "Non-Negotiable" Equipment List
- Notched Trowel (TKB A2 or B1): You need to apply exactly 250-350g of adhesive per m². A notched trowel meters this automatically. Too much glue leads to "indentation" (furniture sinking in); too little leads to peeling.
- 50kg Steel Roller: Crucial. Pressure Sensitive Adhesives (PSA) require 2-3kg/cm² of pressure to activate the final bond. A hand roller only provides ~0.5kg/cm².
- Hooked-Blade Knife: Allows you to cut the vinyl sheet without slicing into the subfloor or destroying your blade on concrete.
- Moisture & pH Meter: To verify substrate suitability.
Material Note:
Ensure your Self-Leveling Compound has a high compressive strength (>25 MPa) if you are installing in high-traffic areas, which is one of the key reasons why is PVC flooring a smart choice for high-traffic areas due to its exceptional resilience under heavy mechanical loads, otherwise, chair castors will crush the subfloor under the vinyl.
Step 1: Subfloor Preparation (The Foundation)
The subfloor must be rigid, smooth, and chemically neutral. Concrete moisture must be below 75% RH (Relative Humidity) and pH levels between 7 and 9. Deviating from these specs invalidates the adhesive bond.
The Science of "Saponification"
The most common failure I investigate is chemical. If concrete is damp (RH > 75%) and highly alkaline (pH > 9), the moisture mixes with the lime in the concrete to attack the adhesive, turning it into a soapy sludge. This is called saponification.
The Protocol:
- Test: Use a hygrometer. If RH is >75%, you must apply a Liquid Damp Proof Membrane (DPM) first.
- Prime: Apply an acrylic primer. This prevents the dry concrete from sucking the water out of the leveling compound too fast (flash drying).
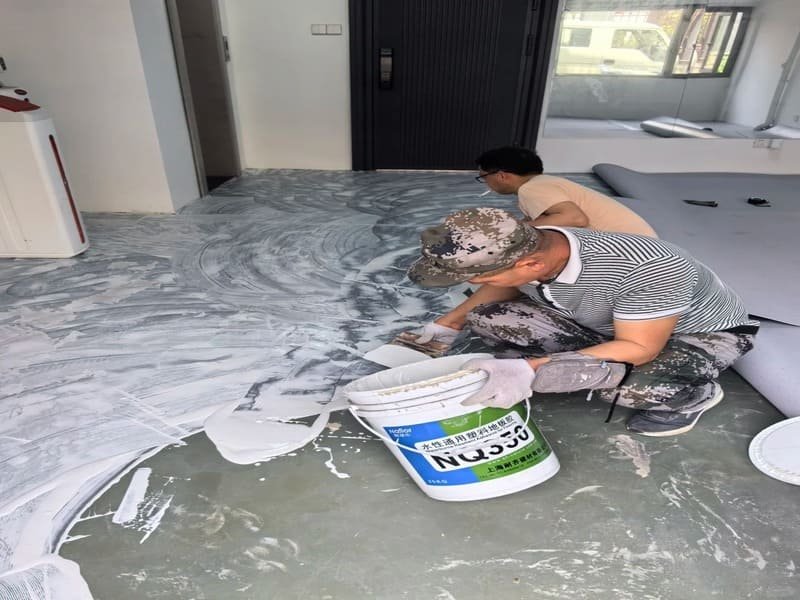
- Level: Apply a minimum 3mm layer of self-leveling compound.
- Sand & Vacuum: Once dry, sand with 60-grit mesh to remove laitance (a weak, powdery surface layer) and vacuum. Glue sticks to the core, not the dust.

Step 2: Acclimatization (The 24-48 Hour Rule)
Vinyl flooring must be unrolled and allowed to relax at a stable temperature (18°C-27°C) for at least 24 hours. In temperatures below 15°C, this period should extend to 48 hours to fully release manufacturing tension.
Why Vinyl Shrinks
PVC is produced under tension. When unrolled, it naturally wants to contract. If you cut it to the exact wall size immediately, it will shrink by 1-2mm over the next week, creating a gap where water can enter.
- Correct Action: Unroll the material loosely. Do not stack sheets.
- Temperature Control: The room temperature during installation must match the room’s service temperature. If you install in a cold house (10°C) and then turn the heating on (21°C), the vinyl will expand and bubble.
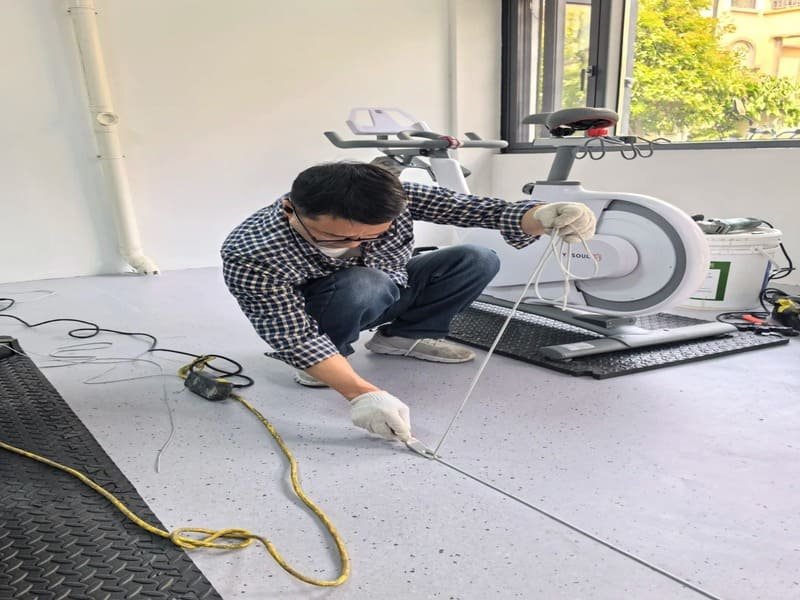
Step 3: Cutting & Fitting
Utilize the "Double-Cut Method" for seams to ensure a gap tolerance of <0.2mm. Make V-shaped relief cuts at all internal and external corners to neutralize mechanical stress in the sheet.
Precision Engineering for Seams
A "gapless" seam is achieved through geometry, not luck.
- Overlap: Lay sheets with a 3-5cm overlap. Match the pattern repeat if applicable.
- The Cut: Using a straight edge, cut through both layers simultaneously.
- The Result: Because both edges share the same cut line, they fit together perfectly like a puzzle piece, regardless of whether your hand shook slightly.
- Perimeter: Leave a 1-2mm expansion gap at the perimeter (caulked later), as buildings themselves move slightly.
Step 4: Gluing & Installation
Observe the specific "Open Time" of your adhesive. You must wait for the adhesive to develop "tack" (high viscosity) before laying the floor. Laying too early traps solvents; laying too late results in bond failure.
The "Finger Test" Methodology
Adhesive buckets list an "Open Time" (e.g., 20 mins), but this is lab data at 23°C/50% RH. In your room, it might be 10 minutes or 40 minutes.
- Method: Spread adhesive on the subfloor using the fold-back technique.
- Test: Touch the adhesive ridges periodically.
- Too Early: Glue is wet and transfers to your finger. Do not lay.
- Perfect: Glue is tacky, creates "strings" when pulled, but leaves your finger clean. Lay now.
- Too Late: Glue is dry and hard. Scrape off and start over.
Step 5: Rolling & Finishing
Mechanical rolling (50kg) is required to flatten adhesive ridges and ensure 100% transfer. For finishing, Hot Welding is standard for commercial PVC, while Cold Welding is the safer, recommended solution for residential DIY.
Welding: Hot vs. Cold
- Warning on Hot Welding: Only commercial-grade, homogeneous or heterogeneous vinyls with a wear layer >0.5mm are designed for hot welding. Attempting to heat-weld a cheap, residential "cushion floor" (foam back) will melt the floor instantly.
- Commercial (Hot Weld): Groove the seam to 2/3 depth -> Heat weld at ~400°C -> Trim in two stages (warm and cold).
- Residential (Cold Weld): Use a chemical welding liquid (Tetrahydrofuran based) with a needle nozzle. It fuses the seam chemically without heat. This is the correct method for 90% of home installations.
Conclusion
The "Correct Way" to install PVC roll flooring is a disciplined adherence to material science: standardizing the subfloor, acclimatizing the plasticizer-rich material, and strictly timing the adhesive cure. While professional installation mitigates the risk of catastrophic waste, a DIYer equipped with the right data—and more importantly, the right expectations of precision—can achieve a commercial-grade result.
Navigating the technical specs of subfloors and adhesives can be complex. My engineering team and I are available to review your project details, help you calculate the exact waste factors, and recommend the correct material grade for your specific load requirements. Contact us for a technical consultation or a sample pack.