


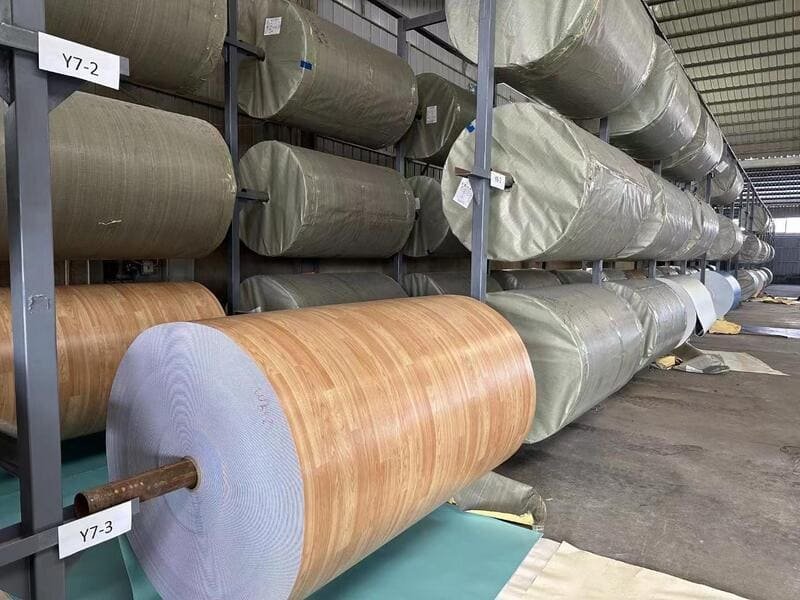
Aby usunąć podłogę winylową, należy opróżnić pomieszczenie, pociąć winyl w arkuszach na małe paski lub odłączyć luksusowe deski winylowe, podważyć je od podłoża za pomocą skrobaka lub łomu, a następnie całkowicie usunąć pozostałości starego kleju.
Od ponad piętnastu lat zajmuję się zarządzaniem dużymi projektami montażu podłóg. Wiem, że usunięcie starej podłogi winylowej może wydawać się trudne, ale da się to zrobić, jeśli zastosujesz odpowiednie kroki. Wiele osób uważa, że wystarczy ją po prostu szybko zerwać. Jednak jeśli to zrobisz, możesz uszkodzić podłoże lub wdychać szkodliwy pył. Najpierw trzeba sprawdzić, w jaki sposób podłoga została ułożona. Czy jest mocno przyklejona, czy jest to podłoga pływająca? W tym poradniku pokażę, jak radzić sobie z każdym rodzajem podłogi winylowej. Podzielę się sprawdzonymi metodami, z których na co dzień korzystają moje ekipy montażowe na budowach. Omówimy kwestie związane z kontrolą bezpieczeństwa, narzędziami oraz najlepszymi sposobami usuwania starego kleju. Ta wiedza pozwoli Ci zaoszczędzić czas i setki dolarów na kosztach robocizny.
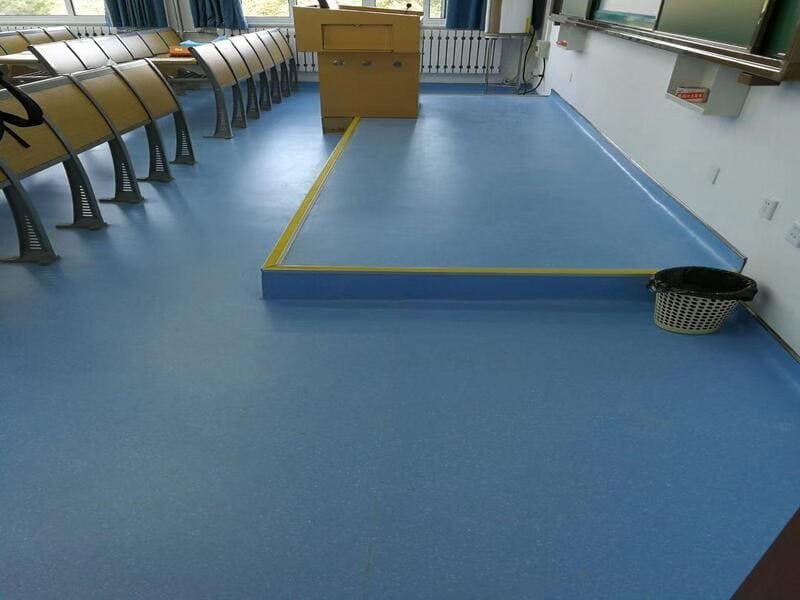
Zacznijmy od najważniejszej kontroli bezpieczeństwa, którą należy przeprowadzić przed sięgnięciem po jakiekolwiek narzędzia.
Czy można bezpiecznie usunąć podłogę winylową bez przeprowadzenia badań?
Nie, nie jest to bezpieczne, jeśli podłoga została położona przed 1986 rokiem. Stare podłogi winylowe i klej, którym zostały przyklejone, często zawierają azbest, który w przypadku jego uwolnienia powoduje poważne uszkodzenia płuc. Przed rozpoczęciem skrobania należy najpierw przeprowadzić test na niewielkim fragmencie podłogi.
Rozpoznawanie zagrożeń związanych z azbestem i rodzajów winylu
| Rodzaj podłogi | Metoda instalacji | Poziom zagrożenia związanego z azbestem | Trudność w usunięciu |
|---|---|---|---|
| Płyty winylowe sprzed 1986 roku | W całości klejone | Wysoki | Trudne (wymagana wersja Pro) |
| Nowoczesne LVP | Click-Lock / Pływający | Brak | Bardzo łatwe |
| Arkusz winylu | Związane na obwodzie | Niski do średniego | Średni |
| Płytki winylowe | Peel-and-Stick | Niski | Średni |
Jako kierownik montażu zawsze mówię mojemu zespołowi, żeby najpierw sprawdził wiek budynku. Jeśli podłoga winylowa jest stara, nie należy jej jeszcze ruszać. Można kupić niedrogi zestaw do samodzielnego wykonania testu lub zlecić laboratorium zbadanie niewielkiej próbki. Jeśli wynik testu wykaże obecność azbestu, należy przerwać prace i wezwać ekspertów. Jeśli podłoga jest bezpieczna, należy następnie ustalić, jaki rodzaj podłogi mamy do czynienia. Pływające, luksusowe deski winylowe najłatwiej jest usunąć, ponieważ nie są one mocowane za pomocą kleju. Trudniej jest z winylowymi arkuszami i starymi płytkami winylowymi, ponieważ są one przyklejone do podłoża silnym klejem. Przyjrzyjmy się teraz, co należy zebrać w następnym kroku.
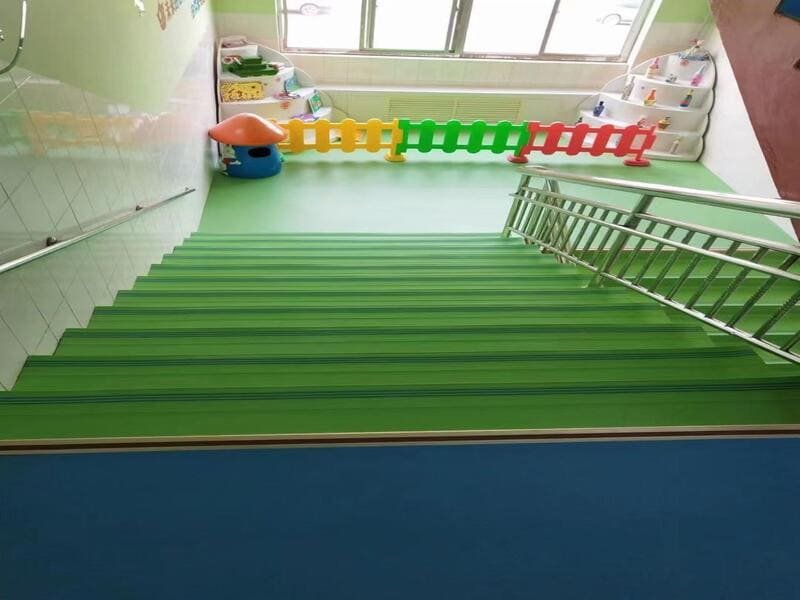
Gdy już upewnisz się, że podłoga jest bezpieczna, musisz zebrać odpowiednie narzędzia.
Jakie narzędzia są potrzebne do stworzenia idealnego zestawu do usuwania winylu?
Potrzebne będą środki ochrony osobistej, takie jak maska N95, okulary ochronne i grube rękawice. Do samej pracy niezbędne są: ostry nóż uniwersalny, łom, młotek oraz skrobak do podłóg z długą rączką, który ułatwi zrywanie materiału.
Przegląd niezbędnych narzędzi i sprzętu
| Kategoria narzędzi | Nazwa narzędzia | Użycie podstawowe | Poziom ważności |
|---|---|---|---|
| Sprzęt bezpieczeństwa | Maska N95 i okulary ochronne | Ochrona przed pyłem | Obowiązkowe |
| Podstawowe narzędzia | Nóż uniwersalny i skrobak | Cięcie i podnoszenie winylu | Obowiązkowe |
| Zaawansowane narzędzia | Opalarka | Zmiękczanie twardego kleju | Opcjonalnie |
Widziałem wielu majsterkowiczów, którzy doznali urazów pleców lub rąk z powodu używania niewłaściwych narzędzi. Nie używaj małej kuchennej szpachli do dużego pomieszczenia. Skrobak do podłóg z długą rączką pozwala pracować na stojąco, co chroni plecy przed silnym bólem. Potrzebny jest również wysokiej jakości nóż uniwersalny z wieloma zapasowymi ostrzami. Winylu bardzo szybko tępi metalowe ostrza, a tępy nóż jest niebezpieczny, bo może się ześlizgnąć. Jeśli masz podłogę w całości klejoną, świetnym dodatkiem do zestawu narzędzi jest opalarka. Rozgrzewa ona stary, twardy klej i sprawia, że staje się miękki jak masło. Pamiętaj też, żeby zawsze nosić dobre nakolanniki, bo spędzisz wiele godzin na podłodze.
Mając już przygotowane narzędzia, możesz teraz przygotować pomieszczenie do pracy.
Jak przygotować pomieszczenie i podłoże do demontażu?
Wyjmij z pomieszczenia wszystkie meble, sprzęt AGD i drzwi. Ostrożnie podważ listwy przypodłogowe i wykończeniowe za pomocą łomu oraz małego drewnianego klocka, aby chronić ściany. Następnie przygotuj duże, wytrzymałe worki na śmieci na odpady.
Protokół przygotowania sali
Zanim mój zespół rozpocznie jakiekolwiek prace rozbiórkowe, całkowicie opróżniamy pomieszczenie. Jeśli w pomieszczeniu zostanie lodówka lub kuchenka, będą przeszkadzać i sprawią, że praca potrwa dwa razy dłużej. Zdejmowanie drzwi zapewnia więcej miejsca na manewrowanie narzędziami. Podczas demontażu listew przypodłogowych umieść mały kawałek drewna między łomem a ścianą. Ta sztuczka zapobiega zgnieceniu płyty gipsowo-kartonowej przez metalowe narzędzie. Zalecam również moim pracownikom, aby na odwrocie każdego elementu listwy napisali mały numer. Na ścianie należy zapisać ołówkiem ten sam numer. Ten drobny krok sprawia, że późniejsze ponowne zamontowanie listew jest bardzo proste i szybkie. Na koniec zaplanuj, gdzie umieścisz stare wykładziny winylowe, ponieważ są one ciężkie i nieporęczne.
Skoro pokój jest już pusty, możemy przystąpić do właściwego procesu wyprowadzki.
Jak krok po kroku usunąć różne rodzaje podłóg winylowych?
W przypadku luksusowych desek winylowych należy znaleźć ścianę i odczepiać je rząd po rzędzie. W przypadku winylu w rolkach należy pociąć go na wąskie paski i je odrywać. W przypadku płytek winylowych należy użyć ostrego szpachla, aby podnieść każdy element z osobna z podłoża.
Metody usuwania krok po kroku
| Rodzaj winylu | Pierwsze działanie | Główne narzędzie | Pro Tip |
|---|---|---|---|
| Luksusowy winyl (LVP) | Zacznij od ściany | Narzędzia ręczne i łom | Można je odsprzedać lub ponownie wykorzystać |
| Arkusz winylu | Pokrój na paski o długości 12 cali | Nóż uniwersalny | Najpierw podnieś krawędź |
| Płytki winylowe (VCT) | Znajdź wolny kąt | Nóż do szpachli | Ciepło pomaga zapobiegać pękaniu |
Różne rodzaje podłóg wymagają różnych metod. Jeśli masz podłogę z luksusowych płyt winylowych ułożonych metodą pływającą, masz szczęście. Wystarczy znaleźć ostatni rząd przy ścianie i podważyć pierwszy element. Resztę z łatwością odłączysz rękami. Możesz nawet zachować te płytki do wykorzystania w innym pomieszczeniu lub sprzedać je w Internecie. Podłoga z winylu w rolkach jest znacznie trudniejsza do usunięcia. Zawsze tnę winyl w rolkach na małe paski o szerokości około dwunastu cali. Dzięki temu łatwiej jest je podnosić ręcznie lub za pomocą skrobaka. Jeśli masz płytki winylowe, mogą one być bardzo kruche. Często pękają na małe kawałki podczas podnoszenia. Użyj młotka, aby delikatnie uderzać szpachlą pod płytkami, aby je po kolei odklejać.
Po usunięciu wierzchniej warstwy czeka cię najtrudniejsza część pracy.
Jak całkowicie usunąć uporczywe pozostałości kleju i substancji klejących?
Stary klej winylowy można usunąć za pomocą gorącej wody (w przypadku klejów rozpuszczalnych w wodzie), opalarki (w przypadku twardego, żółtego kleju) lub chemicznego środka do usuwania kleju w przypadku trudnych do usunięcia plam. W przypadku bardzo dużych powierzchni można wypożyczyć mechaniczną szlifierkę do podłóg.
Dobór metody do rodzaju kleju
Najczęstszą skargą, jaką słyszę od klientów i pracowników, są resztki kleju. Jeśli klej jest stary i na bazie wody, można zastosować metodę z gorącą wodą. Nałóż stare ręczniki na klej, polej je gorącą wodą i odczekaj piętnaście minut. Klej zmięknie i będzie można go łatwo zeskrobać. Jeśli klej jest przezroczysty lub żółty i nie rozpuszcza się w wodzie, oznacza to, że jest na bazie oleju. Będziesz potrzebować opalarki, aby podgrzać go w małych partiach. Zeskrob go, gdy jest jeszcze gorący. Jeśli to nie zadziała, kup w sklepie chemiczny środek do usuwania kleju. Pamiętaj, aby otworzyć wszystkie okna i włączyć wentylator, ponieważ zapach jest bardzo intensywny. W przypadku dużych powierzchni komercyjnych nie rób tego ręcznie. Wypożycz szlifierkę do posadzek betonowych, aby zaoszczędzić czas i siły.
Gdy klej już wyschnie, musisz przygotować podłoże pod kolejny projekt.
Jak sprawdzić i przygotować podłoże pod nową podłogę?
Należy sprawdzić podłoże pod kątem obecności zgnilizny drewna, pęknięć lub nierówności. Należy usunąć wszystkie stare zszywki, gwoździe i luźne zanieczyszczenia. Należy dokładnie oczyścić powierzchnię za pomocą odkurzacza warsztatowego o dużej mocy, aby usunąć każdy ślad kurzu.
Przygotowanie posadzek betonowych w porównaniu z posadzkami ze sklejki
| Materiał podłoża | Wspólny problem | Działania naprawcze | Wymagane narzędzie |
|---|---|---|---|
| Sklejka / Drewno | Resztki produktów spożywczych i zgnilizna | Wyciągnąć zszywki, wymienić uszkodzone drewno | Szczypce i młotek |
| Beton | Wgłębienia i pęknięcia | Wypełnić masą wyrównującą | Masa samopoziomująca |
Nie da się położyć pięknej, nowej podłogi na złym podłożu. Jako kierownik montażu wiem, że przygotowanie podłoża stanowi osiemdziesiąt procent dobrej roboty. Jeśli podłoże jest ze sklejki, przyjrzyj się dokładnie, czy nie ma miękkich miejsc spowodowanych starymi wyciekami wody. Wymień natychmiast wszelkie zgniłe fragmenty drewna. Musisz też przejść się skrobakiem po całej podłodze, aby znaleźć ukryte zszywki lub gwoździe. Wyciągnij je szczypcami. Jeśli podłoże jest betonowe, poszukaj głębokich zagłębień lub wysokich wybrzuszeń. Użyj masy samopoziomującej, aby wypełnić zagłębienia, tak aby podłoga stała się idealnie płaska. Na koniec nie używaj zwykłego odkurzacza domowego. Drobny pył z kleju i cementu zniszczy silnik. Użyj wydajnego odkurzacza warsztatowego, aby uzyskać całkowicie czystą powierzchnię.
Odpowiedzmy na kilka typowych pytań, które właściciele domów zawsze mi zadają w trakcie tego procesu.
Jakie są najczęściej zadawane pytania dotyczące usuwania podłóg winylowych?
Ludzie często pytają, czy można położyć nową podłogę bezpośrednio na starej podłodze winylowej, ile pieniędzy można zaoszczędzić, wykonując tę pracę samodzielnie, oraz ile czasu zajmuje jej wykonanie. W tej sekcji przedstawiam konkretne odpowiedzi oparte na moim doświadczeniu w branży.
Najczęściej zadawane pytania i rozwiązywanie problemów technicznych
Czy można położyć nową podłogę na starej winylowej? Tak, ale tylko wtedy, gdy stara podłoga winylowa jest równa, czysta i wszędzie solidnie przyklejona. Jeśli jest luźna lub nierówna, trzeba ją usunąć. Ile to kosztuje? Samodzielne wykonanie tej pracy kosztuje około pięćdziesięciu dolarów na podstawowe narzędzia. Zatrudnienie fachowca może kosztować od dwóch do pięciu dolarów za stopę kwadratową, w zależności od siły przyczepności kleju. Jak długo to trwa? Usunięcie podłogi pływającej w typowym pomieszczeniu o powierzchni dwustu stóp kwadratowych zajmuje około trzech do sześciu godzin. Jeśli podłoga winylowa jest całkowicie przyklejona do betonu, może to zająć cały weekend. Jak się tego pozbyć? Sprawdź lokalne przepisy dotyczące odpadów. W większości miast stare wykładziny winylowe można umieścić w grubych workach budowlanych i oddać do zwykłego odbioru śmieci, ale przy dużych pracach konieczne jest wynajęcie małego kontenera na odpady.
Teraz już dokładnie wiesz, jak wykonać to zadanie od początku do końca.
Wnioski
Usunięcie podłogi winylowej zajmuje trochę czasu, ale dzięki zastosowaniu odpowiednich narzędzi i metod jest to zadanie bezpieczne i proste.
Potrzebujesz fachowej porady?
Jeśli stoisz przed trudnym zadaniem usunięcia podłogi lub potrzebujesz fachowej porady dotyczącej doboru odpowiednich materiałów zastępczych do swojego projektu, wyślij mi prywatną wiadomość już teraz! Skontaktuj się ze mną bezpośrednio, aby uzyskać profesjonalne rozwiązania w zakresie podłóg oraz wsparcie techniczne.