Building a garden gym requires shifting focus from equipment to materials and mathematics. While 60% of DIY projects fail due to weather damage, success starts with realistic budgeting and precise space planning. This guide combines manufacturing durability secrets with practical cost and size blueprints to ensure your project works.
As a production manager, I review hundreds of customer layouts annually. The projects that succeed are not always the ones with the biggest budgets, but the ones with the best plans. Before we discuss rubber density or galvanized steel, we must address the two questions every engineer asks first: "What are the dimensions?" and "What is the Bill of Materials (BOM)?"
Many enthusiasts underestimate the cost of the "invisible" work—the ground preparation and drainage—while overestimating the space they have. A standard Olympic bar is 2.2 meters long; if your shed is only 2.5 meters wide, you cannot load plates safely. This guide moves beyond theory into the practical reality of costs ($/£) and square footage, ensuring you build a facility that fits both your garden and your wallet.
Step 1: Planning Your Layout and Budget (The Engineer’s Blueprint)?
To avoid costly mid-project changes, understanding how to build a garden gym is the first step in matching your training goals to specific minimum area requirements and realistic budget tiers. A functional power rack zone requires at least 9m² for safety, and a durable weather-proof setup typically starts around $1,500 for a DIY approach.
In manufacturing, we never start production without a spec sheet. Your gym needs one too. I have broken down the typical costs and spatial requirements based on real-world projects we have supplied.
Recommended Space Allocations (Safety Minimums):
Safety is our priority. You need clearance for moving parts and bodies.
| Training Zone | Recommended Area | Why this size? |
|---|---|---|
| Strength Zone | 3m x 3m (9m²) | An Olympic bar is 2.2m. You need 0.4m clearance on each side to load plates safely without hitting walls. |
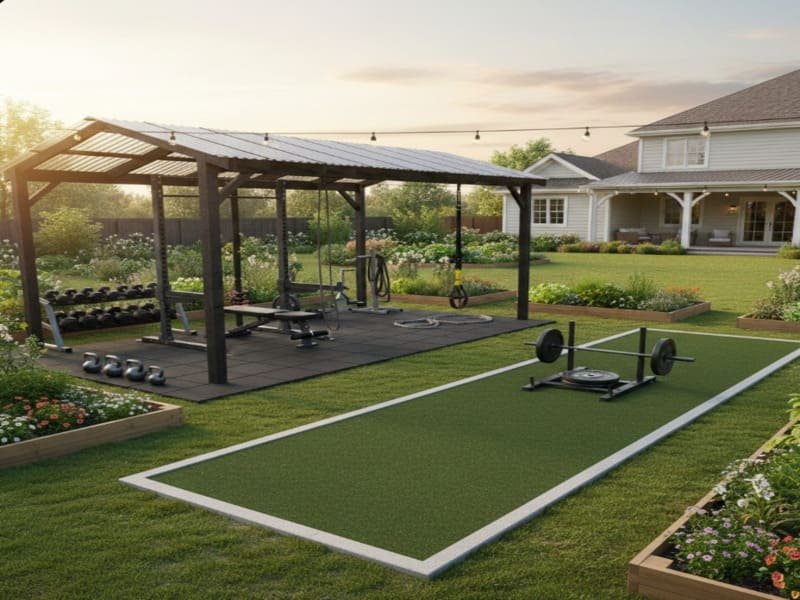
| Sled Track | 1.5m x 10-15m | Sleds are roughly 1m wide. You need side clearance and enough length to reach top speed and decelerate. |
| Hybrid/CrossFit | 20m² – 30m² | Allows for a rig, a cardio machine (rower), and open floor space for burpees/kettlebells simultaneously. |
Estimated Budget Tiers (Project Cost):
Where does the money go? Usually 40% into the ground/flooring, 40% into shelter/equipment, and 20% contingency.
| Tier | Est. Cost ($/£) | Configuration Specs |
|---|---|---|
| DIY Basic | $1,500 – $3,000 | Gravel soak-away base + 40mm Outdoor Tiles + Basic Sled Track. Open-air or shade sail. |
| Semi-Pro | $3,000 – $6,000 | Concrete Slab Base + 50mm Pro Tiles + Galvanized Rig. Pergola structure. |
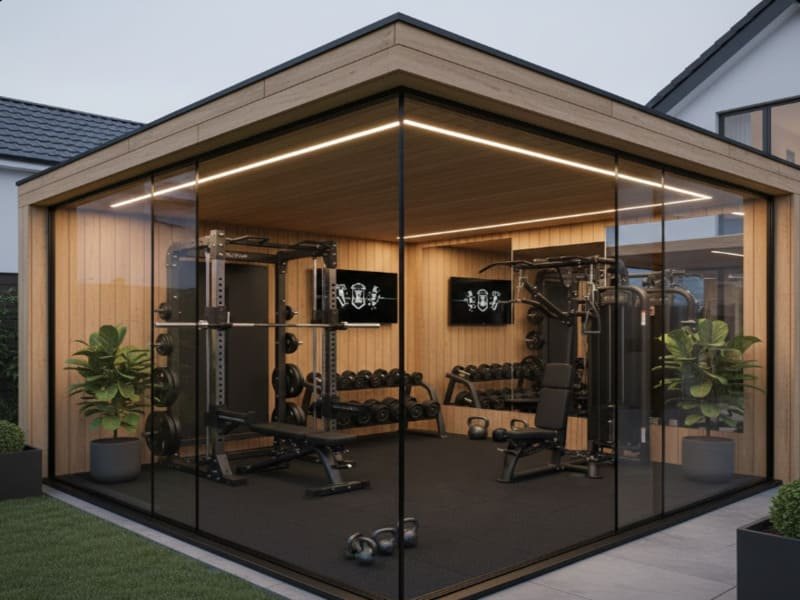
| Luxury | $12,000+ | Insulated Garden Room + HVAC + Premium Flooring + Indoor-grade equipment. (Requires professional contractors). |
Step 2: What Constitutes "True" Outdoor Flooring?
True outdoor flooring must feature a studded or grooved base for drainage, be at least 40mm thick for stability, and use UV-resistant EPDM or high-quality SBR rubber. Unlike indoor rolls, these interlocking tiles prevent water accumulation and resist wind uplift, ensuring a safe workout zone.
In our factory, we distinguish strictly between "indoor specification" and "outdoor specification." The difference lies in density, chemistry, and geometry. For outdoor use, I always recommend tiles over rolls. Rolls require a mirror-smooth, fully glued concrete base to prevent bubbling, which is costly to achieve outdoors.
Here is the technical breakdown of why specific features matter:
| Feature | Indoor Standard | Outdoor Requirement | Why it Matters? |
|---|---|---|---|
| Thickness | 15mm – 20mm | 40mm – 50mm | Mass is crucial. A 40mm tile weighs enough to stay put in high winds without adhesive. |
| Base Design | Flat | Studded / Grooved | The "feet" on the bottom create channels. This allows rainwater to flow under the mat rather than pooling on top. |
| Material | Standard SBR | EPDM / High-Density | Standard binder turns yellow and brittle in the sun. Outdoor tiles use UV-stabilizers to maintain elasticity. |
When you choose 40mm+ tiles, you also gain significant shock absorption, which protects your sub-base from cracking when you drop heavy deadlifts.
Step 3: How to Prepare Your Ground (The Foundation)?
Never install gym flooring directly on grass or soil, as this causes sinking and uneven surfaces. You must create a stable sub-base using either a concrete slab for maximum load-bearing or a compacted gravel and sand system with a geotextile membrane to facilitate natural drainage.
I often see customers try to save money by laying tiles on their lawn. Much like the technical steps in what to know before installing garage rubber flooring, skipping the sub-base preparation here is a critical error that leads to sinking and uneven surfaces. Grass dies, the soil decomposes, and the mats sink, creating trip hazards. From an engineering perspective, you need a sub-base that manages water.
You have two primary options based on your budget tier:
- The Concrete Slab (Semi-Pro/High-End): This handles the heaviest power racks. Crucial Detail: Ensure a minimal gradient of 1% (1:100). This is enough to shed water without causing your barbell to roll during lifts.
- The Soak-Away Method (DIY Basic): Dig down 150mm. Lay a geotextile membrane (to stop weeds). Fill with 100mm of MOT Type 1 (crushed stone) and compact it. Top with 30mm of sharp sand. This allows rain to pass straight through the tiles and into the ground, keeping your gym dry.
Step 4: Why Equipment Materials Matter (Rust vs. Resilience)?
Standard steel equipment will rust rapidly outdoors; you require Galvanized Steel or thick Powder Coating for protection. To reduce maintenance, consider using heavy-duty free weights combined with a weather-proof sled track, or ensure all moving parts on machines are greased to prevent seizing.
Oxidation is the enemy here. Standard gym rigs are often painted steel. Once a barbell scratches that paint, rust spreads under the surface like a cancer. When sourcing outdoor rigs, look for "Hot Dip Galvanized" steel. This involves dipping the steel in molten zinc, creating a chemical bond that prevents rust even if the surface is scratched.
If galvanized gear pushes your budget too high, consider a "Low-Tech, High-Impact" strategy:
- Sled Tracks (Artificial Turf): We manufacture high-density turf that is essentially waterproof. A sled push requires no mechanical parts that can seize up.
- Free Weights: Cast iron plates are indestructible. Even if they get surface rust, they still weigh the same.
- Maintenance: If you must use pulleys or bearings, apply marine-grade grease monthly. Cold weather hardens standard grease, making machines feel stiff.
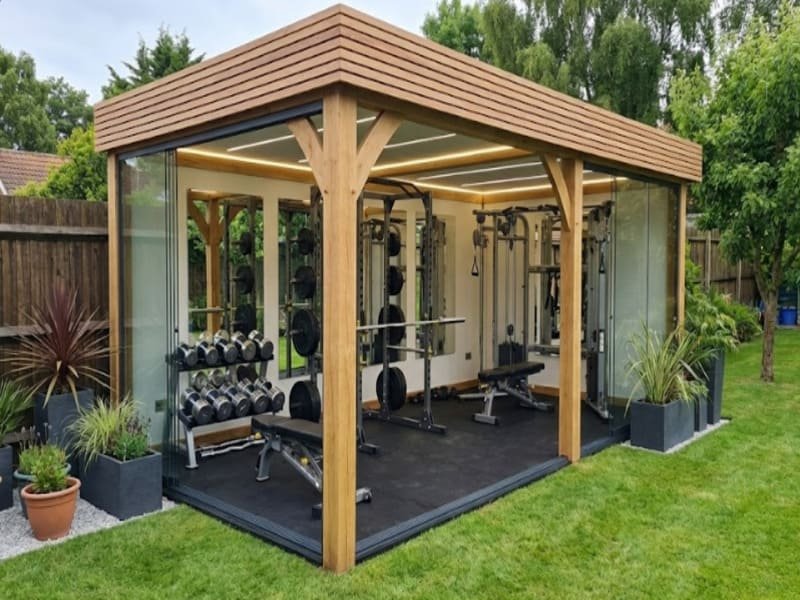
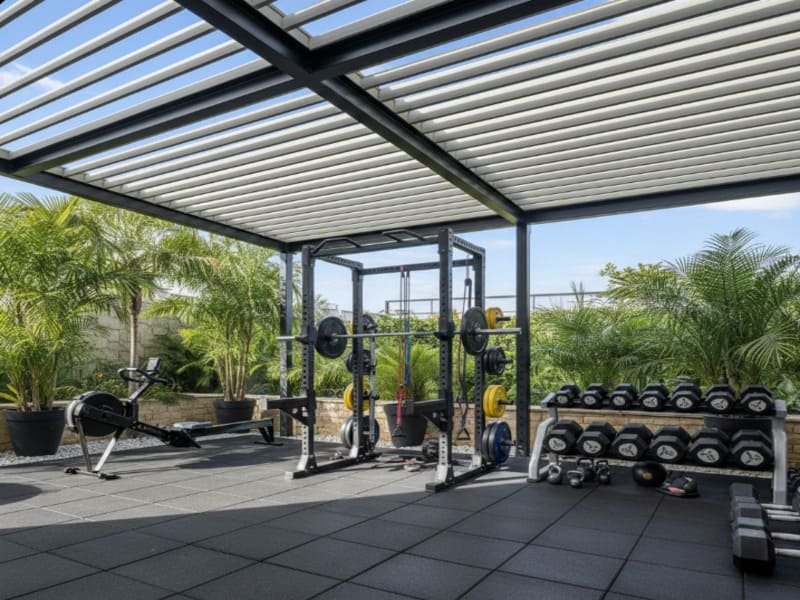
Step 5: What Shelter Style Fits Your Budget?
Shelter options range from open-air setups requiring fully weather-proof gear to insulated garden rooms. Pergolas with retractable roofs often offer the best balance for the "Semi-Pro" tier, providing necessary ventilation to prevent condensation while protecting you from rain.
From a manufacturing perspective, humidity is just as dangerous as rain. Fully enclosed, uninsulated sheds often suffer from condensation, where temperature swings cause water to drip from the roof onto your gear.
Here is how different shelters impact your material choices:
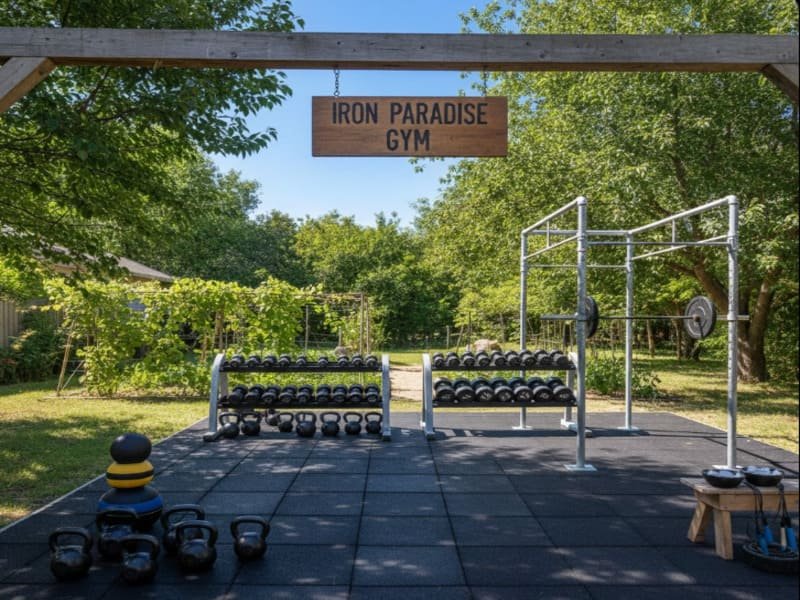
- Open Air (DIY Tier): You have zero protection. You must use EPDM flooring (grey or flecked) because black rubber can reach 60°C+ in summer.
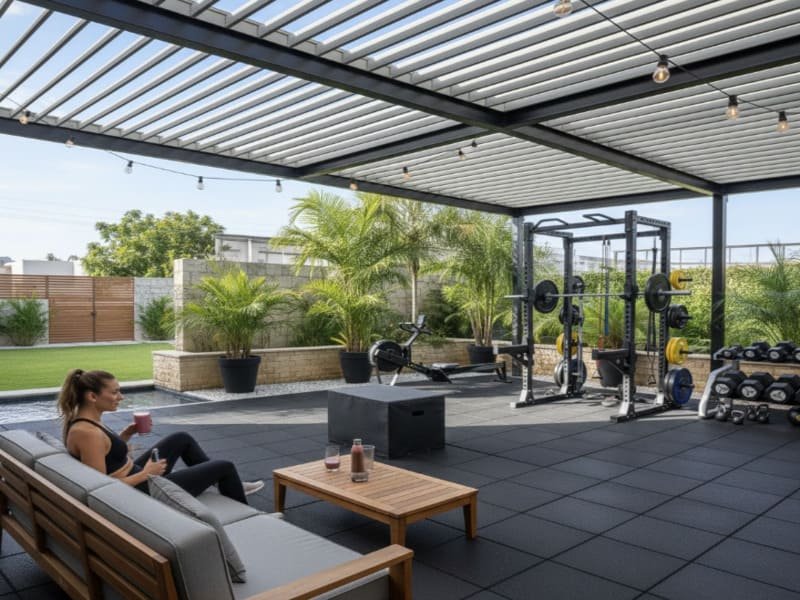
- Pergolas (Semi-Pro Tier): The sweet spot. They allow airflow which keeps rubber flooring dry and cool. You can add clear polycarbonate roofing for rain protection without losing light.
- Garden Rooms (High-End Tier): These are effectively indoor gyms. You can use thinner (20mm) mats here, but the construction cost is significantly higher ($12k+).
Step 6: How to Customize Your Space (Aesthetics & Function)?
You can elevate your garden gym by using colored EPDM flecks to match landscaping, printing custom logos directly onto turf or rubber, and zoning areas with different textures. This transforms a basic workout spot into a professional, personalized training environment.
A garden gym is part of your home’s landscape, so it should not look like an industrial accident. We use EPDM (Ethylene Propylene Diene Monomer) granules to inject color into black rubber tiles. You can choose green flecks to blend with the lawn, or grey to match patio stone.
Customization options from the factory floor:
- Logos: We can water-jet cut your family name or gym logo into the rubber tiles, or print directly onto artificial turf sled tracks.
- Zoning: Visual separation improves safety. Use a strip of green artificial turf for your sled/sprint track, flanked by black impact tiles for your lifting zone. This defines the space and keeps heavy weights off the turf.
- Functional Markings: We can inlay distance markers (5m, 10m, 15m) into the floor, making your training measurable and professional.
FAQ (Expert Answers)
Outdoor gyms require specific care: cover weights in winter to prevent rust, use lighter-colored flooring or shade to mitigate heat on black rubber, and check local regulations regarding "permitted development" height limits (usually 2.5m) to avoid needing planning permission.
Can I leave weights outside in the winter?
Technically, yes, but moisture will degrade knurling on bars. We recommend a simple waterproof deck box for barbells and plates. The flooring itself (if 40mm+ outdoor spec) can stay out year-round without issue.
Does black flooring get too hot in the summer?
Yes. Black rubber absorbs heat. On a 30°C day, the surface can exceed 50°C.
- The Fix: If your gym is uncovered, choose tiles with a high percentage of Grey or Blue EPDM flecks. This reflects sunlight and lowers the surface temperature significantly.
Do I need planning permission?
In many regions, outbuildings are "permitted development" if they are under 2.5 meters in height and take up less than 50% of the garden. However, always check your local zoning laws before pouring concrete to avoid legal issues.
Conclusion
Building a lasting garden gym relies on accurate sizing, realistic budgeting, and professional-grade materials. Prioritize drainage and UV-resistant flooring to ensure your investment survives the elements.
If you are unsure if your 3m x 3m space is sufficient, or need a cost estimate for 40mm weather-proof tiles, my team can review your layout. Contact us for a technical consultation or request a free sample kit to start your project with confidence.