
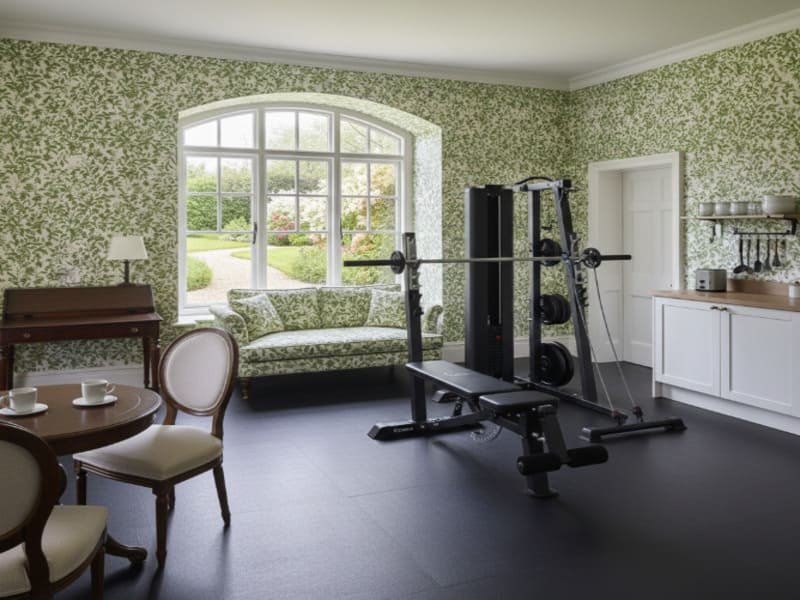
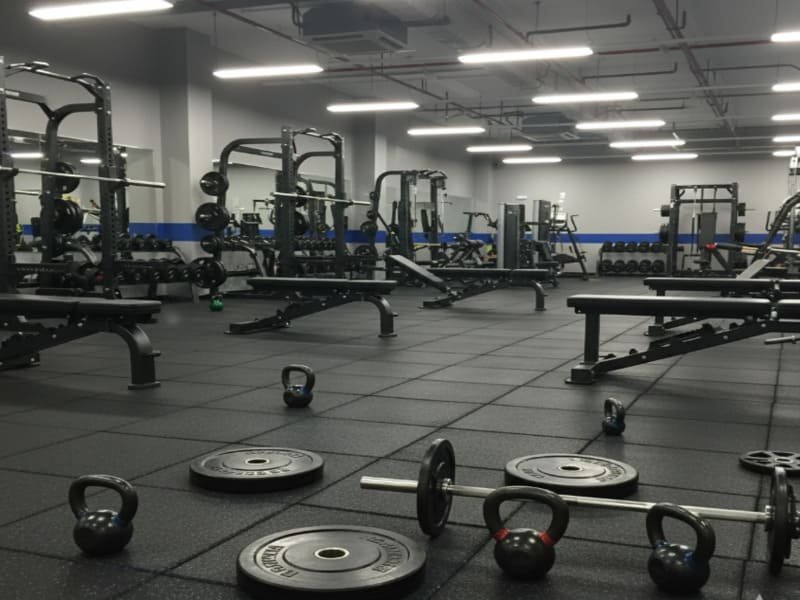
The best home gym flooring balances impact absorption, durability, and density to protect joints and the subfloor. For weightlifting, use minimum 3/8-inch (10mm) high-density rubber tiles or rolls; for high-impact drops, use 3/4-inch (19mm) mats.
As a manufacturing process engineer, I know flooring is the first and most important piece of gym equipment. Poor flooring choice leads to joint stress, poor stability during lifts, and, worst of all, damage to your concrete or wood subfloor. The right material must manage two key forces: vertical impact from dropped weights and horizontal friction from lateral movement. We must look at the material’s Shore Hardness—a measure of its density—not just the thickness. A too-soft, thick floor is unstable; a too-hard, thin floor fails to protect. My job is to engineer this balance. We select raw materials and optimize the curing process to hit the Shore Hardness target necessary for true subfloor protection. I focus on creating a stable, long-lasting surface that meets your specific training needs.

Choosing the right floor starts with honest self-assessment about your training style. Do you lift heavy? Do you mainly do cardio? This decision shapes every technical specification that follows. We must match the floor to your life and your lifting.
Does My Training Style Dictate the Minimum Flooring Thickness?
Yes, training style directly determines the minimum safe thickness required. Low-impact workouts need 6-8mm for comfort; moderate-impact requires 8-12mm for stability; high-impact, weight-dropping zones demand a minimum of 19mm for subfloor protection.
We define the Thickness Imperative based on the maximum weight impact on the floor. This is not just about weight; it is about the force of acceleration and deceleration. I use a specific chart when consulting with clients. This chart links expected dropped weight to the necessary thickness and the required Shore Hardness (Type A). This is a technical decision, not a guess.
Required Thickness Based on Maximum Dropped Weight
| Training Impact Level | Typical Activity | Recommended Thickness (Minimum) | Target Shore Hardness (Type A) |
|---|---|---|---|
| Low | Yoga, Bodyweight | 6mm – 8mm | 45-55 (Comfort) |
| Medium | Cardio, Dumbbells up to 50 lbs | 8mm – 12mm (3/8") | 60-65 (Stability) |
| High | Powerlifting, Olympic Lifts | 19mm – 25mm (3/4" – 1") | 65-70 (Impact Protection) |
When we engineer a 19mm tile, we compress the material under high heat and pressure to achieve that high Shore Hardness. This density ensures the energy from a 300-pound deadlift drop does not transfer entirely to the concrete below. It is the material’s ability to resist compression, not just the volume of the material, that saves your foundation.
Beyond thickness, the location of your gym—garage, basement, or apartment—introduces new engineering challenges. Environment and subfloor type significantly influence the material selection.
How Does My Gym Location Change My Flooring Material Choice?
Gym location critically affects material choice: Garage gyms need chemical and temperature resistance; basements require vapor barriers and anti-microbial properties; apartment gyms must prioritize high-rated IIC and STC acoustic dampening materials.
The environment puts specific demands on the material. Garage Gyms face temperature swings and potential oil or chemical spills. For these, I recommend high-density, virgin rubber or specifically treated recycled rubber with a high-resistance wear layer. Basements are the biggest challenge due to moisture. Water ingress is the enemy of any subfloor. For basements, we must use materials with inherent anti-microbial properties and install a vapor barrier first. The rubber compound must withstand continuous low-level moisture without degradation or mold growth. Apartment Gyms have a unique requirement: noise control. We must target materials with high IIC (Impact Insulation Class) and STC (Sound Transmission Class) ratings. IIC measures impact noise reduction; STC measures airborne noise reduction. A thicker, multi-layer rubber system is often needed to meet these acoustic demands. For example, installing a 10mm rubber tile over a specialized acoustic underlayment is often the only solution for upper floors.
Environmental Flooring Solutions
| Environment | Key Material Challenge | Engineering Solution (Must-Have) |
|---|---|---|
| Garage | Temperature Extremes, Oils | High-Density Virgin/SBR Rubber, Chemical Resistance |
| Basement | Moisture, Mold | Vapor Barrier, Anti-Microbial Additives, High-Water Resistance |
| Apartment | Noise Transmission | Minimum 10mm Rubber, High IIC/STC-Rated Underlayment |
We must also consider the subfloor. Concrete needs impact protection; wood subfloors need Shore Hardness-A 65 or higher material to prevent permanent indentation from concentrated weight loads like machine feet or rack posts.
Understanding the ‘why’ behind the thickness and location helps, but the ‘what’—the material itself—is where manufacturing expertise comes into play. Let me explain the pros and cons of the most common flooring materials from a production viewpoint.
Which Home Gym Flooring Material Provides the Best Long-Term Value?
Recycled rubber rolls offer the best long-term value for permanent, large gyms due to a lower cost per square foot and a seamless professional finish, though they require a moderate-to-high difficulty DIY installation due to weight and cutting complexity.
I work with three primary material types: recycled rubber, interlocking tiles, and EVA foam. Recycled Rubber Rolls are manufactured from shredded tires, bound with polyurethane. The material’s density is its greatest asset, offering excellent durability and shock absorption. We control the granule size and the binding agent ratio to minimize VOCs and improve tensile strength. Installation is challenging because the rolls are heavy and require precise, difficult cutting, but the final, seamless look is unmatched. Interlocking Rubber Tiles use the same base material but are cut into modular, easy-to-handle pieces. This modularity makes DIY installation simple and is ideal for renters. However, the higher cutting waste and the complexity of the interlocking mold make the per-square-foot cost higher than rolls. Also, the seams can separate under heavy, high-lateral-force movements like sled pushes, which is a key failure point we try to engineer around. Horse Stall Mats are a form of ultra-high-density recycled rubber, typically 19mm thick. They are the cheapest, highest-density option for deadlifting. Their main manufacturing drawback is the high concentration of sulfur in the raw material, which causes the strong initial odor. This requires significant post-production off-gassing and cleaning protocols to manage. EVA foam, conversely, is light and cheap but structurally weak; it should only be used for stretching or plyometrics.
Material Analysis: Durability vs. Installation
| Material Type | Manufacturing Focus | Installation Difficulty (DIY) | Ideal Application |
|---|---|---|---|
| Recycled Rubber Rolls | Density Control, Seamless Finish | Moderate/High (Heavy) | Permanent, Large Areas, Cardio |
| Interlocking Tiles | Modularity, Consistent Interlocks | Low/Moderate (Easy Cut) | Renters, Irregular Spaces, Modular Setups |
| Horse Stall Mats | Maximum Density, Cost-Efficiency | High (Extremely Heavy, Strong Odor) | Dedicated Powerlifting Platforms |
| EVA Foam Tiles | Lightweight, Thermal Insulation | Very Low | Stretching, Yoga (No Heavy Weights) |
We must choose the material that offers the best return on investment (ROI) in terms of durability versus cost. For a dedicated lifter, the ROI is highest with a 19mm stall mat or equivalent high-density tile.
Once the material is chosen, proper installation techniques are essential to ensure the longevity of your investment and maximize the floor’s protective qualities.
What Are the Key Steps for Professional-Grade DIY Flooring Installation?
The key steps for professional-grade DIY installation are subfloor preparation (cleaning/leveling), precise cutting using a sharp utility knife and straight edge, and ensuring adequate ventilation post-installation to mitigate initial rubber odor.
Installation is where design meets reality. Step one is always Subfloor Prep. For concrete, you must clean and seal the surface, especially in garages, to prevent moisture wicking. A smooth, level surface is non-negotiable; even small divots will lead to weak points in the rubber over time. Step two is Cutting. Rubber cutting requires a new, sharp utility blade for every 10-15 linear feet and a heavy-duty straight edge. We teach the "score and snap" method: score the cut line multiple times, deepening the groove, then fold the material to snap the cut cleanly. Never try to cut through the material in one pass. Step three is Securing. For rolls and stall mats, the material’s weight (often exceeding $4 \text{ lbs/ft}^2$) is often enough to keep it in place. For tiles and light-weight rolls, double-sided tape around the perimeter is usually sufficient. Full adhesive should only be used for permanent installations on concrete, as removal will damage a wood subfloor. Finally, Ventilation is crucial. After installation, the room must be vented for 48-72 hours to allow residual VOCs and odor from the binding agents to dissipate. This off-gassing process is part of the material’s cure.
Installation Checklist for Longevity
| Phase | Action Item | Technical Rationale |
|---|---|---|
| Preparation | Clean, level, and seal subfloor. | Prevents moisture, ensures stable, non-warping surface. |
| Cutting | Use sharp utility knife and straight edge. | Ensures clean seams and tight fit, minimizing movement. |
| Securing | Perimeter tape or weight reliance only. | Allows for future removal; material weight anchors the floor. |
| Maintenance | Ventilation for 48-72 hours post-install. | Allows safe dissipation of odors and VOCs. |
My experience shows that rushing the prep phase is the number one reason for flooring failure, leading to shifting seams and poor performance. The structural integrity starts with a clean foundation.

Following these steps ensures your floor performs as designed. The right installation makes your high-quality material last for years.
Conclusion
The correct home gym flooring is an engineered balance of thickness, density, and material choice, directly protecting your subfloor and optimizing lifting stability.
My Role
I am a Home Gym Flooring Manufacturing Process Engineer, with extensive practical experience in designing and optimizing the production flow for custom and bulk rubber flooring solutions. I specialize in linking material science (Shore Hardness, VOC control, density) directly to product performance and application, serving as a technical partner to product developers and gym owners.
Ready to Engineer Your Ideal Gym Floor?
Choosing the right technical specification can be complex. Do not guess on thickness or density. Contact my engineering team today for a free design consultation and material sample kit to ensure your floor perfectly matches your training needs and space.