Yes, rubber is an outstanding choice for upgrading a garage floor. It provides unmatched durability against vehicle weight and dropped tools, offers superior comfort and anti-fatigue properties compared to concrete or epoxy, and is simple to install and maintain, transforming your garage into a more functional space.
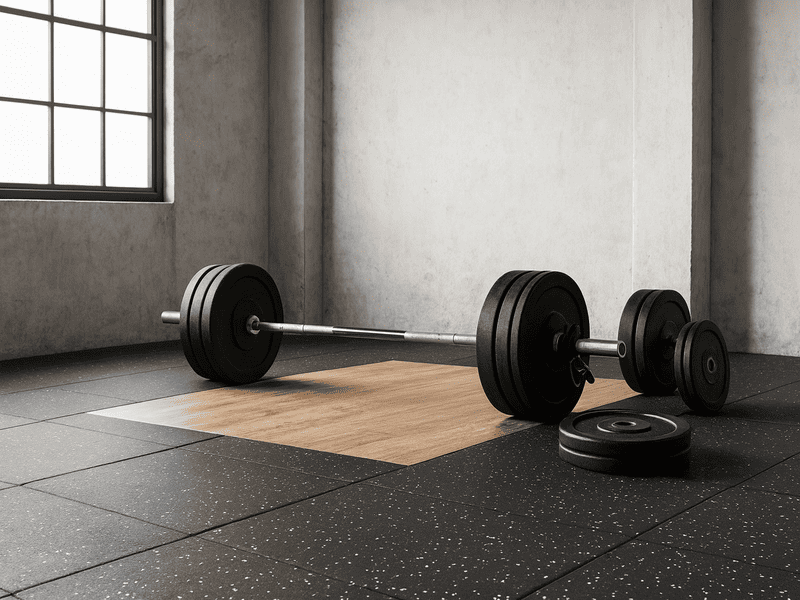
Your concrete garage floor is a problem. It’s probably cracked, stained with oil, and constantly creating dust. Standing on it for any length of time is cold and uncomfortable. You want to use your garage for more than just parking. It’s your workshop, your home gym, and your project space. You need a floor that can handle car traffic, dropped tools, and chemical spills. I’ve spent years engineering flooring solutions, and I know the challenges you face. You’re asking if rubber can really handle the weight of a truck, if hot tires will destroy it, or if a floor jack will punch right through it. This guide will give you clear, engineering-backed answers to all these questions, helping you make a confident investment in a floor that truly works.

You want to make the right choice for your space. Let us look at the options.
Which is Better for My Garage: Rubber Rolls or Rubber Tiles?
Interlocking tiles are best for most standard and DIY garage installations due to their ease of handling. Heavy-duty rolls are superior for large, open workshops where a seamless surface is critical and professional installation is an option. Your choice depends on your garage layout and installation preference.
The first major decision you will make is choosing between large rubber rolls or modular interlocking tiles. As a technical director, I’ve seen both used effectively, but they solve different problems. Understanding their core differences is key to a successful project. One focuses on a seamless finish, while the other prioritizes ease of installation and repair. Let’s break down the specific pros and cons of each format so you can align the right product with your garage’s needs and your own DIY capabilities.
| Feature | Rubber Rolls | Interlocking Tiles |
|---|---|---|
| Installation Difficulty | High (Professional Recommended) | Low (DIY-Friendly) |
| Appearance | Seamless, Uniform | Grid Pattern, Customizable |
| Best for | Large, open areas | Standard or odd-shaped garages |
| Repair | Difficult to patch | Easy (replace one tile) |
| Seams | Few to none | Visible between each tile |
Rubber Flooring Rolls: The Seamless, Heavy-Duty Choice
Rubber rolls offer a true, wall-to-wall seamless finish. This is their biggest advantage. With fewer or no seams, there are no places for water, dirt, or small hardware to get trapped. Their immense weight also means they are incredibly stable once laid down. From an engineering standpoint, this makes them ideal for large, active workshops where you might be rolling heavy toolboxes or engine hoists. The downside is purely logistical. These rolls are extremely heavy and unwieldy. Installing them is not a one-person job, and cutting them for a perfect fit around columns or corners requires precision and strength.
Interlocking Rubber Tiles: The DIY-Friendly, Modular Solution
For the vast majority of residential garages, I recommend interlocking tiles. They are designed for easy, one-person installation. You can start in a corner and simply connect the puzzle-like edges with a rubber mallet. This modularity is also a huge benefit for long-term maintenance. If you happen to damage a tile by dropping something sharp or spilling a harsh solvent, you can just pop out that single tile and replace it. You can’t do that with a roll. The trade-off is the visible seams, which can trap some dirt over time.
Now we can move on to the most critical performance questions.
Can Rubber Flooring Really Handle Cars, Chemicals, and Hot Tires?
Yes, high-density rubber flooring at least 8mm thick is engineered to handle the demands of a garage. It easily supports vehicle weight, resists damage from hot tires without peeling, and stands up to common automotive fluids like oil and antifreeze when they are cleaned up promptly.
This is where the material science comes in. A garage floor faces extreme stress, far beyond what any other floor in your house experiences. You need a surface that can withstand thousands of pounds of static vehicle weight, impacts from dropped tools, chemical exposure, and temperature fluctuations. I always tell people to focus on product specifications. Not all rubber flooring is created equal, and the garage environment is where quality and density truly matter. Let’s examine the three biggest durability concerns I hear about every day.
Durability Under Pressure: Cars, Jacks, and Dropped Tools
High-density vulcanized rubber is incredibly resilient. A thickness of 8mm (about 5/16 inch) or more will easily support the weight of a car, truck, or SUV without leaving permanent indentations. Where you need to be careful is with concentrated pressure points. A floor jack is fine, but the small footprint of jack stands can create too much pressure. My professional tip is simple: place a small steel plate or a scrap piece of plywood under each jack stand. This distributes the load over a wider area and completely protects the floor. A major benefit over epoxy or concrete is impact resistance. When you drop a heavy wrench, it will bounce instead of chipping your floor or breaking your tool.
The Hot Tire Test: Will It Lift or Peel?
"Hot tire pickup" is a real problem, but it primarily affects coatings like paint and epoxy. It happens when hot tires transfer heat to the coating, causing it to soften, delaminate, and stick to the tire. High-quality rubber flooring is not a coating; it’s a solid, thick, and stable material. It is manufactured to be heat-resistant and does not soften or peel from contact with hot tires, even after a long summer drive. Its weight and stability keep it locked in place.
Chemical & Stain Resistance
Rubber is a non-porous material, which means fluids like oil, grease, and antifreeze will sit on the surface instead of soaking in. If you wipe them up in a timely manner, they will not stain. You do need to be more careful with harsh solvents and gasoline. If left to sit for an extended period, these aggressive chemicals can cause the rubber to degrade. The key is immediate cleanup. For most common garage leaks and spills, rubber provides excellent protection.

Understanding the cost is the next step in planning your project.
What Is the Real Cost of a Rubber Garage Floor?
The material for rubber garage flooring typically costs between $2.50 and $9.00 per square foot. For an accurate total budget, you must add the cost of freight shipping, which can be significant, and any materials needed for sub-floor preparation like concrete patch or degreaser.
Talking about price requires full transparency. The sticker price per square foot is only one part of the equation. As an engineer, I always advise clients to budget for the entire project, not just the materials. The two biggest variables that people often forget are shipping and sub-floor preparation. Ignoring these can lead to unexpected costs that derail your budget. A cheap material with expensive freight can easily cost more than a premium product with free shipping. Always get a complete, delivered quote before you make a final decision.
Average Cost Per Square Foot
The price for the flooring itself varies based on thickness and quality. You can generally expect to pay between $2.50 and $9.00 per square foot. Thicker products, which I recommend for garages that see heavy use or have parked vehicles, will be at the higher end of that range. While it might be tempting to choose a thinner, cheaper option, investing in the proper thickness ensures long-term performance and prevents issues down the road.
"Hidden" Costs You MUST Account For
First, shipping. Rubber is incredibly dense and heavy, which means it is expensive to ship. Freight costs can easily add several hundred dollars to your order. This is not a hidden fee; it is a logistical reality of moving heavy materials. Second, sub-floor preparation. If your concrete is in good shape, you may only need to clean it. If you have major cracks, spalling, or unlevel sections, you will need to budget for concrete filler or a self-leveling compound to create a smooth, stable base for your new floor.

With a budget in place, you can think about the installation.
Can I Install Rubber Garage Flooring Myself?
Yes, installing interlocking rubber tiles is an excellent DIY project that can be completed in a weekend. However, installing heavy rubber rolls is much more difficult due to their weight and the precision required for cutting. This is often best left to professionals or experienced DIYers with help.
The feasibility of a DIY installation comes down almost entirely to your choice between tiles and rolls. I have seen customers with no flooring experience lay a perfect tile floor in a single afternoon. I have also seen experienced contractors struggle to handle a large, heavy roll of rubber by themselves. The foundation for either type of installation is the same: your success depends entirely on the preparation of the concrete sub-floor. A clean, flat surface is non-negotiable for a professional-looking and long-lasting result.
Sub-Floor Prep is Non-Negotiable
Your new rubber floor will follow the contour of whatever is underneath it. Bumps, cracks, and debris on the concrete will show through on the surface. Before you lay the first tile or unroll the first sheet, the concrete must be thoroughly cleaned, degreased, and completely dry. Sweep and then vacuum the entire area. Use a good degreaser to remove any oil or grease spots. Fill any significant cracks or holes with a concrete patching compound and allow it to cure fully.
Laying Rolls vs. Connecting Tiles
Installing interlocking tiles is straightforward. You start in one corner of the garage and work your way out, tapping the puzzle-piece edges together with a rubber mallet. Cutting tiles to fit around the perimeter or obstacles is easily done with a sharp utility knife and a straightedge. Installing rolls is a different process. You need to unroll the heavy material and let it "acclimate" or relax in the space for 24-48 hours. This allows any waves from being rolled up to flatten out. Then, you need to make very precise cuts for a tight fit against the walls, which can be challenging with such a thick, heavy material.
Let’s see how rubber stacks up against the other common options.
How Does Rubber Compare to Epoxy or Plastic Garage Floors?
Rubber flooring is superior in comfort, sound insulation, and impact durability. Epoxy is a hard coating that can chip and offers no anti-fatigue benefit. Hard plastic tiles are durable but can be loud, slippery when wet, and are also hard underfoot, offering little comfort.
Choosing a garage floor means comparing the top three options: rubber, epoxy, and rigid plastic tiles. Each has its place, but from a functional engineering perspective, they perform very differently. Your decision should be based on how you use your garage. If you spend a lot of time on your feet working on projects or using it as a home gym, the material properties of rubber offer benefits that coatings and hard plastics simply cannot match. The following table provides a clear, experience-based comparison.
| Feature | Rubber Flooring | Epoxy Coating | Plastic Tiles (e.g., RaceDeck) |
|---|---|---|---|
| Comfort/Anti-Fatigue | Excellent | Poor (Hard as concrete) | Fair (Hard plastic) |
| Sound Insulation | Excellent | Poor | Poor (Can be noisy) |
| DIY Installation | Good (Tiles), Hard (Rolls) | Hard (Requires intense prep) | Excellent |
| Durability | Excellent | Good (Can chip/peel) | Excellent |
| Repair | Easy (Tiles), Hard (Rolls) | Hard (Requires re-coating) | Easy (Replace tile) |
Epoxy creates a beautiful, glossy finish, but it is essentially a thin, hard paint. It does nothing to soften the concrete underneath. It’s unforgiving on your joints, offers zero sound insulation, and can be incredibly slippery when wet. It is also prone to chipping if you drop a heavy tool, and repairs often require re-coating a large section.
Hard plastic tiles are very easy to install and are great at hiding bad concrete. They are very strong and can handle heavy loads. However, they are still a hard surface. They can be noisy to walk and drive on, creating a "clacking" sound. They also provide very little anti-fatigue comfort for standing and working. Rubber’s advantage is its unique combination of durability and flexibility. It absorbs impact, dampens sound, and provides a comfortable, slip-resistant surface that makes your garage a more usable and pleasant space.
This information will help you make a final decision.
Conclusion
Rubber garage flooring is a superior choice for comfort, safety, and durability. Your best option—rolls or tiles—depends on your budget, garage layout, and your confidence in DIY installation.
Ready to transform your garage into a more functional and comfortable space? Contact our flooring experts today for a free quote or to request product samples. We’ll help you select the perfect rubber flooring solution for your project.