![WechatIMG4058[1]](https://meettfit.com/wp-content/uploads/2025/08/WechatIMG40581.jpg)
A perfect finish is not about luck; it’s the direct result of non-negotiable groundwork. It demands absolute subfloor integrity, complete material acclimation to the site’s environment, and precise technical execution during the bonding and seaming stages. There are no shortcuts.
As an engineer, I’m often called to inspect flooring failures. 99% of the time, the root cause isn’t a faulty product but a critical error made during preparation. An installation’s success is determined before the first roll is even laid. The subfloor—typically concrete—must be treated as an engineered surface. This means it must be clean, structurally sound, perfectly flat, and critically, dry. Beyond sweeping, this may require grinding down high spots or using a cementitious-based self-leveling compound to fill depressions. The most overlooked step is moisture testing. A concrete slab can look dry but still emit vapor that will cause a catastrophic adhesive failure. I always recommend a Calcium Chloride Test (ASTM F1869) for any commercial job. Finally, the rubber itself needs to reach thermal equilibrium with the subfloor. Unroll it and let it rest for a minimum of 48 hours. This prevents dimensional changes like shrinking or expanding after it’s been permanently bonded, a key principle in a professional guide to installing rubber roll flooring.
Once your foundation is certified perfect, your focus shifts to the technical execution. Using the right tools isn’t just about making the job easier; it’s about achieving a level of precision that is otherwise impossible. Each tool serves a specific function that prevents a common point of failure.
What tools separate an amateur from a pro installation?
Professional tools prevent common failures. A sharp blade and straight edge prevent gapping seams, a correctly notched trowel ensures a full adhesive bond without voids, and a heavy roller guarantees 100% contact, eliminating future bubbles or loose spots. These are not optional.
| Tool Category | Professional Standard | Consequence of Using Alternatives |
|---|---|---|
| Cutting | Heavy-Duty Utility Knife & Steel T-Square | Tearing, jagged edges, uneven seams |
| Adhesive | Manufacturer-Specified Notched Trowel | Adhesive voids, weak bond, oozing |
| Bonding | 100 lb (45 kg) Three-Section Roller | Air bubbles, poor adhesion, uneven finish |
The difference between a floor that lasts 3 years and one that lasts 10 is often in the quality of the tools used. These aren’t just recommendations; they are integral parts of a proven installation system.
The Non-Negotiables for Cutting
Your utility knife must be sharp. I change my blade every 10-15 linear feet of cutting. A dull blade drags and tears the rubber, creating a slightly beveled edge that will never form a perfectly flush seam. When cutting, use your steel square as a guide and make multiple shallow scores. Do not try to power through 8mm of rubber in a single pass. This ensures a clean, perfectly perpendicular 90-degree edge.
The Science of Adhesive and Rollers
The notch size on your trowel is engineered to deliver a specific volume of adhesive per square foot. This controls the "open time" you have to work with and ensures full coverage. Using the wrong trowel is a primary cause of bond failure. The 100 lb roller is the gold standard because it applies uniform pressure across the entire surface, forcing the rubber deep into the adhesive bed and pushing out trapped air. For very small jobs, a hand-held J-roller can be used, but it requires significant physical effort to achieve adequate pressure.
With a verified subfloor and the right tools, you can proceed with the installation. This stage is methodical. Rushing leads to mistakes that are very difficult to correct once the adhesive starts to cure. Follow the sequence without deviation.
What is the correct professional sequence for laying and seaming rolls?
The professional sequence is methodical and unalterable: dry fit, chalk line, precise adhesive application within its working time, and immediate rolling. For seams, the double-cut technique is the only method that guarantees a perfect, compression-fit seam that remains invisible.
| Step | Professional Action | Critical Detail |
|---|---|---|
| 1. Layout | Dry fit the first roll, then snap a chalk line as a guide. | The first roll must be perfectly straight. |
| 2. Bonding | Apply adhesive and roll the flooring into it immediately. | Only spread enough adhesive you can cover in 15-20 mins. |
| 3. Rolling | Use the 100 lb roller, working from center to edges. | Roll the entire surface in both directions. |
| 4. Seaming | Overlap the next roll and double-cut through both layers. | The blade must be held at a perfect 90° angle. |
The most common amateur mistake is spreading too much adhesive at once. It begins to "skin over," losing its tackiness and resulting in a weak bond. Only apply what you can cover within the adhesive’s specified open time.
Mastering the Double-Cut Seam
This technique is what makes a floor look monolithic. Lay your second roll so it overlaps the first by about one inch. Place your steel straight edge over the center of this overlap. Now, with a fresh blade, make your cut, pressing firmly to go through both pieces in a single, smooth motion. Your blade must remain perfectly vertical (90 degrees). If it leans, you will create a beveled edge, resulting in a visible "V-groove" at the seam. After the cut, peel away the top waste strip, then lift the edge and remove the bottom waste strip. The two edges will now fall together perfectly. Roll the seam immediately to lock it in.
Handling Obstacles
For cuts around columns or door frames, never guess. Create a template using cardboard or building paper. Perfect the template first, then trace it onto the back of the rubber flooring for a precise cut.
Your floor is installed, and the seams are invisible. Do not make the mistake of thinking the job is finished. The next 72 hours are a critical curing phase, and long-term care requires a disciplined approach to prevent gradual degradation.
Beyond cleaning, what truly protects your new rubber floor?
True protection involves two phases: first, an uninterrupted 72-hour curing period with zero traffic to ensure maximum bond strength. Second, a long-term protocol that avoids the three biggest threats: UV radiation, harsh chemical cleaners, and sharp point loads.
| Protection Phase | Key Action | Why It’s Critical |
|---|---|---|
| Phase 1: Curing | Prohibit all traffic and equipment for 72 hours. | Allows the adhesive to achieve its final shear strength. |
| Phase 2: Maintenance | Use only pH-neutral cleaners. | Prevents chemical degradation of the polyurethane binder. |
| Phase 2: Prevention | Use UV-filtering window film; put mats under equipment. | Prevents discoloration, embrittlement, and punctures—essential details on what should you know about rubber flooring roll for gym maintenance. |
The final step of the installation is to walk away and let the science happen. The adhesive is undergoing a chemical reaction to cure. Any weight or movement on the floor during this time can create a small void or break the initial bond, creating a weak spot that will fail later.
The Chemistry of Cleaning
You must use a pH-neutral cleaner because rubber flooring is a composite material. The rubber granules are held together by a polyurethane binder. Harsh acidic or alkaline cleaners (like bleach or ammonia-based products) will attack and weaken this binder over time, causing the surface to become brittle and shed granules. Always use a damp mop, never flood the floor with water.
The Biggest Threats
Beyond cleaning, be aware of environmental factors. Direct, prolonged sunlight will cause colors to fade and the rubber to harden due to UV degradation. If your gym has large windows, consider UV-filtering film. Lastly, while durable, the floor is not puncture-proof. Dropping weights with sharp edges or dragging heavy equipment with small feet can cause permanent damage.
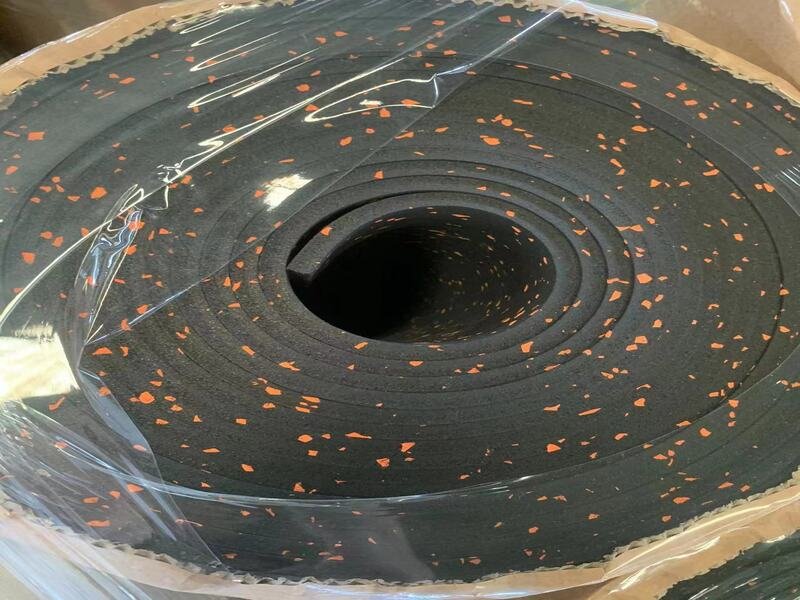
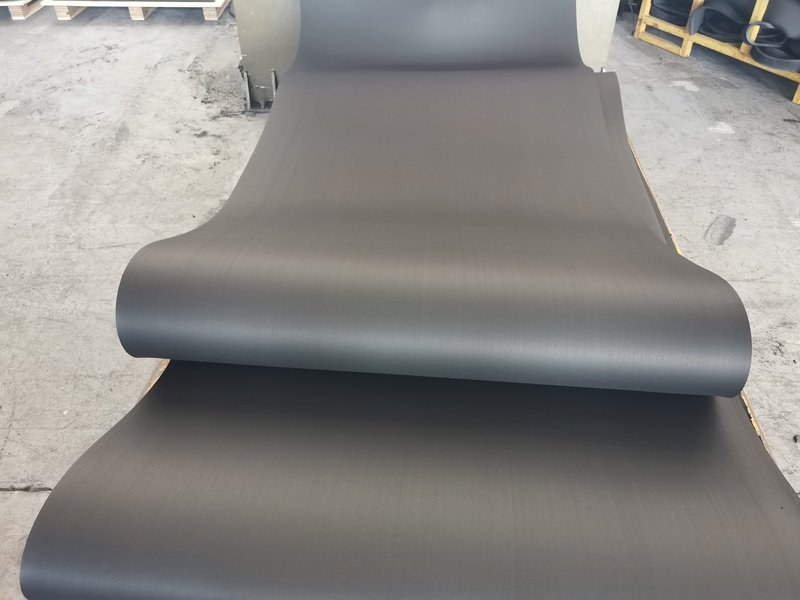
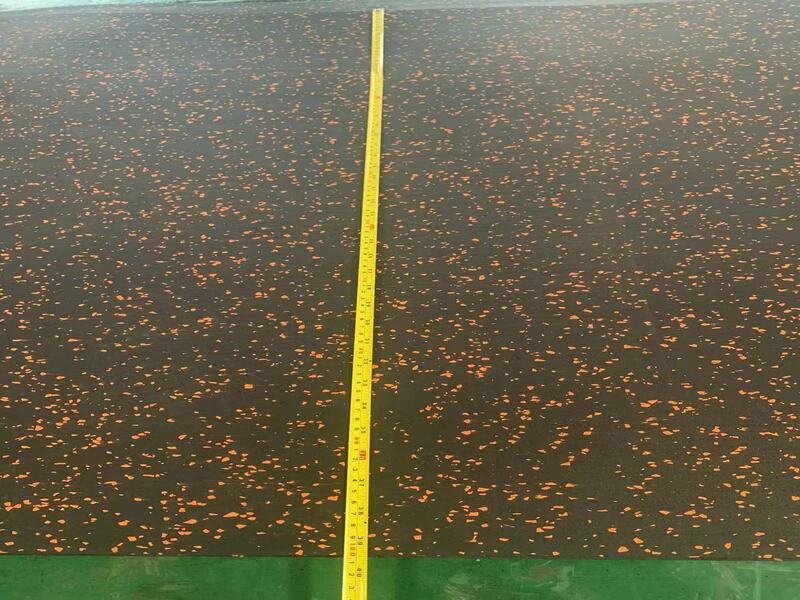
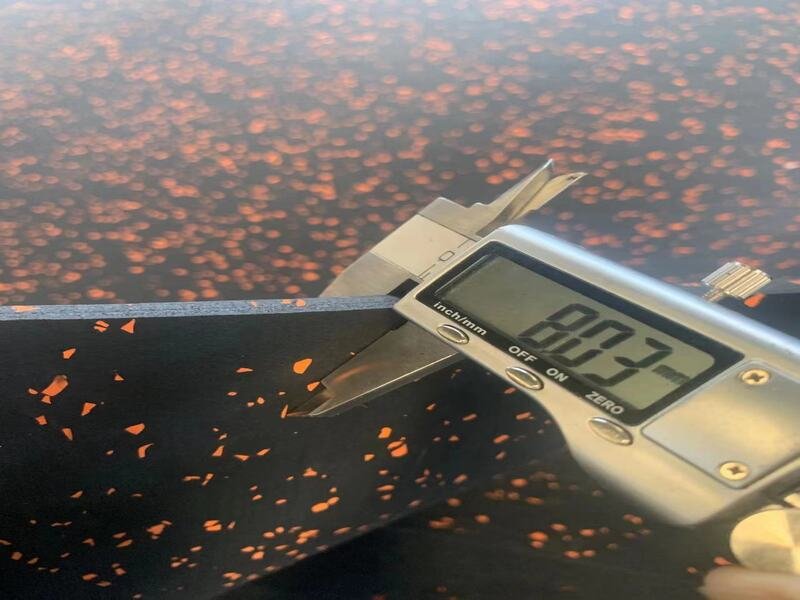
The integrity of your installation is a direct reflection of the quality of the materials you start with. Our flooring is engineered through a demanding process, from using ultra-fine 22 mesh rubber for superior density to a unique 10-day cold-cure process that ensures unmatched dimensional stability. This means the material you install is fundamentally more stable and durable from day one.
If you value this level of technical excellence, then your project deserves a material that is engineered to match. Contact our technical team for a project consultation or to receive a certified sample.
Conclusion
A perfect rubber floor is an engineered system. It demands rigorous prep, precise execution, and disciplined care. There are no shortcuts to longevity.
My Role
As a specialist in custom rubber roll flooring manufacturing, I bring years of hands-on experience in material science and design optimization. Our focus is on partnering with clients to deliver engineered solutions that enhance performance and durability for any application, from commercial gyms to specialized industrial spaces.