
Yes, mold can grow under rubber floor tiles, but not on the rubber itself. The tiles are mold-resistant. The problem happens when moisture gets trapped between the non-porous tile and the subfloor, creating a perfect environment for mold to grow on the subfloor surface.
As a Quality Control Inspector, I check thousands of rubber tiles. I can confirm the material itself, a high-density SBR or EPDM rubber, is non-porous and inorganic. It doesn’t provide a food source for mold spores. Our quality checks ensure the tiles have no defects that would encourage microbial growth. The real issue is not the tile, but the environment underneath it. If you place a non-breathable surface over a damp subfloor, you trap moisture. This trapped water, combined with dust and organic matter on the subfloor, creates the ideal breeding ground for mold. The tile acts like a lid on a petri dish. Understanding this difference is the key to preventing a problem before it ever starts. Your focus should not be on the tile’s quality, but on the quality and preparation of your subfloor.

Now that you know the problem is trapped moisture, it’s important to understand where that moisture comes from.
What Causes Moisture to Get Trapped Under Rubber Tiles?
Moisture gets trapped from three main sources: condensation from a concrete subfloor, water seeping through tile seams from spills or leaks, and high ambient humidity in poorly ventilated spaces. Each source creates the damp conditions mold needs to thrive on the subfloor.
| Moisture Source | How It Works | Common Location |
|---|---|---|
| Subfloor Condensation | Moisture vapor from the ground travels through porous concrete and condenses under the tile. | Basements, Garages |
| Leaks and Spills | Water gets through the seams of interlocking tiles and is trapped. | Gyms, Laundry Rooms |
| High Humidity | Airborne moisture settles on cool surfaces, including under tiles. | Poorly Ventilated Areas |
In my line of work, we often investigate "product failures" that are actually installation failures. The most common cause of mold under rubber tiles is a damp subfloor. This is why a pre-installation quality check is critical.
Concrete Condensation
Concrete looks solid, but it is porous. It allows moisture vapor from the ground to pass through. When you cover it with a rubber tile, this vapor gets trapped, cools, and turns into liquid water. To check for this, you can perform a simple test we recommend as a standard procedure. Tape a square of plastic sheeting to your bare floor for 24 hours. If you see water droplets on the plastic’s underside, you have a moisture issue that must be fixed before installation.
Spills Seeping Through Seams
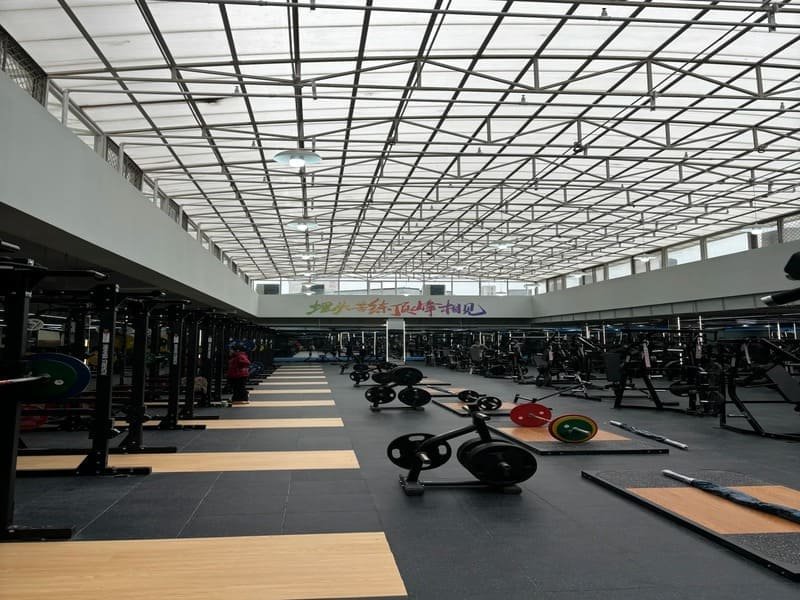
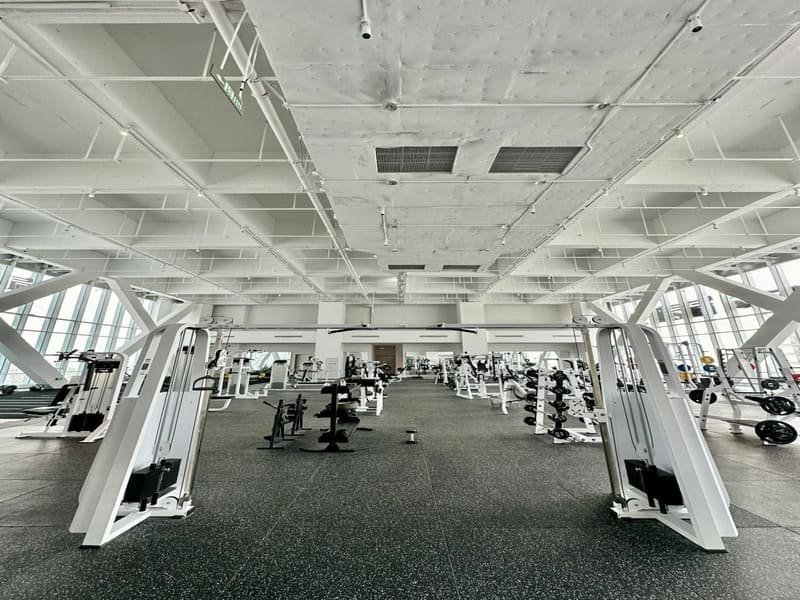
Interlocking tiles are great for easy installation, but the seams are not waterproof. waterproof. A major spill can allow water to seep through to the subfloor. Without airflow, this water can sit for weeks, which is more than enough time for mold to develop.
Poor Ventilation
A room with high humidity and no airflow is a risk. Basements are classic examples. The damp air itself can create enough moisture under the tiles to cause problems over time.
Understanding the causes is the first step. The next step is active prevention.
How Do You Prevent Mold Before It Starts?
The best prevention is to prepare the subfloor. Test for moisture. If it’s damp, apply a concrete sealant or lay down a 6-mil vapor barrier before installing the tiles. This creates a waterproof layer, stopping moisture from ever reaching the underside of the flooring.
| Prevention Step | Action | Why It’s Critical |
|---|---|---|
| 1. Seal the Subfloor | Apply a quality waterproof concrete sealant or densifier. | Stops moisture vapor from passing through the concrete. |
| 2. Use a Vapor Barrier | Lay 6-mil plastic sheeting under the tiles. | Physically blocks any and all moisture from below. |
| 3. Control Humidity | Use a dehumidifier to keep air humidity below 60%. | Reduces ambient moisture that can cause problems. |
| 4. Clean Spills | Wipe up large spills quickly. | Prevents water from seeping through the tile seams. |
From a quality assurance perspective, your installation process is just as important as the manufacturing process. You must control the variables to guarantee a good outcome.
The #1 Step: Subfloor Preparation
I cannot stress this enough: preparing your subfloor is the most critical step. Sealing your concrete is a permanent fix that blocks moisture paths. A plastic vapor barrier is an even more robust solution. It’s a simple, inexpensive layer of protection that completely separates your flooring from potential ground moisture. Skipping this step on a questionable subfloor is the most common reason people end up with mold.
Environmental Control
Your room’s environment matters. A dehumidifier is a powerful tool for basements and garages. By keeping the air dry, you remove a key ingredient mold needs to grow. Good airflow helps circulate the air and prevent damp spots from forming.
Prompt Cleaning
While a vapor barrier protects from below, you need to protect from above. Clean up large spills promptly. The tiles themselves are water-resistant, but the seams are the weak point.
Even with the best preparation, accidents can happen. Knowing how to react is important.
What Should You Do If You Find Mold?
If you find mold, you must first protect yourself with a mask and gloves. Then, lift all affected tiles, clean the subfloor with a mold-killing solution, and allow both the floor and the tiles to dry completely before fixing the original moisture source.
| Remediation Step | Action | Purpose |
|---|---|---|
| 1. Protect Yourself | Wear an N95 mask and rubber gloves. | Avoid inhaling harmful mold spores. |
| 2. Remove & Assess | Lift affected tiles plus a few surrounding ones. | Determine the full extent of the mold growth. |
| 3. Clean & Dry | Scrub the subfloor and tiles. Use fans to dry everything completely. | Kill and remove existing mold. Eliminate moisture. |
| 4. Fix the Source | Seal the subfloor, repair the leak, or improve ventilation. | Prevent the mold from coming back. |
In quality control, we perform root cause analysis. Just cleaning the mold is not enough; you must find the root cause and fix it permanently.
Safety and Assessment
First, protect yourself. Mold spores can be harmful. Once you have a mask and gloves, pull up the tiles in and around the affected area. You need to see how far the problem has spread to ensure you treat the entire area.
Cleaning and Drying
Use a proper mold remediation cleaner on the subfloor. A simple vinegar and water solution can also work well. After scrubbing, the most important part is drying. Use fans and a dehumidifier to make the subfloor and the tiles bone dry. Reinstalling on a slightly damp surface will just cause the mold to return immediately.
Finding the Root Cause
This is the final quality check. Was the cause a leaking pipe? Was it condensation from an unsealed floor? You must identify and fix that core problem. If you don’t, you are guaranteed to have the mold grow back, no matter how well you clean it.
By taking these steps, you can ensure your floor remains a safe and durable surface.
Conclusion
Mold under rubber tiles is not a product defect. It is an environmental issue caused by trapped moisture. Proper subfloor preparation makes it completely preventable.
Ready to see how a quality rubber tile feels? Contact our flooring experts today for a personalized quote or to request free samples and find the perfect, safe fit for your space.