
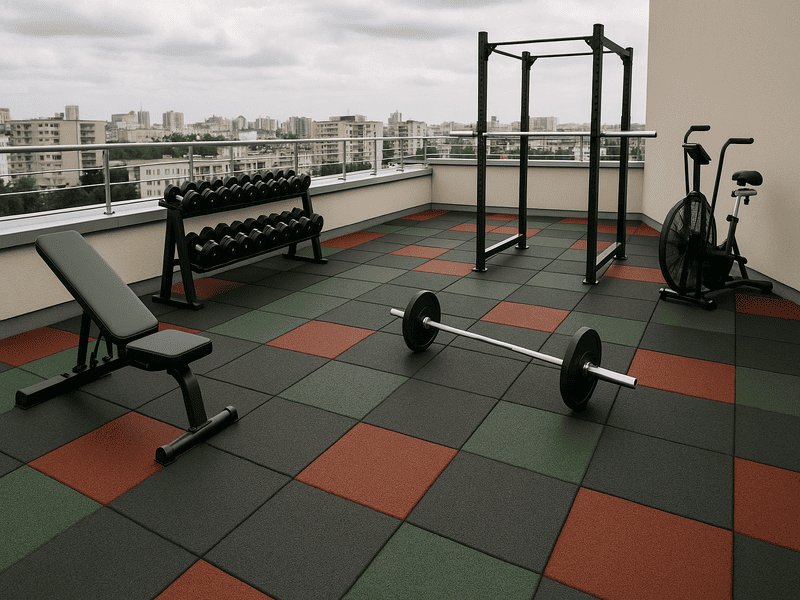
Yes, outdoor rubber tiles are an excellent choice for durability, safety, and comfort. Success depends on selecting the right type for your use and installing them on a properly prepared base, which is crucial for longevity and performance.
As a quality control manager in this industry, I have seen thousands of projects, from simple backyard patios to complex commercial playgrounds. The core issues are always the same: you want a surface that can withstand the weather, is safe for your family, and doesn’t create a constant maintenance headache. Cracked concrete, splintering wood decks, and muddy grass are common problems that lead people to consider outdoor rubber tiles. But you have valid concerns about durability, heat, cost, and proper installation. My job is to ensure the product that leaves our factory meets strict quality standards. I will use that experience to guide you through the technical details and practical realities of choosing, installing, and owning outdoor rubber tiles.
This guide will give you the knowledge to make a confident decision for your outdoor space.
What Kind of Outdoor Rubber Tile Do You Need?
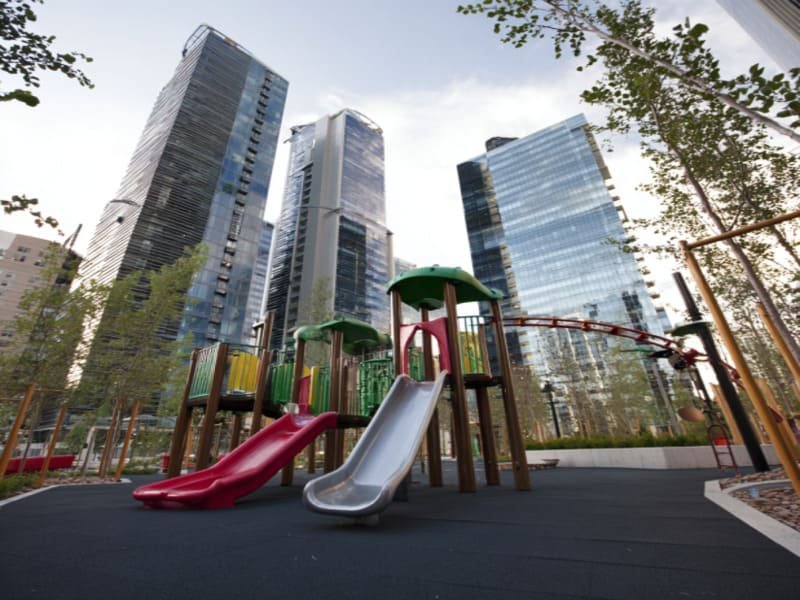
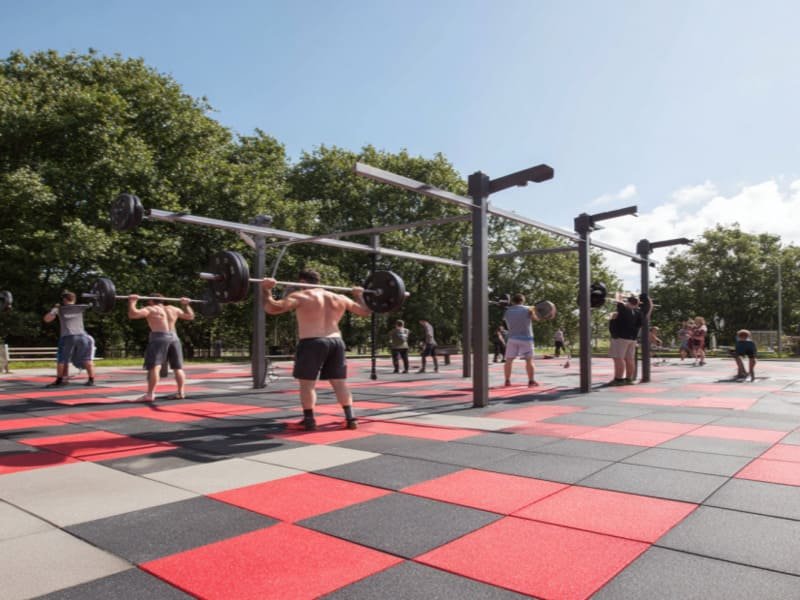
The best tile depends on your project. Interlocking tiles are ideal for DIY patios and decks. Perforated tiles are best for wet areas like pools. Glue-down solid tiles are the standard for high-traffic public playgrounds requiring certified fall protection.
Choosing the right tile is the first step in a successful project. The manufacturing process and design of each type are optimized for different applications. From a quality perspective, we test them against different standards based on their intended use. Understanding these differences ensures you get the performance you expect.
| Feature | Interlocking | Straight-Edge | Perforated | Solid |
|---|---|---|---|---|
| Installation | DIY Friendly | Professional | DIY Friendly | DIY/Pro |
| Best Use Case | Patios, Decks | Commercial Playgrounds | Pool Decks | Patios, Playgrounds |
| Drainage | Good | Depends on Base | Excellent | Good (Porous) |
| Appearance | Visible Seams | Seamless | Grid Pattern | Smooth/Textured |
Interlocking vs. Straight-Edge Tiles
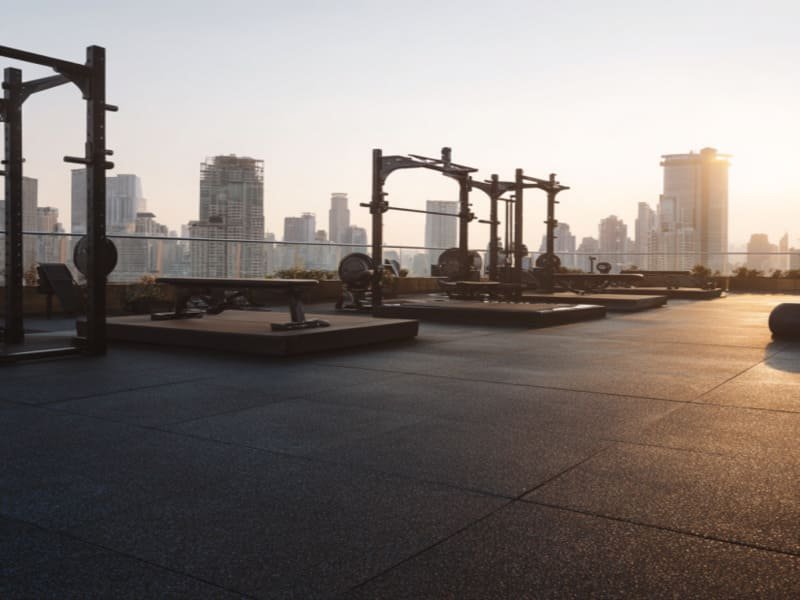
Interlocking tiles are engineered with highly precise puzzle-piece edges. This design is critical because it accommodates the natural thermal expansion and contraction that all materials experience outdoors. It allows the entire surface to float and shift slightly without buckling or separating. Straight-edge tiles offer a more seamless look but must be fully bonded with adhesive to a stable sub-base like concrete. We only recommend this for permanent, high-traffic commercial installations where stability is the absolute top priority. For most home patios, decks, or balconies, the ease of installation and built-in flexibility of interlocking tiles make them the superior technical choice.
Perforated vs. Solid Tiles
Perforated, or drainage, tiles are specifically designed for areas with constant water exposure. The holes are part of the mold design, creating a clear path for water to drain instantly, which keeps the surface safe and slip-resistant. Solid tiles, on the other hand, are engineered for impact absorption. As a QC manager, my primary test for these is fall height rating according to ASTM F1292 standards. The tile’s thickness and density are precisely controlled during manufacturing to provide a specific level of shock absorption. While solid tiles are porous and allow for slow water drainage, their main purpose is safety and comfort underfoot, making them the standard for playgrounds and general-use patios.
Knowing these distinctions helps you select a product engineered for your specific needs.
Are Outdoor Rubber Tiles Safe and Durable Enough for Any Weather?
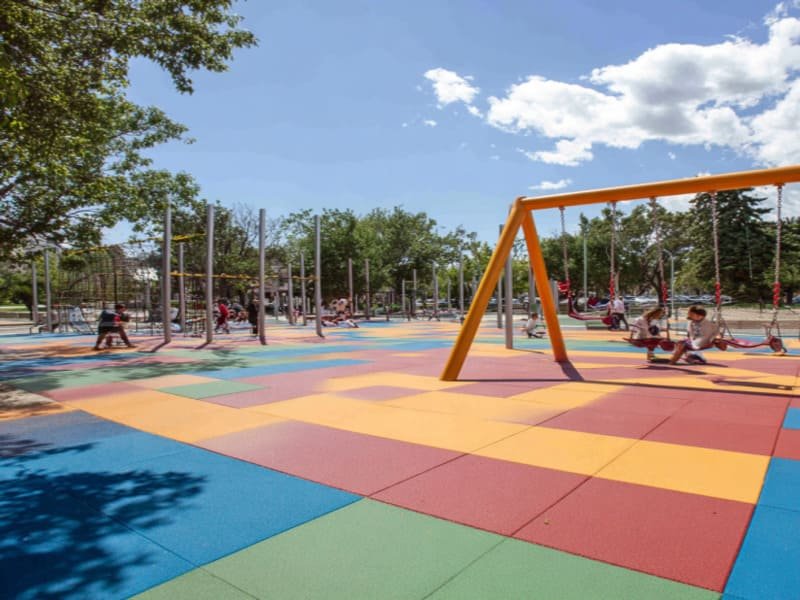
Yes. High-quality rubber tiles are extremely durable. Their natural texture provides excellent slip resistance when wet, and they are manufactured to withstand sun, rain, and freeze-thaw cycles without cracking. For playgrounds, tile thickness directly determines its certified safety rating.
Concerns about outdoor performance are completely valid. In my role, I oversee the testing that proves a tile’s ability to hold up against the elements. We don’t just hope it works; we verify it with data. The material science behind modern rubber tiles makes them one of the most resilient outdoor surfacing options available when you choose a quality product. Key performance indicators include slip resistance, impact absorption, and resistance to environmental degradation from UV light and temperature swings. These factors are controlled during the manufacturing process to ensure a safe and long-lasting final product.

Let’s look at the specific quality metrics that ensure safety and durability.
The Safety Factor: Slip Resistance and Fall Protection
Safety is a product of material and design. Rubber naturally has a high coefficient of friction, which means it provides excellent grip. We test this to ensure a secure footing even in wet conditions. For playgrounds, safety is even more critical. The term "Critical Fall Height" or CFH is a certified value, not a guess. A 2.5-inch tile is tested under controlled conditions to meet the ASTM F1292 standard for a 6-foot fall height. This means if a child falls from 6 feet, the tile is proven to absorb enough impact to prevent a life-threatening head injury. Never use a tile for a playground that does not have this specific certification.
| Tile Thickness | Common Application | Typical Fall Height Rating |
|---|---|---|
| 1 inch | Patios, walkways, decks | Not rated for falls |
| 2.5 inches | Standard playgrounds, swing sets | Up to 6 feet |
| 3.5+ inches | Taller commercial play structures | 8 feet or more |
Durability: How They Handle Sun, Rain, and Snow
Durability is engineered into the tile. Standard tiles are made from SBR rubber from recycled tires, which is incredibly tough. For enhanced color stability, we use a manufacturing process that adds a top layer of EPDM, a synthetic rubber with superior UV inhibitors. In our labs, we use accelerated weathering machines that simulate years of sun exposure to ensure the color holds. A common question I get is about heat. Dark rubber will get warm in the sun, similar to asphalt. Lighter color options can significantly reduce this effect. Most importantly, high-density rubber is not prone to cracking during freeze-thaw cycles, a common failure point for concrete and asphalt.

A quality tile is built to last for more than a decade in all conditions.
What Is the True Cost of Outdoor Rubber Tiles?
The tiles themselves average $9 - $20 per square foot. The most significant additional cost is sub-base preparation. If you are installing over dirt or grass, expect to add $5 - $15 per square foot for proper excavation and materials.
Many people are surprised by the total project cost because they only budget for the tiles. As an engineer, I can tell you the sub-base is not optional; it is a critical part of the flooring system. A perfect tile on a bad base will fail. The base provides stability and drainage, ensuring the tiles stay locked together and water has a place to go. Hidden costs are real, and planning for them is the difference between a successful project and a failed one. You must account for the cost of preparing the ground, any necessary adhesives or edging, and freight shipping.
Understanding the full budget from the start prevents costly surprises.
The Hidden Costs You MUST Account For
Let’s break down the budget beyond the tiles. The numbers I’m giving are based on typical projects I’ve consulted on. First, sub-base preparation. Installing over an existing concrete patio is easy and cheap—you just need to clean it. But installing over a lawn is a major task. It requires excavating several inches of soil, laying down landscape fabric to block weeds, and filling and compacting several inches of crushed gravel. This labor and material is often the largest part of the budget. Second, you may need accessories like transition ramps for smooth edges. Finally, shipping. Rubber tiles are heavy because they are dense and durable. That weight means freight costs can be significant, so always get a delivered price quote.
Can I Install Outdoor Rubber Tiles Myself?
Yes, you can install interlocking rubber tiles yourself if you are placing them on an existing hard and level surface like a concrete patio or wood deck. For any project that requires creating a new base from dirt, professional installation is highly recommended.
While laying interlocking tiles is straightforward, the success of the entire project depends entirely on the quality of the base underneath. An improper base is the number one cause of installation failure that I see. A professional installer has the equipment and expertise to guarantee the base is perfectly level, properly compacted, and graded for drainage. If you are a skilled DIYer and are prepared to rent a plate compactor and spend the time on proper ground prep, you can do the whole job. If not, laying the tiles yourself on a professionally prepared base is a great way to save money.
A great installation starts with an honest assessment of your skills and the project’s demands.
The Sub-Base is Everything: Preparing the Ground Correctly
From an engineering perspective, the sub-base serves two functions: stability and drainage. The compacted crushed stone creates a solid, level foundation that will not shift or sink over time. This prevents tiles from separating at the seams. It also acts as a percolation field, or a French drain, giving water that seeps through the tile seams a place to go so it can drain away from the surface. The process is straightforward but labor-intensive. You must dig out the area to the proper depth (usually 4-6 inches), lay down a barrier fabric, then add the gravel in layers, compacting each layer as you go. The final surface must be sloped about 1-2 degrees (a quarter-inch drop per foot) to guide water away.
Laying the Tiles: A Step-by-Step Overview
Once you have a perfect base, laying the tiles is the easy part. A pro tip from my experience: let the tiles sit outside in the project area for 24 hours before you install them. This allows them to acclimate to the ambient temperature and minimizes expansion or contraction after they are in place. Start in a corner and lay your first tile. Connect the next tile by lining up the interlocking tabs and pressing them into place. You can use a rubber mallet to gently tap them for a snug fit. Continue this process row by row. When you get to an edge, you will likely need to cut a tile. A sharp utility knife and a straightedge work well for this.
With a solid base, the final steps are quick and rewarding.
How Do You Maintain Outdoor Rubber Tiles?
Maintenance is very simple. Routine cleaning requires only a broom, leaf blower, or garden hose. Most potential issues, like weeds or curling seams, are symptoms of an improper sub-base, not a failure of the tile itself.
My goal as a quality manager is to ensure our product provides a long-term solution with minimal fuss. High-quality outdoor rubber tiles are inherently low-maintenance. They are non-porous, so they don’t stain easily, and they are durable enough to handle regular use for over a decade. The "maintenance" is really about ensuring the installation was done right in the first place. If you prepare the base correctly, you will prevent the most common long-term problems. The tiles themselves simply need to be kept clean of loose dirt and debris.
Proper installation is the key to a low-maintenance surface.
Common Problems and How to Fix Them
Let’s address the most common concerns I hear from customers. First, weeds. If you install tiles over a proper gravel base with a geotextile fabric underneath, weeds cannot grow through. If you skip that step, you will fight weeds in the seams forever. Second, curling or separating seams. This happens when the base below the tiles shifts or settles. It’s another problem solved by proper base preparation. Third, odor. New rubber tiles have a distinct smell from the manufacturing process. This is normal and harmless. Once the tiles are installed outside in the open air, this odor typically disappears within a week or two. Lastly, cleaning. Never use a high-pressure power washer on rubber tiles. It is too aggressive and can degrade the surface over time by stripping away the binding agents. A simple garden hose is all you need.
Conclusion
Choose the right tile for your project and build a proper base. This ensures your outdoor rubber tiles will be a safe, durable, and low-maintenance solution for many years.
Ready to transform your outdoor space? Contact our team for a free quote or to request a sample of our durable, safe, and weather-resistant outdoor rubber tiles. We’ll help you find the perfect solution for your project.