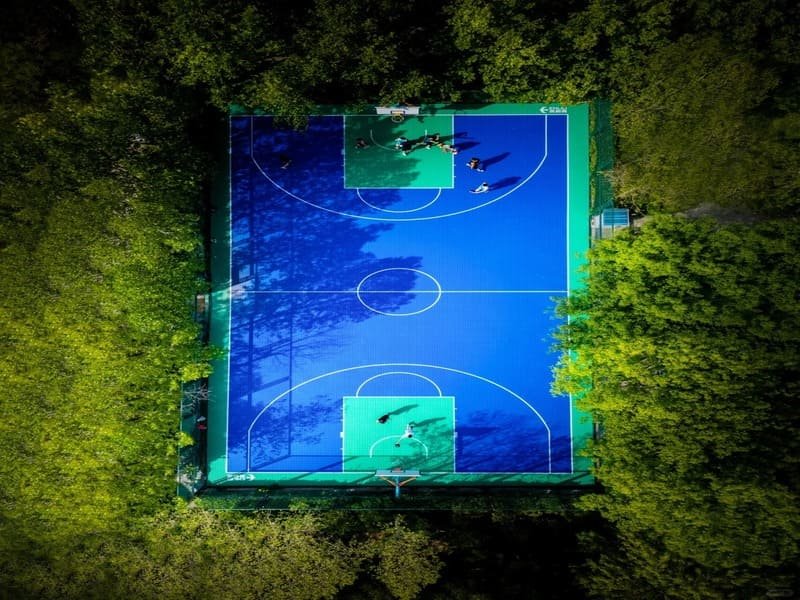
For most families, the answer is simple: Modular Tiles over Concrete. Why? Because it saves your knees, drains rain instantly, and looks amazing. However, if you are on a tight budget, Concrete is the durable king. If you are building a massive community park, Asphalt is the standard.
The "30-Second Guide" for Busy Parents & Starters
(Not an engineer? Start here!)
If you don’t want to read the technical details, just find yourself in this list:
- 👨👩👧👦 "I want a safe, cool-looking court for my kids in the backyard."
- Pick: Modular Tiles (Sport Tiles)
- Why: Best shock absorption (fewer scrapes & bruises), customizable colors, handles rain perfectly.
- 💰 "I just want a hoop on the driveway and have a limited budget."
- Pick: Concrete (Broom Finish)
- Why: Cheapest long-term option, zero maintenance, lasts 30+ years.
- 🏢 "I’m building a huge court for a school or public park."
- Pick: Asphalt
- Why: Most cost-effective for large spaces (Tennis court size or bigger).
Introduction: Why One Size Does Not Fit All
In my years as a Quality Control Engineer testing sports surfaces, I’ve seen two types of regrets. The first is the homeowner who installs asphalt in a small backyard, only to see it crack and fade in two years. The second is the parent who lets their kids play on rough concrete, leading to scraped knees and shin splints.
To determine the "best" surface, we have to balance three things: Safety (How much does it hurt to fall?), Performance (Does the ball bounce right?), and Budget.
The table below breaks down the reality of what you are buying:
| Surface Type | Best For… | Knee Safety | Maintenance | Est. Lifespan |
|---|---|---|---|---|
| Modular Tiles | Backyards / Families | ⭐⭐⭐⭐⭐ (High) | Easy | 15-20 Years |
| Concrete | Driveways / Budget | ⭐ (Low) | None | 30+ Years |
| Surface Type | Best For… | Knee Safety | Maintenance | Est. Lifespan |
| — | — | — | — | — |
| Modular Tiles | Backyards / Families | ⭐⭐⭐⭐⭐ (High) | Easy | 15-20 Years |
| Concrete | Driveways / Budget | ⭐ (Low) | None | 30+ Years |
| Asphalt | Public Parks | ⭐⭐ (Medium) | High (Sealing) | 12-15 Years |
(For a more localized and detailed performance ranking of these materials, see our updated guide on What Is the Best Surface for an Outdoor Basketball Court in 2025.)
Before we pick a material, there is one technical rule you must understand to avoid a disaster: The Foundation vs. The Surface.
The Golden Rule: The Foundation vs. The Top Layer
Think of it like a house: The "Foundation" (Sub-base) keeps it standing, and the "Flooring" (Surface) is what you walk on. You cannot put a fancy sport tile on dirt or grass—it will fail.
The Engineering Reality Check
I often get asked, "Can I just lay these plastic tiles directly on my lawn?" As an engineer, my answer is a strict NO.
1. The Base (The Skeleton):
This is the hard layer underneath. You almost always need a 4-inch Concrete Slab for a residential court.
- Why? Concrete provides a perfectly flat, rigid table for the ball to bounce on.
- Can I use Asphalt as a base? Yes, but only if you have a huge area. Heavy steam rollers can’t fit into most backyards to compact asphalt properly. If they can’t compact it, it will sink and crack.
2. The Surface (The Skin):
This is the layer that protects the player.
- Raw Concrete: Great bounce, but acts like sandpaper on skin.
- Modular Tiles: These snap on top of the concrete. They provide the grip and cushion.
My Professional Advice: If you are building a backyard court, budget for a concrete slab first. That is your non-negotiable starting point.
Now, let’s look at the materials in detail so you can choose the right one.
The Top 3 Contenders: A Simple Comparison
We have three main fighters in the ring: Modular Tiles (the modern favorite), Concrete (the tough old guy), and Asphalt (the giant). Here is the honest truth about each.
Deep Dive into Materials
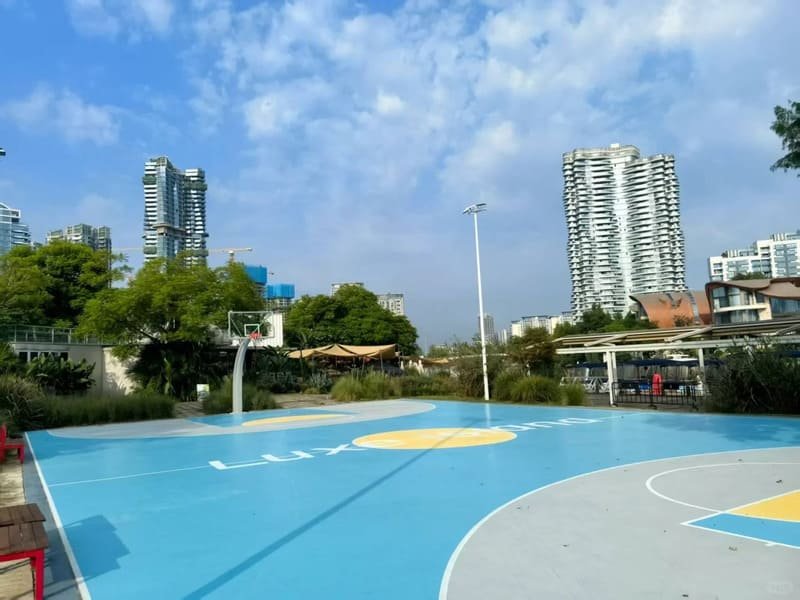
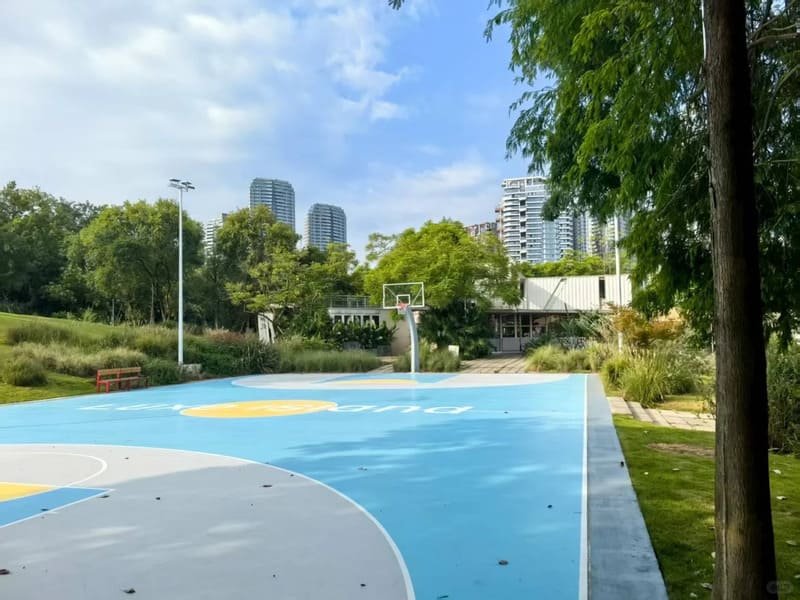
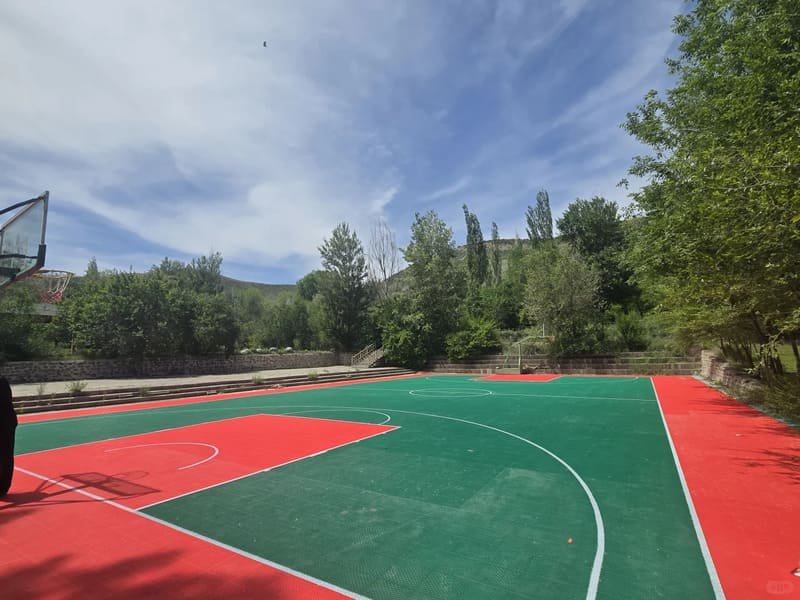
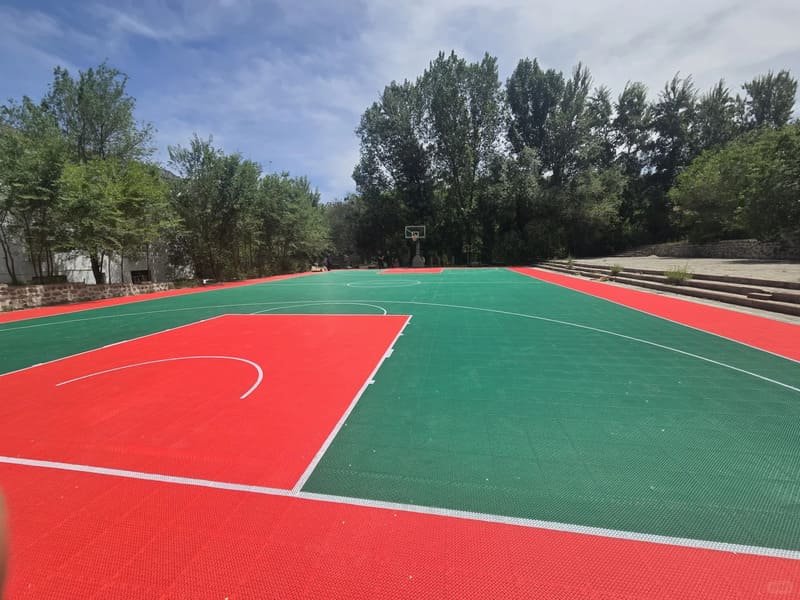
A. Modular Decking / Sport Tiles (Best for Families)
- What it is: Interlocking squares (usually 1ft x 1ft) made of high-impact plastic. They snap together like a puzzle.
- Why Parents Love It:
- Safety: They are "suspended," meaning they have a tiny bit of give. This acts like a shock absorber for your knees and ankles.
- Drainage: They have an open-grid design (holes). Rain flows right through, so no puddles!
- DIY Friendly: Once the concrete is down, you and your kids can install the tiles in an afternoon.
- The Engineer’s Note: Not all plastic is the same. Cheap tiles warp in the sun. Look for "High-Impact Polypropylene" with UV stabilizers.
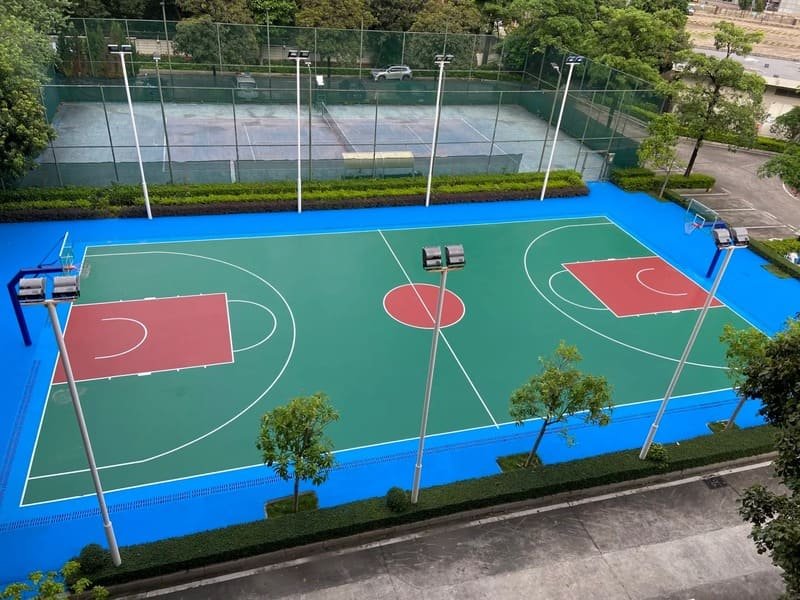
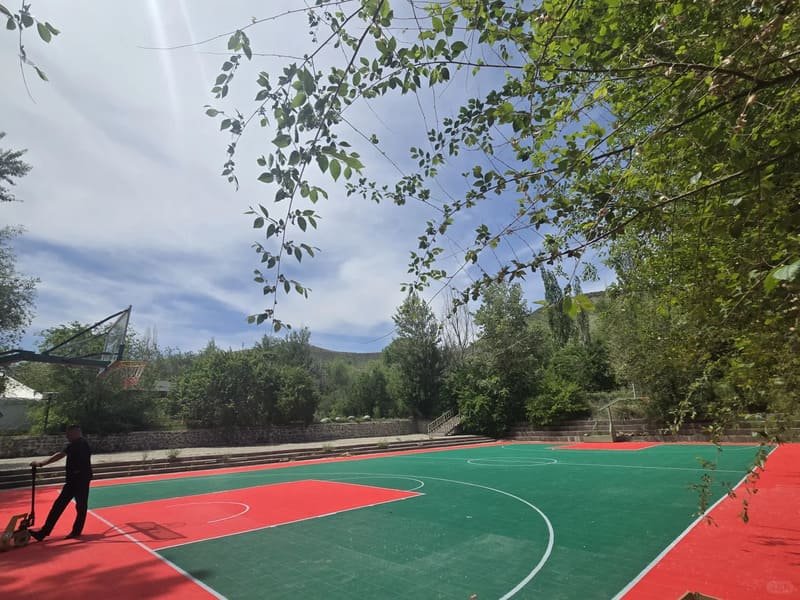
B. Concrete (Best for Durability)
- What it is: A solid slab reinforced with steel (rebar).
- Why Budget-Savers Love It: It is a "one-and-done" cost. You pour it, broom finish it for grip, and you never have to touch it again for 30 years.
- The Downside: It is unforgiving. If you fall, you will bleed. If you play for 2 hours, your knees will feel it.
- The Engineer’s Note: Do not paint concrete with normal house paint—it will be dangerously slippery when wet. Use proper acrylic sport coating if you must paint it.
C. Asphalt (Best for Big Parks)
- What it is: The black stuff you see on roads.
- Why Cities Love It: It is cheaper than concrete when you are paving a massive area (like a school parking lot/court).
- The Downside: It gets HOT. In summer, it can smell like tar and get soft. It also requires "resealing" every 3-5 years, or it will crumble.
- The Verdict: Avoid this for home courts unless you live on a farm with a massive open space.
But does the surface actually change how you play? Yes, significantly.
How Does It Feel to Play? (Performance & Safety)
If you are serious about basketball, you want a "True Bounce." If you are serious about health, you want "Shock Absorption." Modular tiles offer the best balance of both.
The Physics of the Game
When we test these surfaces in the lab, we look at three things that matter to players:
-
The Bounce (Energy Return):
- Concrete: The benchmark. The ball bounces 100% true.
- Soft Rubber/Mulch: Terrible for basketball. The ball dies (doesn’t bounce back). Never use playground rubber for a basketball court.
- Modular Tiles: High-quality tiles are engineered to mimic concrete’s bounce. You get the ball response of a hard court with the safety of a soft court.
-
The Grip (Traction):
- You need to stop fast without sliding.
- Concrete: High grip, but high abrasion (skin rash).
- Tiles: They have a specialized surface texture. It gives you sneaker grip but is smoother than concrete, so a fall results in a burn, not a deep cut.
-
The Body Impact (Joint Safety):
- The "Old Man" Test: I’m not as young as I used to be. After playing on concrete for an hour, my lower back hurts. On modular tiles, that impact is reduced. This "Lateral Forgiveness" (slight side-to-side movement) reduces the stress on your ligaments during sharp turns.
Now, the big question: How much will this damage your wallet?
How Much Does an Outdoor Court Cost?
Expect to pay between $4 and $15 per square foot. The biggest cost is usually the concrete base. Tiles are an add-on luxury that is worth the price for many.
Real World Price Estimates
Let’s look at the numbers for a standard half-court (roughly 30′ x 30′).
-
Tier 1: The Budget Driveway ($4 – $6 / sq. ft.)
- Includes: Excavation, gravel, and a plain 4-inch concrete slab.
- Result: A grey, functional court. Durable, but basic.
-
Tier 2: The "Pro-Look" Paint ($6 – $9 / sq. ft.)
- Includes: Concrete base + Acrylic Sport Paint.
- Result: Looks like an NBA court initially.
- Warning: Paint fades and peels. You will spend money repainting it every 5 years.
-
Tier 3: The Premium Backyard ($9 – $15+ / sq. ft.)
- Includes: Concrete base + High-Quality Modular Tiles.
- Result: Professional look, custom logos, joint protection, no puddles.
- Bonus: If you move houses, you can actually un-click the tiles and take them with you!
Hidden Costs Checklist:
- The Hoop: A good glass backboard hoop costs $1,000 – $2,000.
- Fencing: To keep the ball from hitting the neighbor’s car.
- Lighting: If you want to play at night.
Finally, don’t forget to check the weather report.
Weather & Climate: Don’t Let Nature Ruin Your Court
If you live in the freezing North, avoid asphalt—it will crack. If you live in the rainy South, get open-grid tiles to stop puddles.
Designing for Your Location
I’ve seen $20,000 courts ruined because the owner didn’t account for the local weather.
- Freezing Winters (Snow/Ice):
- Water gets into cracks, freezes, expands, and breaks the surface.
- Solution: Reinforced Concrete + Open-Grid Tiles. The grid allows melting snow to drain away so it doesn’t refreeze on the surface.
- Scorching Summers (Heat):
- Dark Asphalt absorbs heat. It can get up to 140°F!
- Solution: UV-resistant plastic tiles stay much cooler to the touch. Plus, tiles have "expansion joints" built-in, so they expand in the heat without buckling.
- Rainy Areas:
- Puddles ruin the game.
- Solution: Only Open-Grid Tiles allow you to play 15 minutes after a storm. Solid surfaces (Concrete/Acrylic) need to be squeegeed dry.
Conclusion: Making the Final Call
Choosing a court surface doesn’t have to be complicated.
- Go with Modular Tiles if you want the best all-around experience for your family—safety, looks, and rain performance.
- Go with Concrete if you want the most durable, set-it-and-forget-it solution on a budget.
- Go with Asphalt only for massive spaces.
Your court is an investment in health and fun. Don’t cut corners on the base, and choose a surface that makes you want to go outside and play every day.