
Professional installation is your insurance policy for complex spaces, multi-material transitions, and advanced subfloor requirements.
I have seen countless gym projects start with great intentions only to get stuck on the flooring. Installing gym flooring, especially simple mats or interlocking tiles in a square room, can seem manageable. You buy the gear, you do the work, you save money. But when does that "manageable" DIY project become a costly, mistake-prone risk? The tipping point happens when your space complexity or performance needs go past basic installation skills. My experience as an Installation Director shows that the true value of a professional team comes from handling the difficult details that affect safety and longevity. If your floor fails, your gym investment fails. I strongly advise you consider professional help before cutting an expensive rolled material wrong or missing a subfloor issue that kills the adhesive later.
You must read this if your project is anything but a basic square room. Your gym floor is a critical piece of equipment; it deserves the right setup.
Is My Gym Space Too Complex for a Simple DIY Install?
A gym with curved walls, many columns, or complex transitions is usually too difficult for DIY. Precision cutting and alignment around obstacles need specialized tools and experience to avoid gaps and material waste.
You need to analyze the geometry of your space. Most people think laying floor is just rolling it out or snapping tiles together. This is true only for the simplest rooms. When you add curves, pillars, or non-90-degree corners, the job gets complicated fast.
Precision Cutting: The Irregular Shape Challenge
I have seen people waste large amounts of expensive rolled rubber trying to cut it. Thick, high-density rubber is hard to cut straight, and even harder to cut a perfect curve. You need specialized blades and template techniques to get a perfect fit around things like a curved wall or a fire extinguisher cabinet. A small error means a visible gap that collects dirt and causes a tripping hazard. For elements like columns or permanent fixtures, you must cut complex "L," "U," or circular shapes. Professionals do this detailing perfectly, ensuring a seamless, safe finish.
Alignment and Seaming for Large Areas
For a large commercial gym or a big residential space, laying long rubber rolls or many tiles needs perfect alignment. A small deviation at the start will compound over a distance, leading to visible seams and bubbling. We use laser alignment and proven methods to ensure straight runs and virtually seamless connections across large areas.
Multi-Material Transitions
Do you need to connect rubber tiles to a sprint track/turf or a weightlifting platform? Materials of different thicknesses need a smooth, safe transition. This requires specialized edging and connection techniques. If the seam is not flush, you create a major tripping hazard. A professional team ensures all materials meet safely and smoothly, preventing separation.
When your floor plan looks like anything but a plain box, the cost of professional installation starts to look like a bargain compared to the cost of wasted material and a shoddy result. Keep reading to see why the subfloor is even more important than the surface.
Which Gym Flooring Types Always Require Professionals?
Materials that demand permanent adhesion or complex sublayers carry the highest DIY risk. Rolled rubber, specialized EPDM with logo integration, and multi-layer shockpad systems almost always require professional handling for proper performance.
The type of flooring you choose directly impacts the complexity of the installation. Some materials are designed for floating DIY installs, but others are not forgiving of amateur errors.
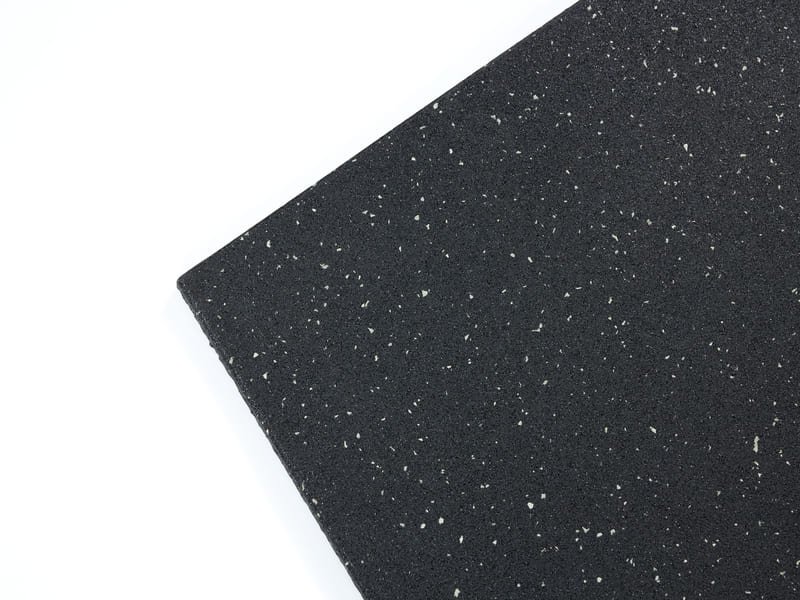
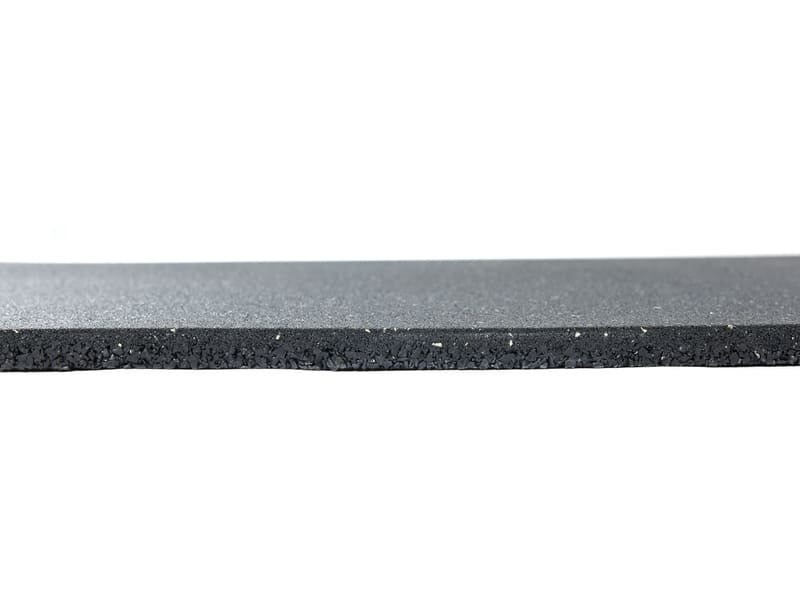
Glue-Down Rolled Rubber and EPDM
Any rolled rubber (especially rolls over $5/sq.ft) that must be glued down is high risk. Polyurethane adhesives have short working times, making bubble removal and precise seam alignment difficult for beginners. For custom materials like EPDM with integrated logos or complex color patterns, a mistake in cutting or alignment destroys the pattern and wastes material. These projects need professional expertise to guarantee a tight, permanent bond.
Multi-Layer and Poured Systems
Installing a multi-layer system, such as a thick shockpad under a top layer of tile or turf, requires meticulous, seamless placement of both layers. Any shift or gap in the shockpad creates a dangerous weak spot when heavy weights drop. Poured polyurethane or rubber granule systems are never DIY; they require specialized mixing and leveling equipment to cure correctly.
Interlocking Tiles vs. Rolls
While simple interlocking tiles can be DIY-friendly in small squares, large installations of rolls (over 500 sq.ft) should be handled by pros. Rolls offer fewer seams and a cleaner look, but the challenge of moving, unrolling, and aligning heavy rolls over large distances is a physical and technical hurdle most individuals underestimate.

The best material is worthless if the foundation is bad. The subfloor is the most critical part of the installation process. If the subfloor is not right, the best rubber material will fail.
How Do Subfloor Problems Affect My Gym Floor’s Performance?
The subfloor is the foundation; rubber flooring needs it to be clean, dry, and flat. Professionals check for moisture and correct unevenness with leveling compounds before installation, which is key for adhesive success and material longevity.
Many DIY failures happen because people only focus on the top layer. You must address what is below the surface.
Subfloor Preparation and Leveling
A rubber floor needs a flat surface. If your concrete slab is old or uneven, you must fix it. Professionals know how to identify and measure subfloor issues. We use self-leveling compounds and fillers to create a perfectly flat base before we start. Skipping this step leads to air bubbles, uneven wear, and premature material failure.
Moisture Mitigation is Essential
If you are installing in a basement or on a concrete slab, moisture is a constant threat. High moisture levels will cause the adhesive to fail, leading to lifting edges, bubbles, and mold. We test the subfloor for moisture and install vapor barriers or specialized primers to protect your investment. This is a non-negotiable step in many commercial settings.
("Subfloor Leveling and Moisture Testing for Gym Flooring")
Permanent vs. Non-Permanent Fixation
Rolled rubber often needs a glue-down approach. This is messy and uses specific adhesives with a strict working time. We ensure 100% material adhesion without trapped air or early curing. Any adhesive failure due to poor preparation means the entire floor needs to be pulled up and redone.
Does the Risk of DIY Justify the Cost of Professional Installation?
Yes, the risk often justifies the cost. DIY mistakes increase material waste, create dangerous tripping hazards in commercial spaces, and shorten the lifespan of the floor, ultimately costing more than a professional job.
You must view professional installation as an investment, not just an expense. The potential consequences of a bad install far outweigh the money you save upfront doing it yourself.
Typical Cost of Professional Gym Flooring Installation
The cost of installation varies based on complexity and location. This table gives a rough labor-only estimate for common projects:
| Installation Type | Estimated Cost (Labor Only) | Complexity Factor |
|---|---|---|
| Interlocking Tiles (Simple Square) | \$1.00 – \$2.50 per sq. ft. | Low |
| Rolled Rubber (Glue-Down) | \$3.00 – \$5.00 per sq. ft. | Medium/High |
| Multi-Layer System (Shockpad + Top Layer) | \$5.00 – \$8.00 per sq. ft. | High (Requires subfloor prep) |
| Turf/Material Transitions | Varies (Higher on a per linear foot basis) | Very High |
The Pro Advantage is precision planning and cutting layouts to minimize material waste, which can offset a portion of the installation cost. For example, saving just one roll of $500 premium rubber makes the professional labor charge much easier to justify.
Safety, Liability, and Longevity
For a commercial facility, safety is paramount. Lifting edges, bubbling floors, or poorly aligned seams are major tripping hazards. A bad install is a liability risk. Professional teams guarantee their work, ensuring the floor is safe and compliant with all required building standards, giving you peace of mind. A flawless, seamless installation ensures the floor lasts its full expected lifespan, protecting your investment for years.

Quick Reference Checklist: Is Professional Installation Right for Me?
| You Should Hire a Professional If… | You Can Likely DIY If… |
|---|---|
| $\square$ Your room has curved walls or many columns. | $\square$ Your room is a simple, square/rectangular shape. |
| $\square$ You are installing a shockpad/multi-layer system. | $\square$ You are using interlocking tiles/mats for a small area. |
| $\square$ The project involves glue-down rolled rubber or EPDM. | $\square$ No adhesive is required (floating install). |
| $\square$ You need a seamless transition to turf or wood. | $\square$ The area is less than 200 sq. ft. (approx. 18 sq. meters). |
| $\square$ The subfloor needs leveling or moisture remediation. | $\square$ You are willing to accept minor imperfections. |
| $\square$ It is a commercial facility where safety/liability is paramount. |
Frequently Asked Questions (FAQ)
Can I install rubber flooring myself?
You can install non-adhesive, interlocking rubber tiles yourself in small, square rooms with a clean, flat subfloor. Anything involving glue, curves, or subfloor repair needs professional expertise.
How long does professional installation typically take?
For a standard 1,000 sq. ft. gym using rolled rubber, installation usually takes 1 to 3 days, not including the 1-3 days required for proper subfloor preparation and curing time.
Conclusion
Professional installation is an investment that preserves the function, safety, and aesthetic of your entire gym space, especially when complexity in the room or multi-layer systems are involved.
Ready to ensure your gym floor lasts a lifetime? Let my team assess your unique project demands and provide a no-obligation quote or a free sample of the perfect material for your high-performance gym. Contact us today.