
A professional installation requires meticulous subfloor preparation, the right adhesive, a templating method for cutting around obstacles, and leaving a small expansion gap at the walls. This approach ensures a seamless, durable result even in challenging spaces with pillars or irregular shapes.
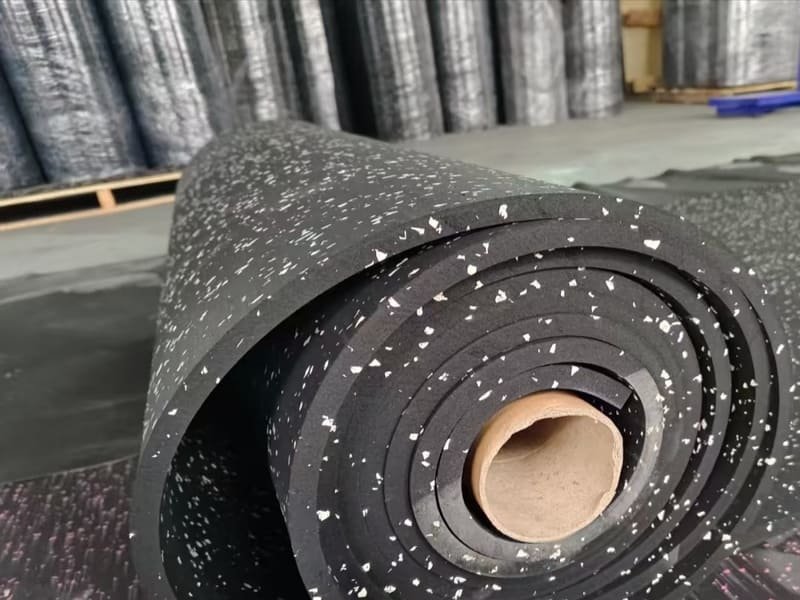
You have selected high-performance rubber roll flooring for its durability…, and now the success of your project depends on the installation. Many people worry about the details. What glue should I use? How do I prepare the subfloor? How do I handle tricky cuts around columns or in odd-shaped rooms? Do I need to leave a gap at the walls? These are the exact questions that separate a DIY look from a professional finish. As installation experts, we created this guide to be your complete blueprint. We will walk you through the essential preparation, tool selection, and step-by-step techniques to get a flawless, long-lasting rubber floor, no matter how complex your space is.
This guide will give you the confidence to tackle the project. We will cover the foundational work that guarantees a great result.
What Preparation is Needed Before Installing Rubber Flooring?
Success depends on four key steps: ensuring the subfloor is clean, dry, and level; allowing the rubber to acclimate for 48 hours; choosing a polyurethane adhesive for a permanent bond; and gathering the essential tools like a sharp utility knife and a 100-lb roller.
The work you do before laying the first roll is the most critical part of the entire process. A perfect installation is built on a perfect foundation.
Subfloor Preparation: The Non-Negotiable First Step
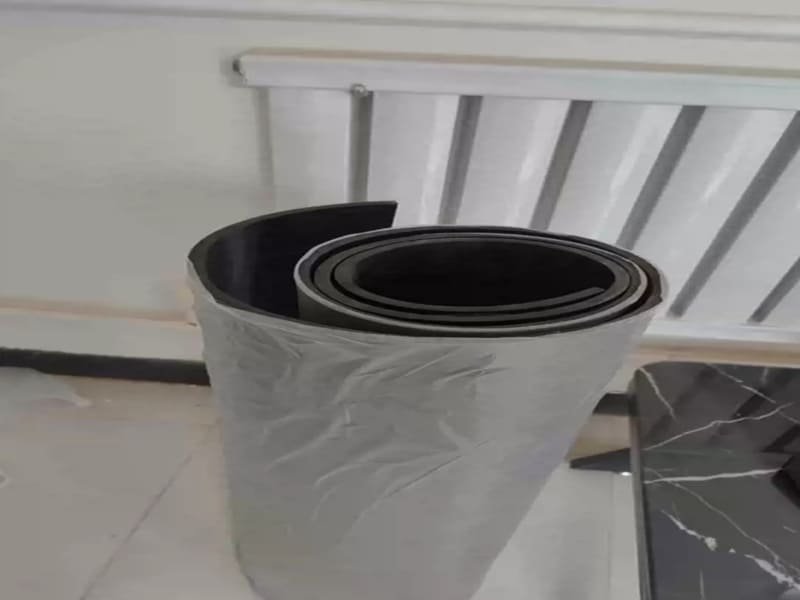
Your subfloor must be completely clean, dry, and smooth. Remove all dust, grease, paint, or old adhesive. For concrete, the moisture level should not exceed 75% RH; if it does, a damp-proof membrane is required before you proceed. Any cracks or bumps greater than 3mm must be fixed with a self-leveling compound, because any imperfection in the subfloor will eventually show through the finished rubber flooring. Finally, unroll the rubber flooring in the installation area for at least 48 hours. This allows the material to acclimatize to the room’s temperature (ideally 18°C-22°C) and humidity, which prevents future expansion or contraction issues.
Adhesive and Tools
For a gym or any high-traffic area, a one-component, moisture-cured urethane adhesive provides the strongest, most durable bond. For temporary or small DIY projects, high-tack double-sided tape can work, but adhesive is the professional standard. Having the right tools is not optional. A sharp blade is the key to clean cuts and preventing damage.
| Tool Category | Specific Items | Purpose |
|---|---|---|
| Measuring & Marking | Measuring Tape, Chalk Line, Straight Edge/T-Square | For accurate room layout and straight cut lines. |
| Cutting | Heavy-Duty Utility Knife (with extra blades), Jigsaw (optional) | For precise cuts through the thick rubber backing. |
| Adhesive Application | Trowel (with correct notch size) | To spread the adhesive evenly. |
| Installation & Finishing | 100-lb Floor Roller, Rubber Mallet | To ensure a strong bond and eliminate air bubbles. |
| Safety Gear | Gloves, Knee Pads | For personal protection during installation. |

Now you are ready to handle the most challenging parts of the installation. Proper technique makes all the difference.
How Do You Cut Rubber Flooring Around Pillars and in Odd Shapes?
Use a cardboard template. First, lay the flooring up to the obstacle and make relief cuts. Then, trace the exact shape of the pillar onto cardboard, transfer that template to the backing of the rubber, and cut carefully with a sharp utility knife.
Cutting for complex areas is where professional installers show their skill. The key is not to rush.
Strategy for Irregular Rooms
Do not just start laying the floor against the longest wall. First, measure your entire space and find a central reference line. Use a chalk line to snap this line down the middle of the main area. You should then dry-lay the first roll along this line without any adhesive. This step is crucial. It lets you see how the flooring will fall throughout the room. It also helps you plan your cuts to minimize waste and avoid leaving small, awkward pieces of flooring against the walls. A little planning here saves a lot of time and material later. This strategy ensures the final layout looks balanced and intentional, even in a room with unusual angles.
The Professional Cutting Technique
Lay the rubber roll flat against the base of the pillar. Make a straight "relief cut" from the edge of the roll toward the center of the column. This lets the material relax and lie flat around the pillar’s sides. Next, create a template. Press a piece of cardboard against the pillar’s base and trace its exact shape. Cut the template out. Place this template onto the backing of the rubber flooring and trace it with chalk. Using a sharp utility knife, carefully cut along the line from the backing side. Always cut slightly inside your line first. You can always trim more off for a perfect fit, but you cannot fix a cut that is too big.
With the complex cuts finished, you can focus on the final details that ensure longevity.
Should You Leave an Expansion Gap for Rubber Flooring?
Yes, a small gap of 3-5 mm is essential. Rubber can expand slightly with temperature changes. Leaving this minimal gap between the flooring and the walls prevents the material from buckling or bubbling over time. This gap is then hidden by baseboards for a clean finish.
The final steps of the installation lock in the durability and professional appearance of your new floor.
The Importance of an Expansion Gap
While rubber is a very stable material, slight thermal expansion can occur. If the flooring is installed tight against all walls and fixed objects, this pressure has nowhere to go. This can cause the floor to develop bubbles or buckles, ruining the smooth surface. The professional solution is simple. We leave a clean, consistent gap of about 3-5 mm around the entire perimeter of the room. This gives the material just enough space to breathe. This small gap is not visible in the final installation. It is easily and neatly covered by wall skirting, baseboards, or transition strips, which gives a clean, finished look without pinning the floor down.
Final Rolling and Curing
You should work in manageable sections. Roll back the positioned rubber sheet. Use your trowel to apply the polyurethane adhesive evenly onto the subfloor. Then, carefully roll the rubber back onto the wet adhesive, working to smooth out any potential air bubbles. As soon as a section is laid, you must use the 100-lb floor roller. Go over the entire surface multiple times and in different directions. This is the most important step for ensuring a strong, permanent bond between the rubber and the subfloor. Finally, allow the floor to cure. Keep all foot traffic off the new floor for at least 24-48 hours. Do not place heavy equipment on it for at least 72 hours so the adhesive can fully harden.
Conclusion
A professional result in a complex room comes from subfloor prep, precise templating for cuts, and leaving a small expansion gap. Patience is key to a durable floor.
Planning a complex installation? Our technical team is here to help. Contact us with your room dimensions for assistance in planning your layout and getting a customized quote. Request a free sample to experience our quality firsthand!