![25[1]](https://meettfit.com/wp-content/uploads/2025/08/251-1.jpg)
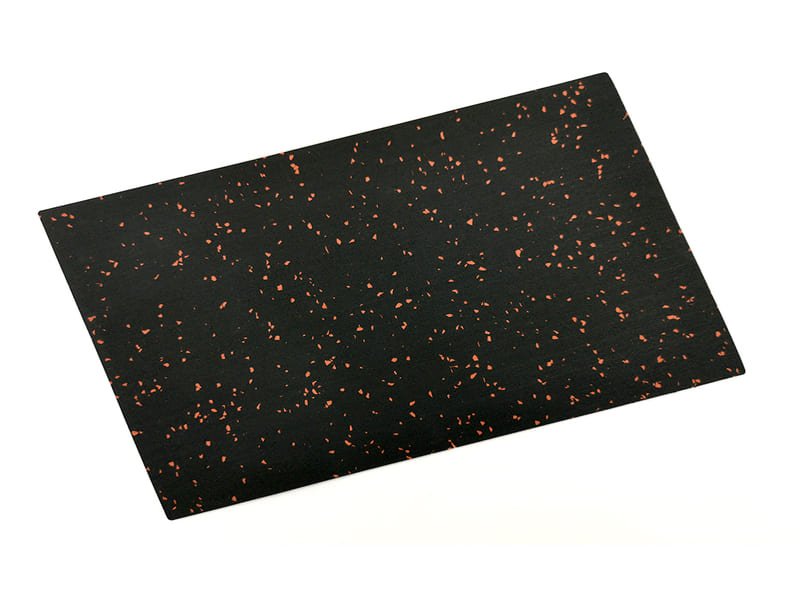
From a physics standpoint, a rubber roll is the optimal material for dissipating force from dropped weights. Its seamless, high-density surface distributes impact over a wider area, fundamentally protecting your subfloor and equipment in a way tiled systems cannot.
As an installation professional, my job is to solve problems before they happen. A home gym floor isn’t a decorative element; it’s a piece of safety equipment. The primary reason to choose a rubber roll comes down to managing point load—the intense, focused force created when a heavy dumbbell or barbell is dropped. A quality roll, manufactured from fine, 22-mesh rubber powder pressed under immense pressure, creates a dense, uniform barrier. This density is key. It prevents the flooring from compressing completely under impact, effectively spreading the force horizontally. This action significantly reduces the pounds per square inch (PSI) pressure exerted on the concrete or wood subfloor beneath, preventing cracks, dents, and long-term structural damage. It’s a functional choice rooted in material science, not just aesthetics.
Choosing the right material is only the first step. The specifications of that material, particularly its thickness and density, will determine its actual performance. Many people make costly mistakes here. To avoid this, we need to move beyond generic advice and look at the specific application and the technical data that truly matters. This ensures your investment is not just adequate, but correct — especially when understanding the different types of commercial rubber flooring rolls available today.
What Thickness and Density Do I Actually Need?
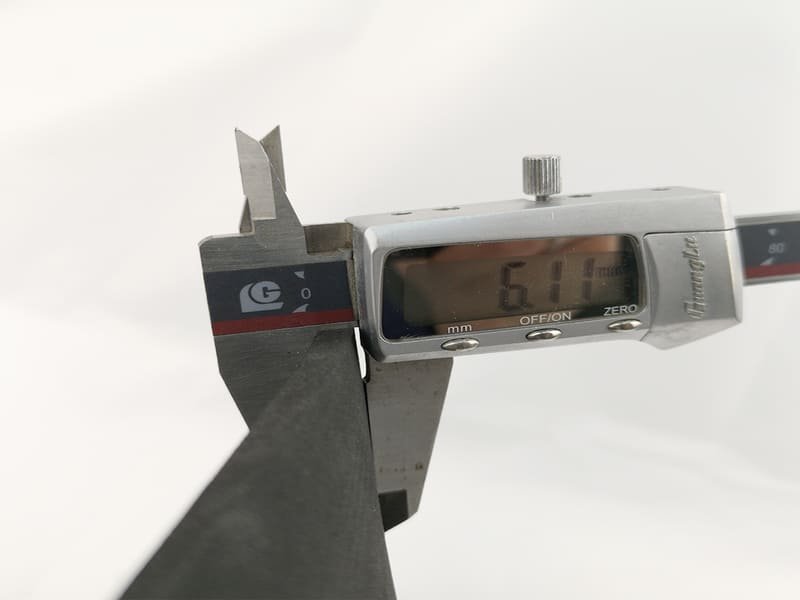
Your required thickness is a direct function of the maximum weight you will drop and from what height. Density, measured by Shore A Hardness, is equally critical; a thin, dense floor can outperform a thick, low-density one.
This is the most critical technical decision. Undersizing your floor will lead to subfloor damage. Here is a realistic breakdown based on field data.
| Thickness | Max Drop Weight | Subfloor Risk | Real-World Use Case |
|---|---|---|---|
| 1/4" (~6mm) | Under 25 lbs | High | Under cardio machines, yoga area (no weight drops) |
| 5/16" (~8mm) | 50-75 lbs | Moderate | General purpose gyms, controlled dumbbell work |
| 3/8" (~9.5mm) | 75-150 lbs | Low | Serious lifting, deadlifts, clean and jerks |
| 1/2" (~12.5mm) | Over 150 lbs | Very Low | CrossFit, Olympic lifting, chronic weight dropping |
Here is the engineering reality: the 8mm roll is the absolute minimum I recommend for any free-weight area. Anything less offers negligible impact protection. For deadlifts, 3/8 inch is your starting point. I have personally seen 1/4 inch flooring laid over a concrete slab that developed hairline fractures after a year of moderate deadlifting. The cost to repair the slab was ten times the savings on the flooring.
Pro-Tip: Ask for the Shore A Hardness Rating
Beyond thickness, ask for the material’s density, specified as its "Shore A" hardness rating. A high-quality gym floor should be in the 60-70A range. A lower number means it’s softer and will indent more easily. A much higher number means it’s too hard and offers less shock absorption. This single technical spec tells you more about the floor’s durability than photos or descriptions ever will.
After specifying the material, the next debate is always form factor: a single, large roll or a puzzle-piece system of interlocking tiles. From a professional standpoint, the choice has clear functional consequences that go far beyond appearance. The integrity of the entire system is at stake.
Are Rubber Rolls Functionally Superior to Interlocking Tiles?
As discussed in whether rolls are better than tiles for gym flooring, from a structural and hygiene perspective, a seamless roll is unequivocally superior. Every seam in an interlocking tile system is a point of failure and a collection point for bacteria, chalk, sweat, and moisture.
While tiles are marketed for easy DIY installation, they introduce dozens, if not hundreds, of weak points into your floor.
| Feature | Rubber Flooring Rolls | Interlocking Rubber Tiles |
|---|---|---|
| Structural Integrity | Monolithic, seamless surface | Multiple seams that can shift or lift |
| Hygiene | Non-porous, easy to sanitize | Seams trap moisture, leading to mold/odor |
| Water Resistance | Highly resistant to spills | Spills seep through seams to the subfloor |
| Durability | No edges to curl or break | Interlocking "teeth" can break under stress |
As an installer, my preference is for rolls in 99% of applications. The reason is simple: longevity and hygiene. I’ve had to remove tile floors that were only a few years old because the smell of trapped sweat and mildew became unbearable. The liquid seeps through the seams, gets trapped underneath, and you can’t clean it. Furthermore, under heavy lateral force (like pushing a weighted sled), tile seams can buckle or shift. The "teeth" of the interlocks are the weakest part of the system and can snap. A properly installed rubber roll becomes a single, monolithic surface. It provides a consistent, stable, and sanitary foundation that tiles simply cannot replicate over the long term.

The biggest argument for tiles is ease of installation. However, installing a rubber roll is not as difficult as it seems if you follow the same procedures a professional does. It’s a matter of preparation and using the right tools for the job, not a matter of superhuman skill.
Can I Achieve a Professional Installation Myself?
Yes, if you are meticulous about three key areas: subfloor preparation, acclimatization, and the cutting/seaming technique. Rushing any of these steps is what separates a DIY result from a professional one.
Here is the no-fluff process I follow on every job.
1. Subfloor Reality Check
Your floor is only as flat and stable as the surface beneath it. You must sweep and then vacuum the subfloor until it is surgically clean. Run your hand over the surface; if you can feel grit, it’s not clean enough. For concrete slabs, tape a 2’x2′ square of plastic sheeting to the floor for 24 hours. If you see condensation when you lift it, you have a moisture issue that must be addressed with a sealer first.
2. The Acclimatization Non-Negotiable
Unroll the rubber in the installation room for a full 48 hours. I cannot stress this enough. The material needs to reach thermal equilibrium with the room. Installing a cold, contracted roll will result in it expanding in the heat, causing waves and buckles that are impossible to fix without re-doing the entire job.
3. Cutting and Seaming Like a Pro
Forget standard utility knives. Go to a hardware store and buy a hooked flooring knife (or linoleum knife). The hooked blade is designed to cut flooring materials without skipping, providing a much cleaner and safer cut.
- For Tight Seams: Overlap the edges of two adjacent rolls by about an inch. Place a metal straightedge down the center of the overlap. Using your flooring knife, press firmly and cut through both layers at the same time. Remove the two cut-off strips (one from the top, one from the bottom). The two new edges will now butt up against each other perfectly. This is called a "double-cut" seam, and it’s the secret to an invisible, professional finish.
Once your floor is down, its lifespan is determined by your maintenance routine. Using the wrong products can actively destroy the floor from the top down. This is not an exaggeration; it’s a chemical reaction.
How Do I Clean My Floor Without Damaging It?
Use a vacuum with a beater-bar disengaged, followed by a damp mop with a pH-neutral cleaner only. Any cleaner containing petroleum solvents, citrus oils, or acetone will slowly dissolve the polyurethane binders holding the rubber granules together.
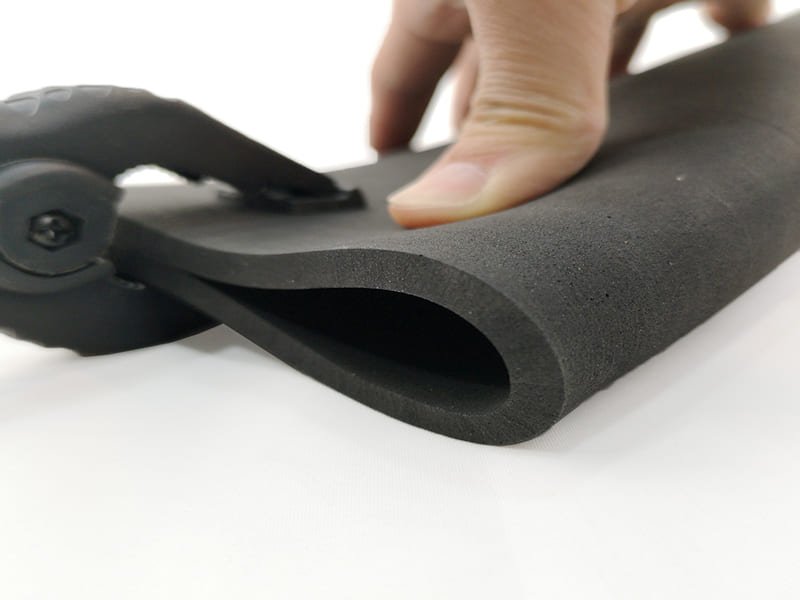
This is a critical point that most manufacturers don’t explain well. Recycled rubber flooring is made of rubber granules held together by a strong polyurethane adhesive. It is a stable, durable composite.
| Cleaning Agent | Effect on Rubber Flooring | Recommendation |
|---|---|---|
| pH-Neutral Cleaner | Safely cleans surface grime | Highly Recommended |
| Water (minimal amount) | Safe for surface cleaning | Highly Recommended |
| Bleach, Ammonia | Can discolor and weaken binders | Avoid |
| Solvent/Degreaser | Chemically attacks and dissolves binders | NEVER USE |
The worst thing you can do is use a common "degreaser" or all-purpose cleaner from a big box store. Many contain petroleum distillates that will chemically attack the polyurethane. At first, you won’t notice anything. But over months and years, the floor will become brittle, the surface will start to shed granules, and its resilience will be lost. You are literally dissolving your floor. Stick to a simple routine: vacuum up the chalk and grit, then wipe with a well-wrung-out mop using water and a few drops of a certified pH-neutral floor cleaner. That is all you need.
Conclusion
A rubber roll is a technical piece of equipment. Choosing the right specs and installing it correctly ensures maximum safety, hygiene, and longevity for your gym.
Your home gym is a serious investment. Ensure its foundation is built on proven material science and professional installation standards. My team can provide technical specifications and guidance for your project. Contact us for a project quote or to receive certified material samples.