


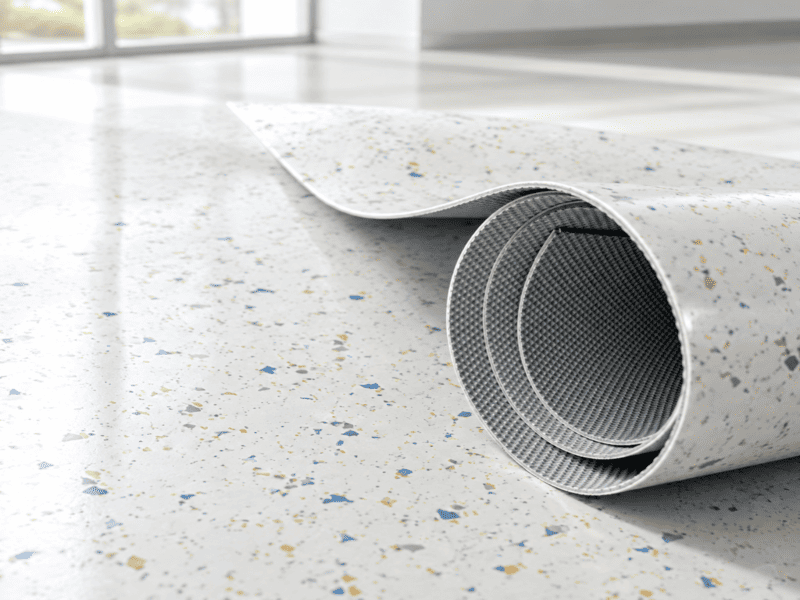
The best layout keeps the floor box inside one continuous sheet. Avoid running a seam through the box opening or into a box corner unless the flooring and box makers approve that detail. Lay out the rolls first, then fit the opening step by step.
Floor boxes hold power, data, or AV connections, so the room needs them. But sheet vinyl is a continuous, flexible surface, and a floor box cuts a hole in the middle of it. That hole is where I see most problems: cuts that run too large, edges that lift, ridges that show, and seams that open under traffic.
My approach has three priorities. First, I try to place the box inside one full sheet. If I cannot, I move the seam away from the opening and the box corners. If a seam must still come close, I follow the written detail from the flooring maker and the floor box maker, not a rule I made up on site. Two sets of instructions apply here, and I need to meet both. [Add personal story: a job where a floor box caused a callback]
Let me start with what I check before I plan any layout.
What Should I Check Before Planning the Layout?
Check four things: the floor box design, the cover and flange details for sheet vinyl, the real roll width of your product, and the conditioning rules from the flooring maker. These four points decide where seams go and how large the cutout can be.
I read the paperwork before I touch a knife. A good layout starts with facts about the box and the vinyl, not guesses.
Floor Box Features That Change the Layout
Many people sort boxes as "recessed or raised" or "commercial or residential." Those groups mix design with use. I find it more useful to sort by the features that change how I cut and finish the vinyl.
| Floor Box Feature | Why It Matters to Sheet Vinyl |
|---|---|
| Flush cover with perimeter flange | Sets the cutout size and how much edge the flange covers |
| Floor-covering insert lid | May need a separate piece of vinyl cut to fit |
| Flangeless or trimless design | Needs very exact coordination with the finished floor |
| Adjustable-height box | Must be set to the final finished-floor height |
| Gasketed or scrub-water cover | Affects protection from cleaning water |
| Heavy-duty, rolling-load cover | Matters where carts and equipment cross the box |
Verify the Cover Before You Cut
Before I cut any vinyl, I confirm that the floor box cover, the flange, and the finished-floor detail suit sheet vinyl and follow the box maker’s installation instructions. A cover designed for carpet, tile, wood, or another finish should not be assumed to work with sheet vinyl.
Roll Width and Conditioning
Roll widths vary by maker and product, so I check the specified roll width before I set the seam plan. I also condition the vinyl and the jobsite for the time and temperature the flooring maker requires. I do not assume every product needs the same period.
With these facts in hand, I can choose the layout.
Which Layout Works Best Around a Floor Box?
Put the box inside one continuous sheet when the roll width and room shape allow it. If not, move seams away from the opening and its corners. For complex rooms, use a paper pattern or box template.
Roll width and room shape drive this choice. I rank my options in three steps, from best to last resort.
Priority 1: One Sheet Around the Box
If one roll covers the box area, I plan the layout to keep it that way. Keeping the box inside one sheet removes an extra seam next to an area the floor box already interrupts. In rooms with a regular box grid, I check each box position against the roll edges before I cut anything.
Priority 2: Seams Clear of the Opening and Corners
When one sheet cannot cover every box, I shift the seam so it misses the opening. I pay most attention to the box corners. A seam that runs into a corner can take stress from foot and wheel traffic every day. I leave as much uninterrupted sheet around the box as the layout allows. This is a job-specific choice, not a universal distance rule.
Priority 3: Follow the Approved Detail
If a seam must pass close to a box, I look for an approved detail from the flooring maker and the box maker. If I cannot find one, I ask both before I start.
| Situation | What I Do |
|---|---|
| One roll covers the box | Keep the box inside one sheet |
| Seam would hit the opening | Shift the seam or re-plan the roll direction |
| Seam must stay close | Follow the approved maker detail |
Templates for Complex Rooms
For rooms with several floor boxes or tight details, I may make a paper pattern or a dedicated box template and dry-fit it before I cut the vinyl. On simpler jobs, I may scribe or hand-fit the sheet. A sheet costs far more than felt paper, so I use a template whenever the risk of a bad cut is high.
The next question is where each seam should land.
Where Should I Place Seams Near a Floor Box?
Keep seams out of the box opening and away from box corners whenever the layout allows. Follow the flooring maker’s seam rules, including distances from substrate joints, and plan seams around traffic stress, not just the box.
Seam placement causes many callbacks, so I plan it before I plan the cuts.
Why the Box Edge Is a Weak Point
A floor box opening breaks the flooring system. Foot and rolling traffic crossing that edge can put stress on a poorly supported cut or on a seam nearby. Most of the damage I see comes from a few causes: a frame at the wrong height, weak support at the edge, an opening cut too large, poor adhesive transfer, or a cover not made for the floor finish.
Seam Rules From the Maker
Flooring makers give clear seam rules for some things. For example, some Forbo guides call for seams to sit at least 6 inches from underlayment or concrete joints. That rule covers substrate joints, not floor boxes. So I read the guide for the exact product and follow it.
Traffic Stress
I consider how foot and rolling traffic will cross the box and nearby seams. Where possible, I avoid placing seams where repeated turning, rolling loads, or concentrated traffic will stress the seam or the box edge. I also balance this with the pattern, the roll direction, and the lighting in the room.
| Seam Concern | My Approach |
|---|---|
| Seam through the opening | Avoid unless the makers approve a detail |
| Seam into a box corner | Shift the seam |
| Seam near a substrate joint | Follow the maker’s minimum distance |
| Seam in a high-stress traffic zone | Re-plan the seam location if practical |
After I set the seams, I move on to the cut.
How Do I Cut and Fit Sheet Vinyl Around a Floor Box?
Set the box to the finished-floor height, template the opening, cut small and enlarge it slowly, spread adhesive around the box, and roll the sheet with the weight the maker requires. Never cut past the flange cover.
I use the same order on every job. A steady routine gives steady results.
Step 1: Set the Box Height
The box frame, trim ring, or extension must bring the finished cover to the planned finished-floor height. I follow the box maker’s instructions here. The key point is the finished floor plane, not just the underlayment.
Step 2: Template and Map
I trace the box outline and move it to the vinyl with exact measurements. I check twice before I cut once.
Step 3: Cut Small, Then Enlarge
For many box shapes, I start with a small central relief opening and enlarge it toward the frame. The best order depends on the box shape and on whether I hand-fit, pattern, or scribe the sheet. My rule stays the same: undersize first, fit often, and never go past what the flange covers.
Step 4: Adhesive and Rolling
I spread adhesive fully around the box and follow the open time on the label. Dry spots cause curling. I roll the sheet with the roller weight that the flooring and adhesive makers specify. Many commercial sheet vinyl systems call for a 100 lb roller, but I check the guide each time.
Step 5: Trim Ring and Flange
I tuck or trim the vinyl as the box design and the flooring maker allow.
Once the sheet is down, the edges need the right finish.
How Should I Seam, Seal, and Protect the Edges Around a Floor Box?
Use the seam method the maker specifies for your product: heat weld, chemical weld, or approved sealer. Treat any perimeter sealant as an add-on. It does not replace the box maker’s gasket, flange, or listed water protection.
This is the part where I see the most wrong assumptions.
Choosing a Seam Method
Do not pick heat welding or chemical welding based only on whether the room is commercial or residential. Some commercial sheet products use chemical seam sealers. Others call for heat welding, often after the adhesive has set. Healthcare, wet areas, and hygiene-critical rooms may add more seam rules. I follow the spec for the exact product and project.
| Factor | What Decides the Method |
|---|---|
| Product | The flooring maker’s installation guide |
| Project spec | The architect’s or owner’s requirements |
| Room use | Hygiene and wet-area demands |
Who Protects the Box From Water?
A well-made seam gives a sealed surface when it is installed correctly. But it does not make the whole floor box watertight. Water protection of the electrical assembly depends on the box maker’s listed cover, gasket, plugs, and installation requirements. Some covers include a scrub-water gasket for this reason.
Any sealant I add around the box must work with both the vinyl and the box. It does not replace the box maker’s required parts. My job is to prevent cleaning water from moving under the flooring at the cut edge.

Even careful installers make errors, so let me cover the common ones.
What Mistakes Happen Around Floor Boxes and How Do I Fix Them?
The common mistakes are overcutting the opening, bubbles near the edge, and a box set at the wrong height. Find the cause first, then use the repair method that the flooring maker approves.
I have made each of these mistakes, and each one taught me something. [Add personal story]
Mistake 1: Overcutting the Opening
If the opening runs past the cover flange, I do not use seam sealer as a filler. Seam sealer is made for properly formed seams, not for hiding a large cut. I first check whether the box maker offers a larger flange. If not, I repair or replace the affected flooring using the approved procedure.
Mistake 2: Bubbles Near the Box Edge
Bubbles can come from trapped air, weak adhesive transfer, long open time, moisture, or dirt. First I find the cause. A small local bubble may allow an approved injection or heat-repair method. A moisture problem or a wide adhesive failure needs a different fix. I do not slit the sheet until I confirm the approved procedure, because a slit can add a visible repair or a new path for water.
Mistake 3: Wrong Box Height
If the box does not match the final floor height, the trim ring sits too high or too low. I confirm the finished-floor height before I set the box, and I adjust the frame or extension as the box maker requires.
| Mistake | Common Cause | Better Response |
|---|---|---|
| Opening too large | Cutting too fast | Check for a larger flange, then use an approved repair |
| Bubble at the edge | Air, adhesive, moisture, or dirt | Find the cause, then use the approved repair |
| Wrong box height | Floor height not planned | Reset the box to the finished-floor plane |
A good install must also stay easy to service.
How Do I Keep a Floor Box Accessible After Install?
Plan the layout so a technician can reach the box without cutting the vinyl. Keep seams away from the cover, choose a cover that lifts out, and keep a record of box positions and details.
Floor boxes get serviced. Wiring changes, AV gear gets updated, and covers wear out. I plan for that from day one.
Design for Access
I keep the vinyl edge tight to the flange and make sure the cover or trim part can be lifted using the box maker’s method. That way, a technician can open the box without a new cut in the sheet.
Replacing Covers
Before I order a new cover, I measure the old one and the opening. A cover with the same flange size will cover the same cutout. A smaller one will show the old edge, and a different design may need a different cutout. I also check that the new cover suits sheet vinyl.
Keep Records
I note box positions, seam locations, and the cover model in the job file. Future crews can then see what is under the floor and how it was built.

Conclusion
Keep the box inside one sheet, keep seams off the opening and corners, and follow both the flooring maker and the box maker. Template where needed, cut once.
Have a floor box layout you are unsure about? Send me a private message with your room size, roll width, product name, and box model, and I will help you plan it.