Aby poradzić sobie z pochyłą podłogą siłowni garażowej, należy zmierzyć nachylenie, a następnie Wybór najprostszego bezpiecznego rozwiązania który pasuje do Twojego stylu treningu, budżetu i potrzeb związanych z odwadnianiem, zwykle zaczynając od zmian w układzie i małej platformy poziomej.
Cały czas pracuję z pochyłymi podłogami garażowymi. Beton nie jest "zły"; jest ukształtowany tak, aby wysyłać wodę w kierunku drzwi lub odpływu. To samo nachylenie, które utrzymuje dom w suchości, jest powodem, dla którego sztanga się toczy, a postawa jest skręcona. W tym poradniku wypowiadam się jako specjalista od projektów podłóg do siłowni. Pokażę ci, jak przetestować podłogę, zdecydować, czy nachylenie jest kwestią komfortu, czy prawdziwym zagrożeniem dla bezpieczeństwa, a następnie wybrać między tanimi podkładkami, platformą podnoszącą DIY, niewielkim podniesionym podłożem lub poważniejszymi pracami betonowymi. Mój cel jest prosty: po przeczytaniu tego poradnika będziesz wiedzieć, co robić dalej, a nie tylko dlaczego podłoga jest zła.
Jeśli będziesz postępować zgodnie z tymi krokami, przestaniesz zgadywać i zaczniesz traktować swoją podłogę jak ograniczenie projektowe, które możesz obejść w jasny, kontrolowany sposób.
Jak sprawdzić, czy nachylona podłoga w garażu rzeczywiście stanowi problem?
Można to sprawdzić, wykonując szybkie testy toczenia, a następnie mierząc różnicę wysokości w głównej strefie podnoszenia za pomocą poziomicy lub lasera.
Oto kompaktowa lista kontrolna:
| Sprawdź typ | Co robisz | Co ci to mówi? |
|---|---|---|
| Test przechyłu drążka | Połóż pusty pręt na podłodze | Kierunek i siła nachylenia |
| Butelka / piłka | Umieść butelkę lub piłkę w różnych miejscach | Lokalne spadki, garby lub zmiany kierunku |
| Poziomica bąbelkowa | Użyj poziomu 4-6 stóp w obszarze regału | Orientacyjna wielkość nachylenia |
| Laser + taśma | Zmierz wysokość podłogi na obu końcach platformy | Dokładna różnica wysokości w mm lub cm |
W prawdziwych projektach zaczynam od wyczucia. Kładę pusty drążek w miejscu, w którym może znajdować się stojak. Jeśli sam się toczy, nachylenie już wpływa na trening. Następnie umieszczam do połowy pełną butelkę lub małą piłkę w pobliżu drzwi, tylnej ściany i odpływu, aby sprawdzić, czy zawsze toczy się w ten sam sposób, czy też występują garby. Następnie przechodzę do narzędzi. Ustawiam poziomicę bąbelkową na wysokości 4-6 stóp z przodu do tyłu i z boku na bok w obszarze podnoszenia. Jeśli pęcherzyk mocno przylega do jednej linii, zaznaczam ją i nazywam prawdziwym nachyleniem. Aby uzyskać dokładne liczby, ustawiam laser na jednej krawędzi przyszłej platformy i mierzę w dół do podłogi z przodu i z tyłu. Spadek o 20 mm na odcinku 2,4 m mówi mi, ile podkładki potrzebuję pod dolną krawędzią. Mając zapisane te liczby, mogę zdecydować, czy podłoga jest "irytująca, ale do opanowania", czy "niebezpieczna do ciężkiej pracy ze sztangą bez poprawki".
Jeśli pominiesz ten krok, możesz albo przesadzić i przesadzić z wydatkami, albo niedostatecznie zareagować i nadal wykonywać ciężkie przysiady na powierzchni, która cicho skręca stawy podczas każdej sesji.
Jak dopasować poprawkę do treningu i przestrzeni?
Powinieneś wybrać rozwiązanie w oparciu o to, jak dużo podnosisz, jak trwała powinna być siłownia, jaki masz budżet i czy nadal musisz parkować samochód w garażu.
Użyj tej prostej matrycy:
| Pytanie | Jeśli to ty... | Dobry pierwszy wybór |
|---|---|---|
| Czy podnosisz ciężkie sztangi? | Głównie hantle / cardio | Minimalne poprawki + inteligentny układ |
| Ciężkie przysiady / martwy ciąg / olimpijskie | Pozioma platforma co najmniej | |
| Wynajmujesz czy posiadasz? | Najemca | Odwracalna platforma / płytki modułowe |
| Właściciel, długoterminowy | Platforma lub podniesione podłoże | |
| Czy parkujesz samochód w środku? | Tak | Rozwiązania częściowe lub ruchome |
| Nie | Każde rozwiązanie, pełna siłownia jest możliwa |
W przypadku nowych klientów zawsze zadaję pytania treningowe przed pytaniami konstrukcyjnymi. Ktoś, kto kocha ogólną sprawność, obwody i lekkie hantle, może żyć z łagodnym nachyleniem, jeśli umieścimy sprzęt w najlepszych strefach i wypoziomujemy stopy. Trójboista siłowy lub ciężarowiec nie może. Potrzebują co najmniej jednej równej powierzchni, na której postawa i ścieżka drążka nie są zniekształcone. Następnie patrzę na trwałość. Najemca może nie chcieć podwyższonego podłoża, ale właściciel domu, który planuje zostać dziesięć lat, może dostrzec wartość w bardziej "studyjnej" podłodze. Kwestia samochodu jest ostatnia: jeśli garaż jest nadal garażem, utrzymujemy jedną wnękę w większości otwartą i projektujemy kompaktowe lub ruchome konstrukcje. Gdy odpowiedzi są jasne, właściwy poziom interwencji zwykle staje się oczywisty, a my unikamy zarówno nadbudowy, jak i niedoróbek.
Jak można pracować na zboczu, stosując proste, niedrogie rozwiązania?
Możesz pracować z nachyleniem poprzez inteligentne rozplanowanie, wypoziomowanie każdego elementu wyposażenia i użycie gęstych mat i ramp, aby wygładzić małe zmiany zamiast przebudowywać całą podłogę.
Oto praktyczny zestaw narzędzi minimal-fix:
| Obszar | Co robisz | Dlaczego to pomaga |
|---|---|---|
| Układ | Rack w najbardziej płaskiej strefie, cardio w bardziej stromych strefach | Zapewnia bezpieczeństwo najbardziej wymagającym windom |
| Stojak / ławka | Użyj regulowanych nóżek lub solidnych podkładek pod słupki | Usuwa kołysanie i skręcanie |
| Maszyny / cardio | Wypoziomuj poszczególne nóżki, w razie potrzeby dodaj małe podkładki. | Zmniejsza obciążenie silnika i ramy |
| Powierzchnia podłogi | Zainstalować gumowe płytki o gęstości 15-20 mm | Zwiększa przyczepność i łagodzi drobne nierówności |
| Przejścia | Dodaj fazowane rampy na krawędziach maty | Zmniejsza ryzyko potknięcia i poprawia wygląd |
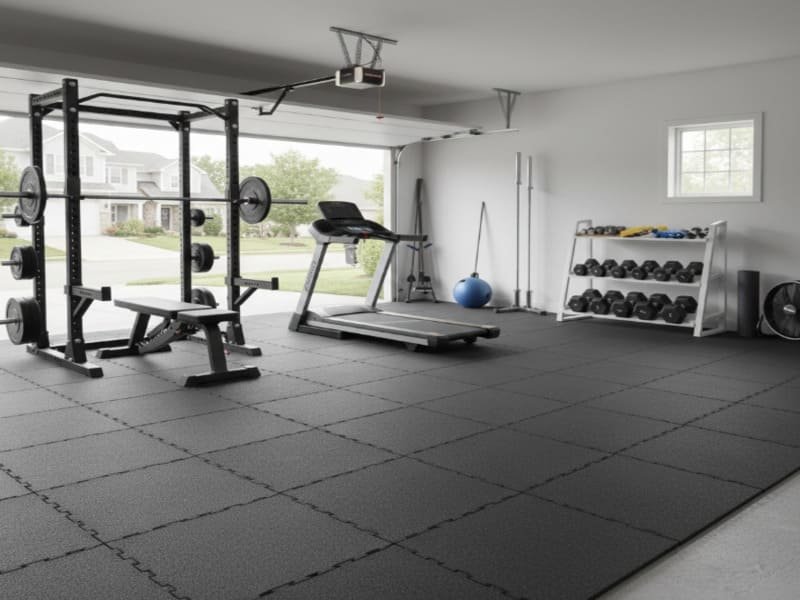
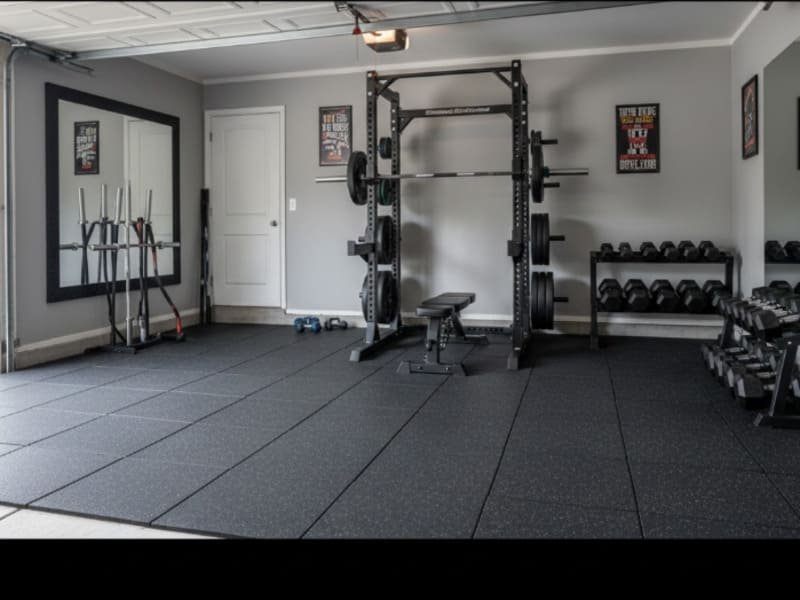
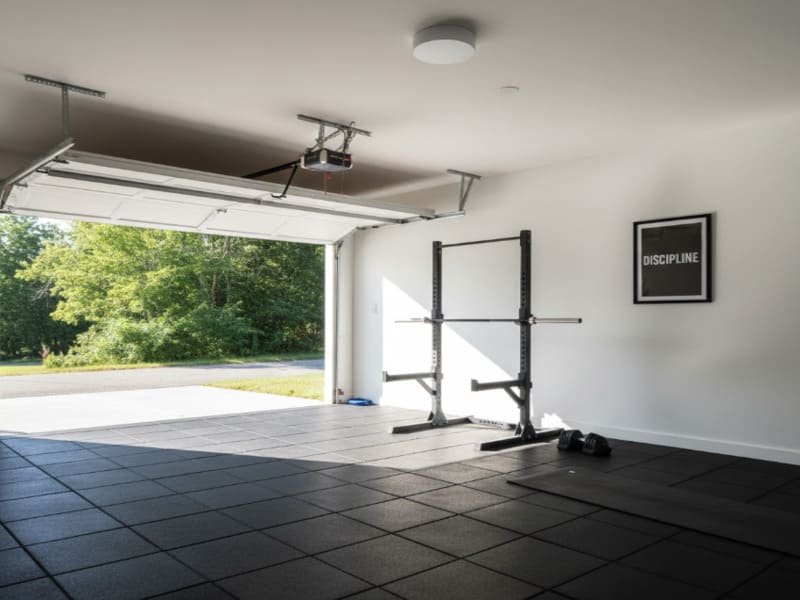
W praktyce najpierw mapuję, gdzie podłoga jest najspokojniejsza. Tam właśnie znajduje się stojak. Bieżnie, rowery i wioślarze mogą znajdować się w nieco bardziej stromych strefach, ale zawsze dostosowuję ich stopy, aż rama będzie stabilna. Pod słupkami stojaków i stopami ławek używam podkładek z litej gumy lub kompozytu, a nie kawałków drewna lub miękkiej pianki. Miękka pianka kompresuje się bardziej po niskiej stronie i może pogorszyć nachylenie. Lubię gęste gumowe płytki w zakresie 15-20 mm na głównym torze treningowym, ponieważ ukrywają drobne defekty, zapewniają przyczepność i redukują hałas bez uczucia odbijania. Tam, gdzie potrzebuję dodatkowej wysokości, mogę ułożyć drugą warstwę na małym obszarze, a następnie wyciąć ścięty kawałek rampy, aby stopień nie był nagły. W wielu lekkich i umiarkowanych konfiguracjach treningowych wystarczy to, aby siłownia była bezpieczna i stabilna bez dotykania betonu lub budowania projektów stolarskich.
Jak zbudować poziomą platformę podnoszącą na pochyłej podłodze garażu?
Poziomą platformę podnoszącą buduje się, tworząc prostą skrzynkę z impregnowanego drewna, podkładając ją do poziomu, a następnie mocując sklejkę i gumę na górze zgodnie z jasną podstawową sekwencją.Podejście to jest zgodne z tą samą logiką strukturalną używaną podczas Instalacja podłogi domowej siłowni na betoniegdzie poziomowanie, kontrola oparów i rozkład obciążenia mają większe znaczenie niż materiały powierzchniowe.
Niezbędna platforma (około 8′ x 8′ / 2,4 m x 2,4 m)
| Pozycja | Typowa specyfikacja | Użycie |
|---|---|---|
| Poddana obróbce tarcica 2×4 / 2×6 | Dla ramy zewnętrznej i podkładów poprzecznych | Struktura podstawowa |
| Arkusze sklejki | 2 warstwy, 18-19 mm (3/4") | Pokład platformy pod gumą |
| Maty gumowe lub maty na stragany | 3/4" (około 18-20 mm) | Boczne strefy zrzutu |
| Podkładki kompozytowe | Mieszane grubości do ~25 mm | Wypełnienie szczelin między ramą a betonem |
| Śruby | 2,5"-3" dla ramy, 1,5"-2" dla sklejki | Mocne, zdejmowane zapięcie |
| Arkusz foliowy (opcjonalnie) | Tworzywo sztuczne 6 mil | Paroizolacja na wilgotnych płytach |
Prosta sekwencja kompilacji
-
Zmierz nachylenie na całej powierzchni platformy.
Zwróć uwagę, ile milimetrów dolna strona znajduje się poniżej górnej. -
Zaznacz obszar platformy.
Przyklej taśmą kwadrat o wymiarach 8 x 8 cali na podłodze w miejscu podnoszenia. -
W razie potrzeby ułożyć paroizolację.
Rozłóż folię na zaznaczonym obszarze, jeśli obawiasz się wilgoci. -
Zbuduj ramę zewnętrzną.
Wytnij i przykręć zaimpregnowaną tarcicę do kwadratu lub prostokąta, który pasuje do obrysu taśmy. -
Wyrównaj ramę do poziomu.
Wsuń podkładki kompozytowe pod niskie krawędzie. Zacznij od narożników, a następnie dodawaj podkładki co około 30-45 cm. Użyj poziomicy na górnej części ramy, aż będzie wypoziomowana w obie strony. -
Dodaj podkłady poprzeczne.
Zamontuj poprzeczki 2×4 wewnątrz ramy w odstępach 40-45 cm. Jeśli podkład znajduje się nad niską łatą, dodaj pod nim małą podkładkę, aby rozłożyć obciążenie. -
Sprawdź ponownie poziom.
Przesuń poziom dookoła. Jeśli zauważysz niski pasek, dodaj cienką podkładkę pod podkład i sprawdź ponownie. -
Zainstalować sklejkę.
Ułóż pierwszą warstwę sklejki, przykręć ją do podkładów, a następnie dodaj drugą warstwę z przesuniętymi szwami i przykręć ją. Dzięki temu platforma będzie solidna. -
Dodaj gumową powierzchnię.
Wytnij gumowe maty na lewą i prawą stronę. Możesz zostawić drewniany pasek pośrodku, jeśli chcesz poczuć, że podnosisz, lub pokryć wszystko gumą. -
Test na obecność skał i hałasu.
Stań, skocz i opuść pusty drążek. Platforma nie powinna się kołysać ani skrzypieć.
Podkładki można traktować jako małe kliny, które utrzymują ramę w miejscu, gdzie beton się obniża. Na łagodnych zboczach wystarczy kilka podkładek z każdej strony. Na mocniejszych zboczach można połączyć podkładki z "stożkowym podkładem" wyciętym z 2×4, aby górna część pozostała pozioma na dłuższym odcinku, a obciążenie rozkładało się bardziej równomiernie.
Jeśli zależy Ci na ciężkich przysiadach i martwym ciągu, ta jedna platforma jest zazwyczaj najlepszym ulepszeniem, jakie możesz wykonać na pochyłej podłodze garażu.
Kiedy należy wejść na podwyższone podłoże lub beton?
Powinieneś przejść na podniesione podłoże lub betonową konstrukcję, jeśli chcesz, aby większość garażu była płaska, nachylenie jest mocne i postrzegasz to jako długoterminową siłownię, a nie tylko tymczasową konfigurację.
Oto proste porównanie:
| Opcja | Najlepsze dla | Kluczowe uwagi |
|---|---|---|
| Podniesione podłoże | Duża strefa siłowni z atmosferą studia | Podkłady + podkładki + sklejka + powierzchnia do ćwiczeń |
| Modułowe panele podłogowe | Konstrukcje odwracalne lub przystosowane do wynajmu | Szybsza instalacja, wyższy koszt materiałów |
| Szlifowanie / samopoziomowanie | Naprawianie umiarkowanych nachyleń i wysokich punktów | Wymaga starannego przygotowania i planu drenażu |
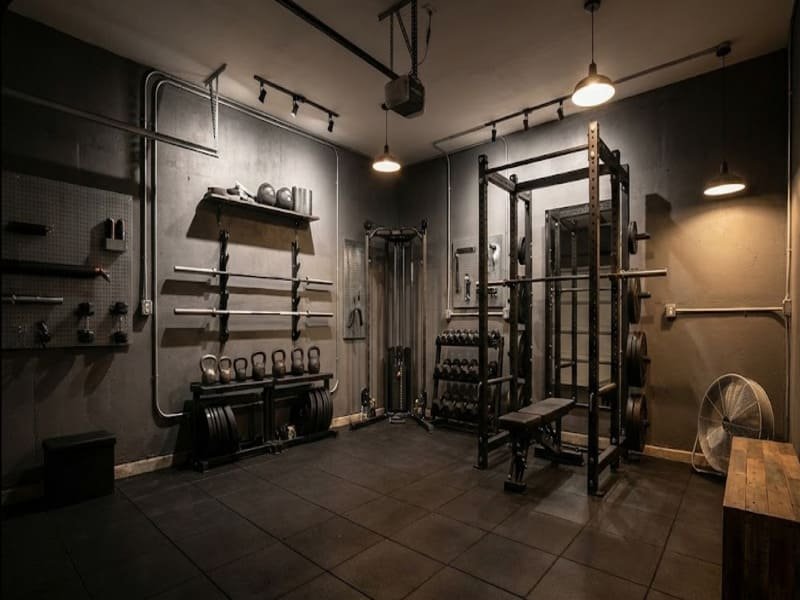
W wielu większych projektach używam podniesionego podłoża tylko w połowie garażu. Montuję podkłady kolejowe w odstępach 40-60 cm, podkładam każdy podkład, aż górne krawędzie są wypoziomowane, a następnie przykręcam sklejkę i wykańczam gumą lub PVC. Tworzy to płaski, ciepły i cichy obszar treningowy, ale zachowuje oryginalną płytę i wzór drenażu pod nią. Panele modułowe mogą odgrywać podobną rolę, jeśli chcesz mieć coś, co możesz później usunąć. Gdy sam beton jest szorstki lub ma duże garby, rozmawiam z zespołem betoniarskim o szlifowaniu i ograniczonych pracach samopoziomujących, ale zawsze pytam, jak woda będzie się poruszać po zmianie. Sugeruję większe stopnie tylko wtedy, gdy właściciel jest zaangażowany w przestrzeń na dłuższą metę, a nachylenie lub rozmiar siłowni sprawiają, że pojedyncza platforma wydaje się zbyt mała.
Jak zarządzać sprzętem, hałasem i układem na pochyłej podłodze garażu?
Zarządzasz nimi, kontrolując rolki prętów i talerzy, poziomując maszyny, używając platform i gumy w celu zmniejszenia hałasu oraz dzieląc układ na strefy, aby siłownia i samochód mogły dzielić przestrzeń w razie potrzeby.
Oto krótki podręcznik:
| Temat | Proste działania |
|---|---|
| Sztangi i talerze | Użyj klinów na drążku, martwych ciągów, stabilnych drzewek z talerzami |
| Maszyny cardio | Wypoziomuj nóżki, w razie potrzeby dodaj cienkie podkładki |
| Intensywne użytkowanie paska | Wykonuj maksymalną pracę na platformie, a nie na gołym betonie |
| Hałas / wibracje | Używaj platform, gęstej gumy i crashpadów |
| Układ | Stojak w najbardziej płaskiej strefie, wolna droga dla samochodów, jeśli jest współdzielona |
W moich instalacjach dodaję małe kołyski na pręty, w których podnośniki ładują talerze, aby pręty nie staczały się. Wolę pionowe drzewka na talerze lub kołki ścienne niż wózki na kółkach, które mogą się obracać na zboczu. W przypadku bieżni i rowerów reguluję każdą stopę, aż rama będzie stabilna. W przypadku poważnej pracy ze sztangą, proszę osoby podnoszące ciężary o korzystanie z platformy lub podwyższonego podłoża, a nachylony beton zachowuję do lżejszych zadań. Jeśli chodzi o hałas, łączę solidną platformę, gumowe płytki i crashpady, aby uderzenia nie przedostawały się przez płytę do domu. We wspólnej przestrzeni upewniam się również, że jest wolna droga dla samochodu i używam składanych stojaków lub ławek na kółkach, aby siłownia mogła się przemieszczać w razie potrzeby.

Gdy zajmiesz się tymi szczegółami, Twój garaż pod skosem przestanie wydawać się kompromisem i zacznie działać jak zaplanowana sala treningowa, która pasuje do Twojego prawdziwego życia.
Podsumowanie - Wybierz odpowiednią poprawkę i buduj z prostym planem
Nachylona podłoga garażu może stanowić podporę dla bezpiecznej, solidnej domowej siłowni, jeśli zmierzysz nachylenie, dopasujesz poprawkę do treningu i przestrzeni oraz zastosujesz się do jasnego, prostego planu budowy podkładek, platformy lub niewielkiego podniesionego podłoża.
Wezwanie do działania
Skontaktuj się z nami, aby uzyskać niezobowiązującą konsultację, niestandardową wycenę lub bezpłatny zestaw próbek. Jesteśmy gotowi działać jako partner techniczny, a nie tylko dostawca, i pomóc w przekształceniu trudnego pochyłego garażu w bezpieczną, długoterminową przestrzeń treningową.