


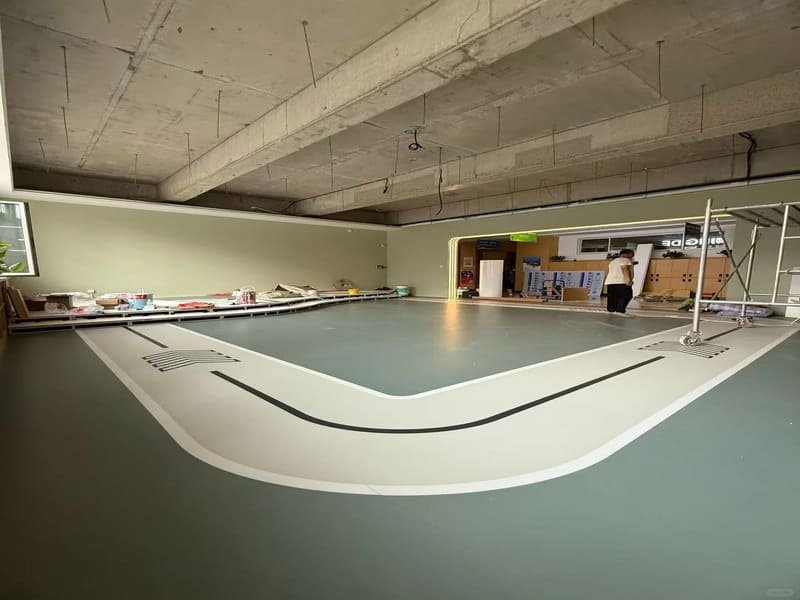
Recording site conditions before installation gives me a documented baseline, supports manufacturer warranty requirements, protects everyone on the project from disputes, and lowers the risk of failures like bubbling, seam separation, or telegraphing.
I have handled enough PVC flooring claims to know a pattern. A client calls about bubbling, a lifted seam, or a pattern showing through the surface. They assume the material failed. But when I pull the job records, the root cause is usually tied to the substrate or the site environment — excess moisture, a contaminated surface, or conditions outside what the flooring and adhesive manufacturer required. Many resilient flooring failures trace back to moisture, substrate preparation, contamination, or unsuitable environmental conditions rather than to the flooring material itself. That is why I never skip the recording step. It builds a clear picture of the site before installation starts, and it gives every party on the project a documented reference if a question comes up later.
This is not paperwork for its own sake. It is the foundation of a durable install. Let me walk through why it matters, what to measure, how to record it correctly, what to do if conditions fail, and where teams still get this wrong.
Why Is Pre-Installation Site Recording Non-Negotiable?
Site recording supports warranty claims, sets clear responsibility boundaries between contractors, and helps catch site problems before expensive material goes down.
I treat this step as three layers of protection.
First, warranty support. Manufacturers write moisture, flatness, and pH requirements into their installation instructions, and many require documented testing before installation. Missing pre-installation test records can make a warranty claim much harder to support, and may lead to denial when the manufacturer’s written instructions call for documented testing. This is not automatic in every case — it depends on the specific manufacturer’s terms — but going in without records puts the claim at serious risk.
Second, legal clarity. On a commercial job, several parties touch the floor: the general contractor, the subfloor prep crew, and the flooring installer. A signed record of site conditions marks where one party’s responsibility ends and the next one begins. If a slab problem shows up months later, the record shows what the substrate looked like at handover.
Third, cost control. Catching a moisture or substrate problem before I unroll material is far cheaper than a tear-out and remediation after the fact.
| Reference | Zakres ubezpieczenia |
|---|---|
| ASTM F710 | Standard practice for preparing concrete floors to receive resilient flooring |
| ASTM F2170 | In-situ relative humidity (RH) testing of concrete slabs |
| ASTM F1869 | Moisture vapor emission rate (MVER) testing using calcium chloride |
| ASTM F3441 | pH measurement for resilient flooring installation |
| BS 8203 | UK code of practice for installation of resilient floor coverings |
| DIN 18365 | German technical requirements for flooring works |
None of these standards replace the flooring or adhesive manufacturer’s written installation instructions. ASTM F710 itself states that it does not supersede those instructions — it is a baseline practice, not the final word on any specific product.
Once I understand why this step matters, the next question is what exactly needs to be measured to build a record that actually holds up.
What Site Parameters Should You Measure and Record?
I record moisture, substrate condition, pH, ambient conditions, and acclimatization status — then compare every reading against the flooring and adhesive manufacturer’s stated limits, not a generic number.
Moisture Levels and Vapor Transmission
I may first scan the slab with a non-destructive moisture meter to identify areas that need closer attention, but I do not treat those readings as final acceptance criteria. For quantitative results, I use the method required by the flooring or adhesive manufacturer — typically ASTM F2170 for in-situ relative humidity or ASTM F1869 for moisture vapor emission rate. Depending on the specification, one method may be required rather than both. I test across multiple points, not a single spot, since concrete rarely dries evenly.
Subfloor Surface Integrity and Flatness
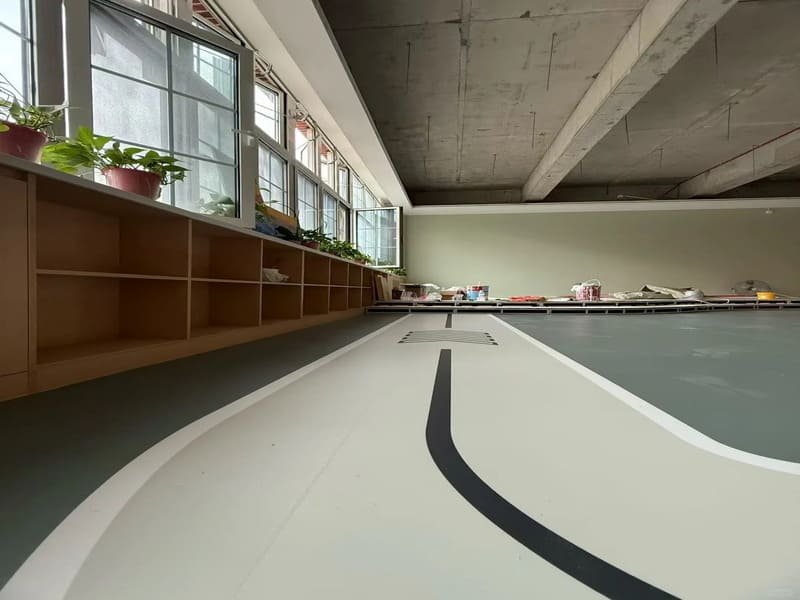
I check the substrate with a straightedge against the tolerance set by the project specification and flooring manufacturer, since flatness and smoothness requirements vary by product, region, and project. I map ridges, depressions, cracks, joints, and surface contamination such as old adhesive residue or curing compounds, and I tap the surface to check for hollow spots or delamination.
Substrate pH and Alkalinity
High alkalinity can break down certain adhesives and plasticizers over time. I record the substrate pH using a method such as ASTM F3441 and compare it against the range specified by the flooring and adhesive manufacturer. There is no single universal pH limit that applies to every PVC flooring system, so I do not approve a slab against a generic number.
Ambient Environmental Conditions
I log room temperature, subfloor surface temperature, and ambient humidity, then calculate the dew point to avoid condensation forming under the adhesive during bonding.
Acclimatization Status
I record how the PVC rolls or tiles and the adhesives were stored on site, and I document the resting period at normal operating temperature required by the manufacturer before laying begins.
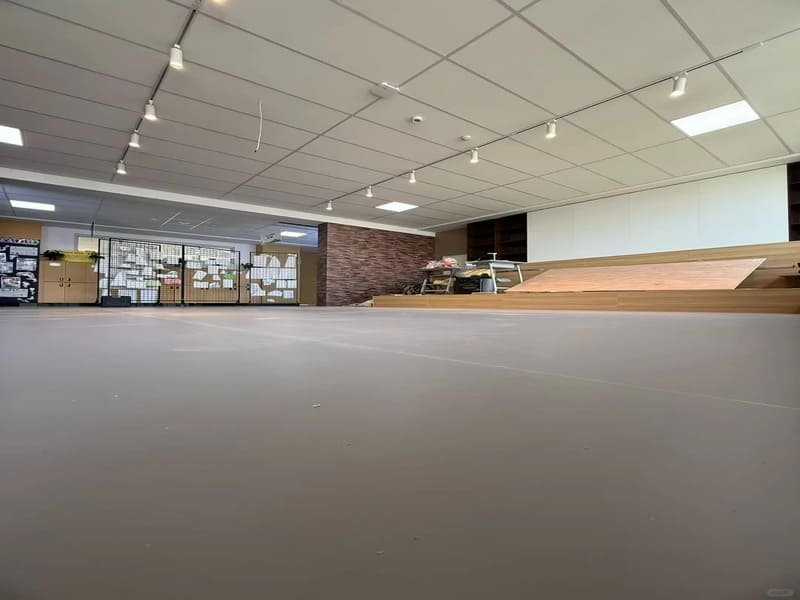
The site-condition record does not decide on its own whether a floor is acceptable. Every recorded value has to be compared against the flooring manufacturer’s, adhesive manufacturer’s, project specification’s, and applicable standard’s requirements — and those requirements take precedence over any generic figure.
Measuring these parameters only helps if I record them in a way that holds up later, and know what to do when a reading falls outside the acceptable range.
What Should You Do If Site Conditions Are Outside the Limits?
If a reading fails, I stop, investigate the cause, correct it, retest, and get written approval before installation continues — I never install on a hope that conditions will improve on their own.
This is the step most checklists skip, but it is usually what installers and facility managers actually need to know. Depending on which parameter fails, the corrective path is different:
| Failed Condition | Typical Corrective Action |
|---|---|
| Excess RH / MVER | Identify the moisture source; apply a mitigation system or moisture barrier as approved by the manufacturer |
| pH outside range | Confirm adhesive tolerance, or apply an approved alkalinity mitigation system |
| Poor flatness | Grind high spots, patch low spots, or apply a self-leveling underlayment |
| Weak or dusty substrate | Mechanically prepare and repair the surface |
| Cracks present | Determine if the crack is static or moving, then repair or install a crack-isolation system accordingly |
| Surface contamination | Remove curing compounds, oil, paint, or old adhesive residue |
| HVAC not operating correctly | Stabilize room temperature and humidity before retesting |
| Vapor retarder missing or unknown | Escalate to the design team before installation proceeds |
After corrective work, I retest the same points, document the results, and get written sign-off from the general contractor or owner before installation moves forward. Verbal approval is not a substitute for a signed record.
Once the site passes, the next step is putting the recording process itself into a repeatable format.
How Do You Document Site Conditions Professionally?
A proper record follows a fixed sequence: walkthrough, testing, a standardized form, timestamped photos, and a written sign-off — every time, on every job.
I follow the same five steps on every project, regardless of size.
- Full walkthrough and visual risk mapping.
- Multi-point testing across representative zones — edges, center, and high-traffic areas.
- Completing a standardized pre-installation inspection form.
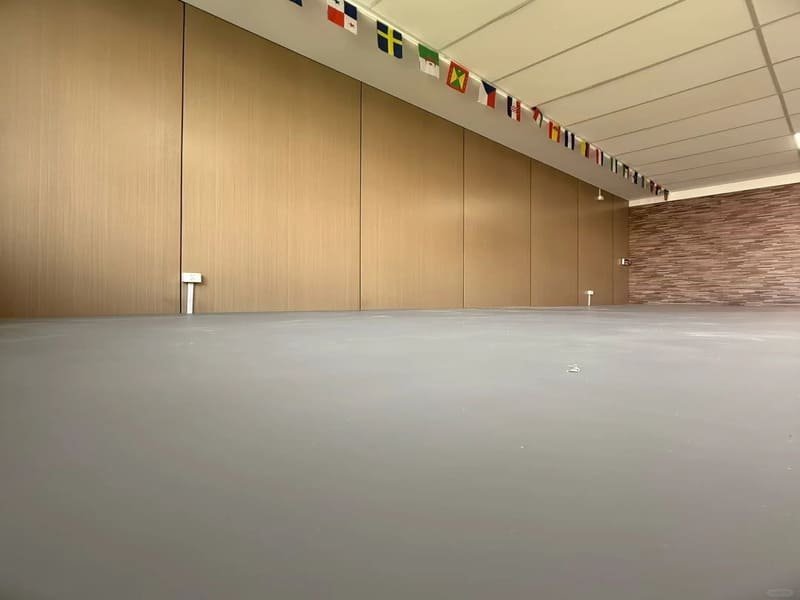
- Timestamped photos and video with a scale marker in frame.
- Formal written sign-off, along with any risk waivers, from the general contractor or owner.
For tools, I use a mix of digital and physical records. Cloud-based site reporting apps keep data and photos in one place that everyone on the project can access. Thermal imaging can help flag temperature anomalies or areas worth a closer look, but it does not replace recognized moisture testing methods like ASTM F2170 or F1869. Automated data-logging sensors track temperature and humidity over time instead of a single snapshot, which gives a more complete picture of how the room actually behaves.
A checklist is only useful if the form itself captures the right information. Here is what I include.
What Should a Pre-Installation Site Condition Report Include?
A complete report captures the project, the readings, the pass/fail status, corrective actions, and a signed approval — enough detail that it holds up months or years later.
| Record Field | Przykład |
|---|---|
| Project / room | Building A – Room 205 |
| Date / time | Test timestamp |
| Instalator | Name / company |
| Substrate type | Concrete / screed / plywood |
| Slab age | If known |
| RH / MVER | Reading + test location |
| pH | Reading + test location |
| Ambient temperature | °C / °F |
| Ambient RH | % |
| Substrate temperature | °C / °F |
| Flatness / surface condition | Pass / repair needed |
| Cracks / joints | Location and type |
| Zanieczyszczenie | Adhesive, oil, paint, curing compound |
| Vapor retarder | Confirmed / unknown |
| HVAC status | Operating / not operating |
| Material storage | Location and duration |
| Aklimatyzacja | Completed / incomplete |
| Zdjęcia | Reference numbers |
| Corrective action | Required work, if any |
| Approval | Installer / GC / owner signature |
This is the record I hand over at closeout, and it is the same record I pull if a warranty question or a dispute comes up later.
Even with a solid process, I still see the same mistakes repeat across job sites.
What Are the Common Pitfalls in Site Condition Recording?
Most recording failures come from rushing the schedule: assuming concrete is dry by age alone, skipping HVAC checks, missing moisture barriers, or accepting verbal approval instead of a signed waiver.
- Assuming new concrete is dry because it has reached a certain age. Curing time is not the same as moisture readiness. A slab should be tested under the conditions required by the manufacturer, not approved just because it is 28, 60, or 90 days old.
- Ignoring HVAC conditions. Testing in a non-conditioned space, then handing over a floor into a fully conditioned building, changes the temperature and humidity readings significantly.
- Missing moisture barriers. Ground-contact and basement subfloors need a vapor retarder check, and skipping it is one of the most common causes of long-term bubbling and adhesive failure.
- Accepting verbal approval. A spoken "it’s fine, go ahead" from a site manager carries no weight in a warranty claim or a legal dispute. Only a signed written record protects the installer.
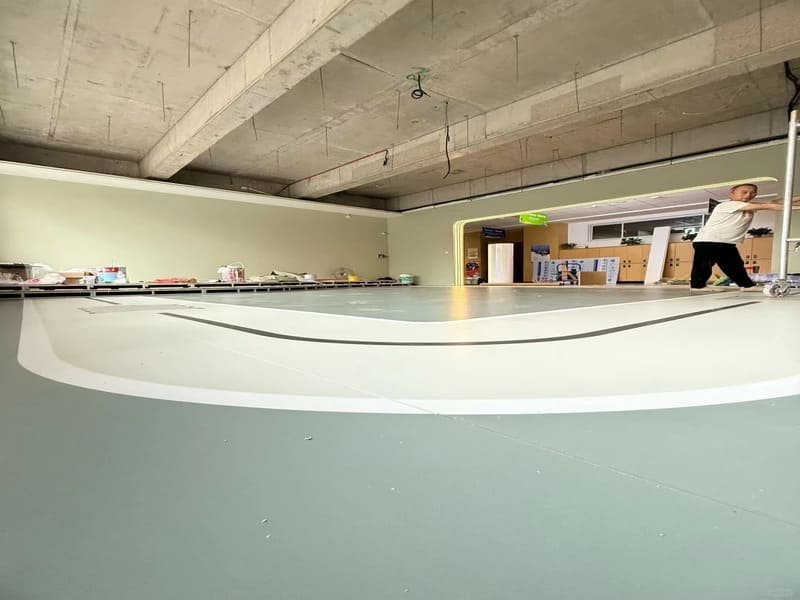
Every one of these pitfalls comes back to the same root cause: skipping the record, or recording it against the wrong benchmark.
Summary & Actionable Best Practices
If it is not documented, it did not happen — and the manufacturer’s written instructions, not a generic number, always set the final benchmark. Make a pre-installation checklist mandatory on every commercial project, starting today.
If you are planning a PVC flooring project and want help building a pre-installation checklist that matches your specific product and site conditions, send me a direct message — I am happy to walk through it with you.