
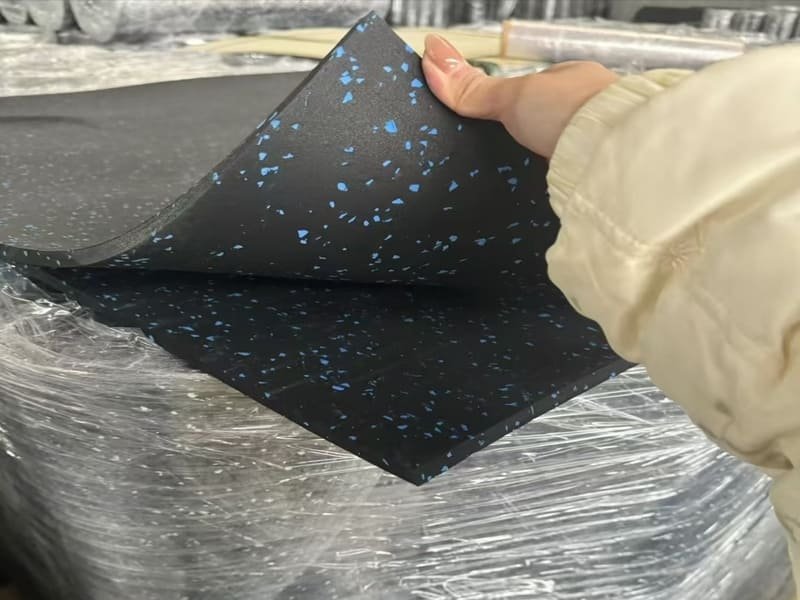
W przypadku większości domowych siłowni najlepszym pomysłem jest zastosowanie blokujących się gumowych płytek. Zapewniają one idealne połączenie trwałości dla dużych ciężarów, bezpieczeństwa przed poślizgnięciami, ochrony podłoża i są niezwykle łatwe do samodzielnego zainstalowania. To sprawia, że są one wszechstronnym fundamentem dla niemal każdej rutyny treningowej.
Jako kierownik projektu specjalizujący się w konfiguracjach domowych siłowni, zawsze podkreślam, że podłoga jest najważniejszą decyzją, jaką podejmiesz. To nie tylko powierzchnia; to podstawa całej przestrzeni treningowej. Widziałem niezliczone projekty, w których zły wybór podłogi doprowadził do uszkodzenia podłoża lub stworzył niebezpieczne środowisko. Właściwy pomysł równoważy funkcję, specyficzne potrzeby treningowe i budżet aby stworzyć przestrzeń, która jest zarówno bezpieczna, jak i motywująca. Nie tylko kupujemy maty; tworzymy dedykowaną strefę dla celów fitness, niezależnie od tego, czy jest to garaż, piwnica, czy dodatkowa sypialnia. Twoja podłoga musi poradzić sobie ze wszystkim, od upuszczonych hantli po intensywne ćwiczenia cardio, jednocześnie chroniąc Twój dom.
Myślenie o podłodze jako o pierwszym etapie projektu budowy siłowni zapewnia stworzenie przestrzeni, która przetrwa lata.
Który materiał podłogowy jest odpowiedni dla moich celów fitness?
Wybór odpowiedniego materiału zależy wyłącznie od rodzaju treningu. Guma to najlepszy pomysł do podnoszenia ciężarów. Pianka o wysokiej gęstości to niedrogi pomysł na ćwiczenia z masą ciała. Winyl to stylowy pomysł do pomieszczeń wielofunkcyjnych, a sztuczna murawa to wyjątkowy pomysł do ćwiczeń funkcjonalnych i saneczkarstwa.
Wybór odpowiedniego materiału to podstawa projektu podłogi do domowej siłowni. Każda opcja ma specyficzną inżynierię zaprojektowaną do różnych zastosowań. Dokonanie niewłaściwego wyboru może zagrozić bezpieczeństwu lub uszkodzić sprzęt. Jako osoba, która nadzorowała setki instalacji, prowadzę klientów przez proces dopasowywania materiału bezpośrednio do ich głównej aktywności. Zapewnia to, że podłoga działa dokładnie tak, jak jest to potrzebne i zapewnia najlepszą długoterminową wartość inwestycji. Zapobiega to sytuacjom, takim jak umieszczenie ciężkiego stojaka do przysiadów na piance, co, jak widziałem, zawiodło, tworząc trwałe, niestabilne wgniecenia w ciągu kilku tygodni.
Pomysł na złoty standard: Podłogi gumowe
W przypadku każdego projektu związanego z dużymi ciężarami, guma jest jedynym profesjonalnym wyborem. Jej skład o wysokiej gęstości został zaprojektowany z myślą o maksymalnej absorpcji wstrząsów, działając jak zawieszenie samochodu, aby chronić "podwozie" - betonowe lub drewniane podłoże. Jest to najlepszy materiał do martwego ciągu, przysiadów i treningów HIIT, ponieważ jego naturalna przyczepność zapewnia antypoślizgową powierzchnię, co jest krytycznym czynnikiem bezpieczeństwa.
Pomysł przyjazny dla budżetu: pianka o wysokiej gęstości
Pianka to doskonały pomysł dla początkujących do aktywności, w których amortyzacja stawów jest ważniejsza niż ochrona przed uderzeniami. Jest idealna do jogi, pilatesu i ćwiczeń z masą ciała. Jest lekka i łatwa w montażu. Nie jest przeznaczony do ciężkiego sprzętu. Jej struktura komórkowa będzie się trwale ściskać pod stopami stojaka do przysiadów lub bieżni, tworząc niestabilną i niebezpieczną podstawę.
Stylowe i specjalistyczne pomysły: Winyl i murawa
W przypadku siłowni, które muszą wtopić się w wystrój domu, winyl jest fantastycznym pomysłem. Nowoczesne luksusowe deski winylowe wyglądają jak drewno lub kamień, a jednocześnie są wodoodporne i łatwe do czyszczenia. Dla sportowców skupionych na sprawności funkcjonalnej najlepszym pomysłem jest sztuczna murawa. Jej teksturowana powierzchnia jest zbudowana tak, aby wytrzymać nadużycia związane z pchaniem sań i ćwiczeniami zwinności.
Wybrany materiał określa rodzaj treningu, który można bezpiecznie wykonywać.
Jak wybrać odpowiednią grubość podłogi?
Dopasuj grubość do swojej aktywności. Używaj 1/4" (6-8 mm) pod urządzeniami cardio. Wybierz 3/8" (10 mm) jako uniwersalny standard dla większości domowych siłowni. Zwiększ grubość do 1/2" (12 mm) dla poważnego podnoszenia ciężarów i użyj 3/4" (20 mm+) dla dedykowanych stref podnoszenia ciężarów i platform do martwego ciągu.
Z perspektywy zarządzania projektem, grubość jest specyfikacją techniczną, która bezpośrednio wpływa na wydajność i budżet. Wybór prawidłowej grubości polega na zaprojektowaniu odpowiedniego poziomu ochrony podłoża. Nie wszędzie potrzebna jest maksymalna grubość, co pozwala na inteligentne i opłacalne projekty. Na przykład, mój klient chciał mieć pełną konfigurację do podnoszenia ciężarów, ale miał ograniczony budżet. Zaprojektowaliśmy podłogę hybrydową, wykorzystując grubą gumę 3/4" do zbudowania dedykowanej platformy do martwego ciągu o wymiarach 8×8 stóp i otoczyliśmy ją bardziej przystępną cenowo grubością 3/8" dla reszty pomieszczenia. Ta konsultacja techniczna pozwoliła mu zaoszczędzić pieniądze bez uszczerbku dla integralności strukturalnej jego fundamentu w strefie o dużej sile uderzenia.
The Thickness Blueprint
Pomyśl o grubości jako o projekcie ochrony. Cienka warstwa 1/4" pod bieżnią wystarczy, aby powstrzymać wibracje i pot przed uszkodzeniem podłogi. Grubość 3/8" jest standardem branżowym nie bez powodu; zapewnia najlepszą równowagę między ochroną a kosztami dla przeciętnej domowej siłowni wykonującej umiarkowane podnoszenie ciężarów. W przypadku CrossFit lub podnoszenia ciężarów olimpijskich, gdzie upuszczanie ciężarów jest częścią rutyny, grubość 1/2" staje się niezbędna. Dla dedykowanych trójboistów siłowych, guma 3/4" jest specyfikacją nie podlegającą negocjacjom, zapewniającą maksymalną absorpcję uderzeń.
Kreatywne i niedrogie pomysły na grubość
Poza hybrydowym planem podłogi, innym świetnym pomysłem jest "mata do boksów dla koni". Maty te, dostępne w sklepach z artykułami rolniczymi, są niezwykle gęste (często o grubości 3/4 cala) i trwałe za ułamek ceny podłogi przeznaczonej do siłowni. Są bardzo ciężkie i mają silniejszy początkowy zapach gumy, który musi się ulotnić, ale z punktu widzenia czystej wydajności w przeliczeniu na dolara, są bezkonkurencyjne dla strefy podnoszenia.
Odpowiednie planowanie grubości chroni inwestycję i dom.
Jakie są najlepsze pomysły na samodzielną instalację i najczęściej zadawane pytania?
Najlepszym pomysłem dla majsterkowiczów jest użycie zazębiających się płytek i rozpoczęcie od środka pomieszczenia. Najważniejszą zasadą jest, aby zawsze instalować na czystym, twardym podłożu, nigdy na dywanie. W przypadku garaży najlepszym pomysłem jest gruba guma. Początkowy zapach gumy jest normalny i zanika przy dobrej wentylacji.
Faza instalacji to moment, w którym projekt ożywa. Moim celem jest, aby proces ten przebiegał jak najsprawniej dla moich klientów. Najczęstszym błędem, z jakim się spotykam, jest próba ułożenia podłogi gimnastycznej na istniejącym dywanie. Tworzy to miękką, niestabilną powierzchnię, która jest niebezpieczna podczas podnoszenia. Należy ją usunąć. Najprostsza instalacja DIY obejmuje blokujące się płytki. Nie wymagają one kleju i można je przyciąć za pomocą zwykłego noża uniwersalnego, co sprawia, że jest to łatwy do wykonania weekendowy projekt dla każdego.
Plan projektu instalacji
Pierwszym krokiem jest przygotowanie podłoża. Musi być ono czyste, suche i równe. Następnie pozwól materiałowi podłogowemu aklimatyzować się w pomieszczeniu przez co najmniej 24 godziny. Pozwoli to na dostosowanie się do temperatury i wilgotności, co zapobiegnie wyboczeniu lub kurczeniu się po instalacji. W przypadku płytek blokujących znajdź środek pomieszczenia i kieruj się na zewnątrz. Dzięki temu płytki przycięte na krawędziach będą miały jednolity rozmiar, co zapewni znacznie bardziej profesjonalne wykończenie.
Odpowiedzi na najważniejsze pytania
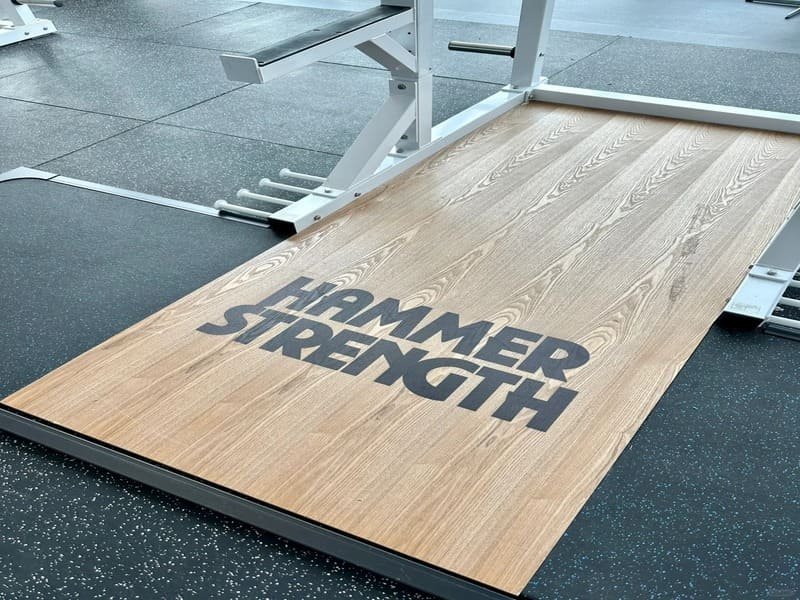
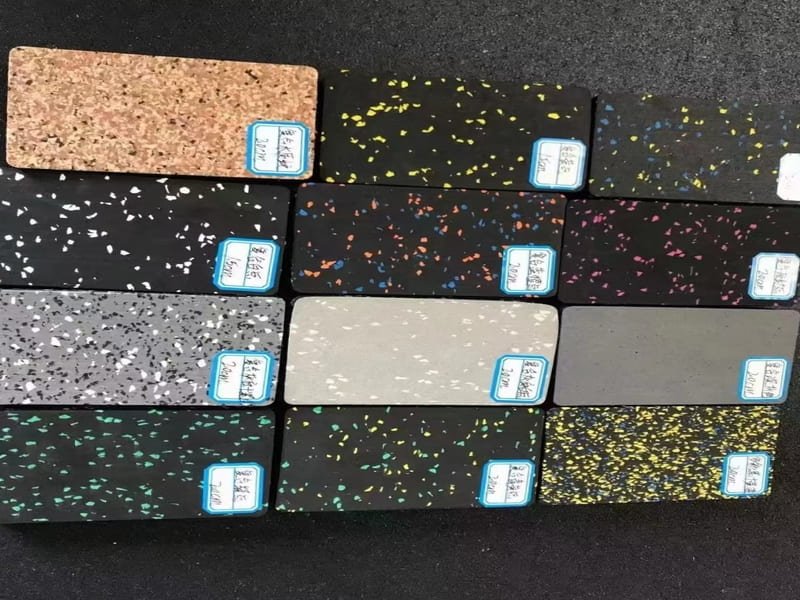
Ludzie często pytają o najlepszy pomysł na siłownię w garażu. Odpowiedzią jest zawsze guma o wysokiej gęstości. Jest to jedyny popularny materiał wystarczająco wytrzymały, aby wytrzymać zarówno upuszczone ciężary, jak i ciężar zaparkowanego pojazdu. Pianka zostanie zniszczona przez samochód. Kolejne częste pytanie dotyczy zapachu gumy. Jest to naturalny efekt procesu produkcyjnego zwany odgazowywaniem. Można przyspieszyć jego rozpraszanie, przecierając nową podłogę łagodnym środkiem czyszczącym o neutralnym pH i pozostawiając otwarte okna na kilka dni. Wreszcie, aby uzyskać niestandardowy wygląd, wiele gumowych płytek ma kolorowe plamki, a nawet można uzyskać niestandardowe logo wycinane strumieniem wody, aby uzyskać prawdziwie spersonalizowaną przestrzeń.

Udany projekt DIY opiera się na odpowiednim przygotowaniu i użyciu właściwych materiałów.
Wnioski
Najlepszy pomysł na domową siłownię zaczyna się od odpowiedniej podłogi. Zaplanuj swój fundament, aby wspierać swoje cele, chronić swój dom i stworzyć przestrzeń, która zainspiruje Cię do treningu.
Gotowy, aby wcielić w życie swoje pomysły na domową siłownię? Jeśli nie masz pewności, które materiały są odpowiednie dla Twojego projektu lub potrzebujesz pomocy w zaprojektowaniu przestrzeni, nasi eksperci od podłóg są tutaj, aby Ci pomóc. Skontaktuj się z naszym zespołem już dziś, aby uzyskać spersonalizowaną wycenę lub poprosić o bezpłatną próbkę!