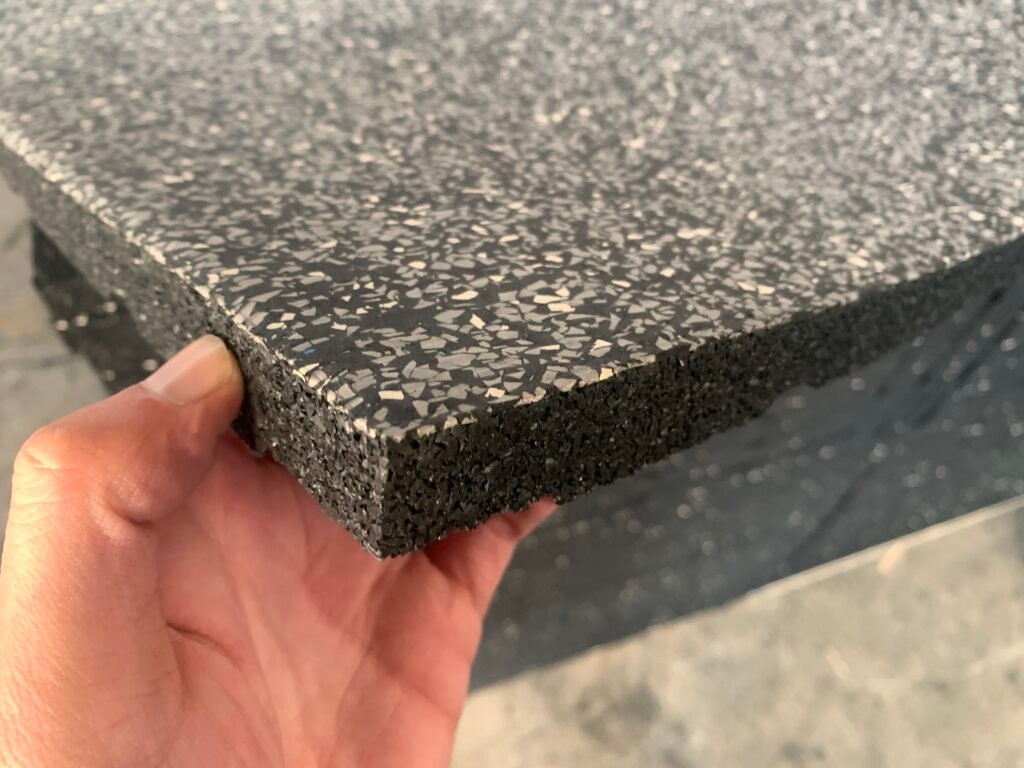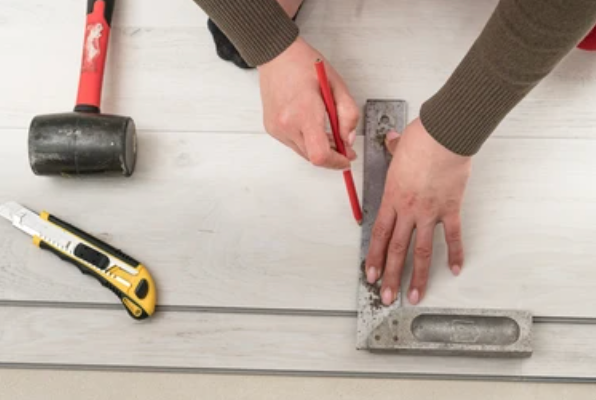
So, you’ve got this rubber mat staring back at you and wondering how to trim it to size. Getting the right fit is crucial, whether for your home gym, the horse stables, or an anti-fatigue mat for your standing desk setup.
But let’s be honest, these mats can be as tough as old boots, and cutting them to size? Well, that can be a real workout in itself!
You might be thinking, “It’s just cutting—how hard can it be?” But if you’ve ever wrestled with a thick, stubborn piece of rubber, you know it’s not as simple as a snip-snip here and there. It would help if you had the right tools, technique, and know-how to get that clean, straight edge you’re after. And that’s precisely what we’re diving into today.
From the trusty utility knife to the mighty power saw, we’ll explore all the best tools and techniques to cut your rubber mats like a pro. Plus, we’ll sprinkle in some pro tips to keep things smooth and your fingers safe. So, grab your knee pads, and let’s get down to the nitty-gritty of slicing and dicing those rubber mats to perfection!
What Is the Best Way to Cut a Rubber Mat?
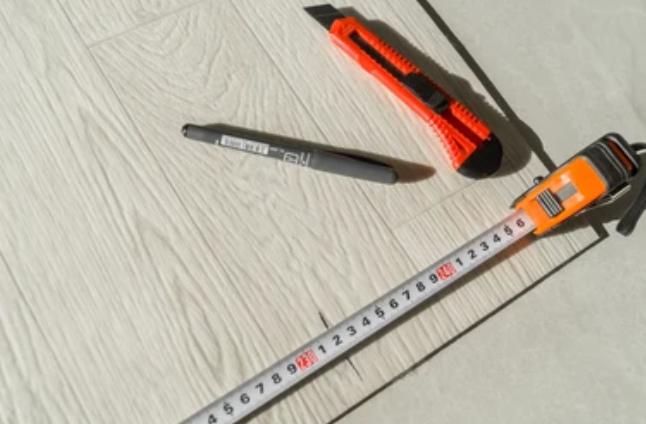
So, you’ve got this rubber mat laid out in front of you, and it’s just a tad too big for its future home. No sweat, my friend! The best way to cut a rubber mat is about precision, patience, and the right tools. First things first, you’ll want to measure twice and cut once—this adage is pure gold when it comes to customizing your mat.
Start by deciding the dimensions that you need. Grab a measuring tape, and be as accurate as possible. Mark your mat with a chalk line where you want to cut. Chalk is great because it’s visible and quickly wiped away if you need a do-over. Now, you will need a straight edge and a utility knife for the actual cutting. The straight edge will guide you, ensuring you get that nice, clean line without any wavy business.
Lay the straight edge right on your chalk line and press down firmly to keep it from shifting. Then, with a sharp utility knife, score a shallow cut along the edge. Don’t try to slice through the mat in one go, especially if it’s a thick piece. It’s all about shallow, repeated scores until you cut through the mat. This method gives you control and helps prevent any mishaps.
What Tools Do You Need to Cut Rubber Mats Precisely?
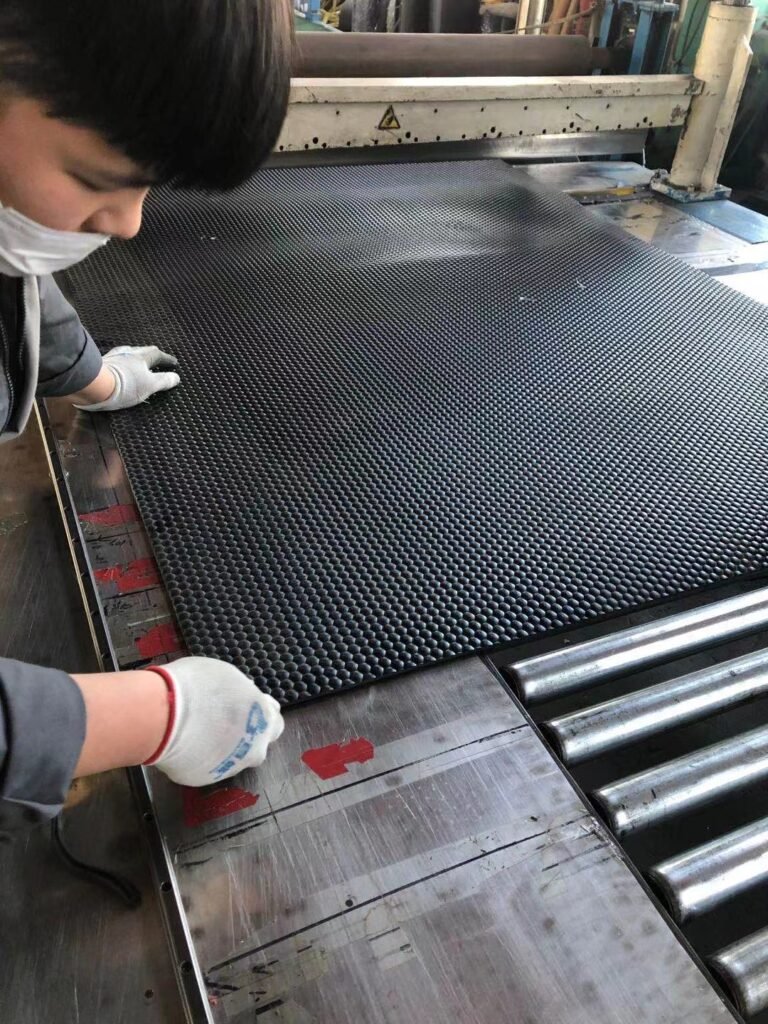
Precision is critical, and the right tools make all the difference. A sharp utility knife is your best friend here. And when I say intense, I mean it—working with a dull blade can make the job harder and more dangerous. So, do yourself a favor and start with a fresh edge. Keep extra blades on hand, too, because rubber can dull them quickly, and swapping out for a new one can keep things moving smoothly.
Now, about that straight edge. You’ll want something that won’t slip or budge as you run your knife along it. Metal rulers or a carpenter’s square can do the trick nicely. Just ensure it’s longer than the cut you’re making for stability.
Safety is essential, so consider wearing knee pads, especially if working on a hard floor. They’ll save your knees from aching and make the process more comfortable. Plus, a good grip on your utility knife is crucial—it reduces the chance of slipping and helps you maintain control for that perfect cut.
Remember, take your time, keep your tools sharp, and your cuts will be as smooth as your favorite jam. And there you have it—a no-sweat, no-fuss approach to cutting rubber mats to size!
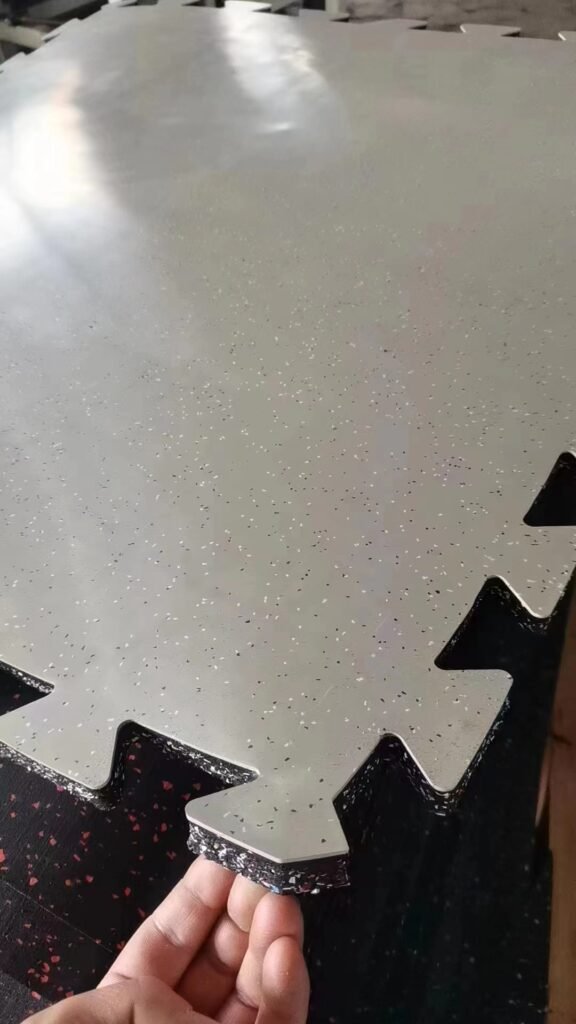
How Can You Cut Thick Rubber Stall Mats with Ease?
Cutting through thick rubber stall mats can seem like a Herculean task, but it’s more like a walk in the park with the proper technique and tools. These mats are designed to be durable and withstand much weight, so they will only give way to a standard utility knife with some serious elbow grease. So, what’s the trick? Power tools.
When dealing with the thick rubber of stall mats, a circular saw is your go-to buddy. But not just any blade will do—you’ll need a blade that’s up for the challenge. A carbide-tipped blade designed for cutting through rigid materials can slice through a rubber mat like a hot knife through butter.
Here’s how you do it: As always, measure and mark your cut line. Then, set up your stall mat on a stable surface for a clean cut. Elevate the mat so you don’t cut into the ground or floor beneath it. Secure the mat to prevent any movement—safety first, folks!
Wear your safety gear—goggles and gloves are necessary—and get your circular saw ready. Adjust the blade depth to match the thickness of your mat. This ensures a clean cut and reduces the risk of any kickback or blade damage. Start the saw and let it reach full speed before you begin cutting. Follow your line with a steady hand and even pressure, allowing the saw to do the work. The key here is to keep a consistent speed and not force the saw too fast, which can cause jagged edges or damage the saw.
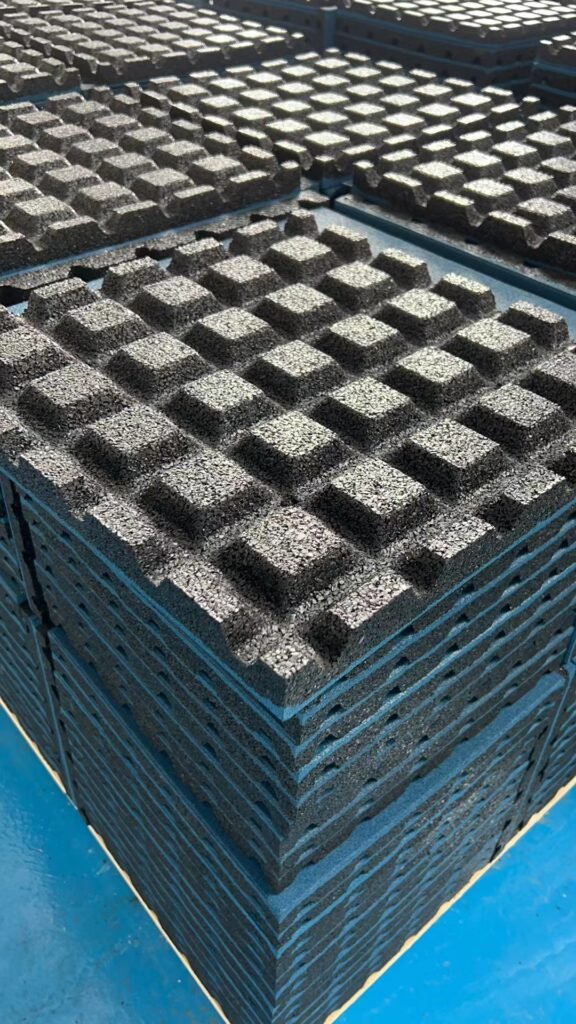
What's the Best Tool to Cut Rubber Floor Tiles Without Chipping or Wasting Material?
When it comes to rubber floor tiles, precision is paramount. You want a tool that gives you a clean, straight cut without wasting material. Utility knives and power saws both have their place in this process, but the choice depends on the thickness and the type of cut you need.
A sharp utility knife might be your best bet for thinner tiles. It allows for a precise cut and is more manageable for minor, intricate work. Just remember to make several gentle passes to cut through the material without chipping the edges.
For thicker tiles or larger projects, a power saw equipped with a fine-toothed blade is the way to go. It’s faster and can handle the density of the material much better than a knife. To reduce friction and achieve a cleaner cut, apply soapy water or a rubber cutting lubricant along the cut line. This makes cutting more manageable and helps preserve the blade’s life by reducing heat from friction.
No matter your chosen tool, the key to a clean cut is to go slow and steady. Rushing can result in a less-than-perfect edge and more material wasted than necessary. Take your time, measure twice, cut once, and you’ll have those rubber floor tiles fitting like a glove in no time.
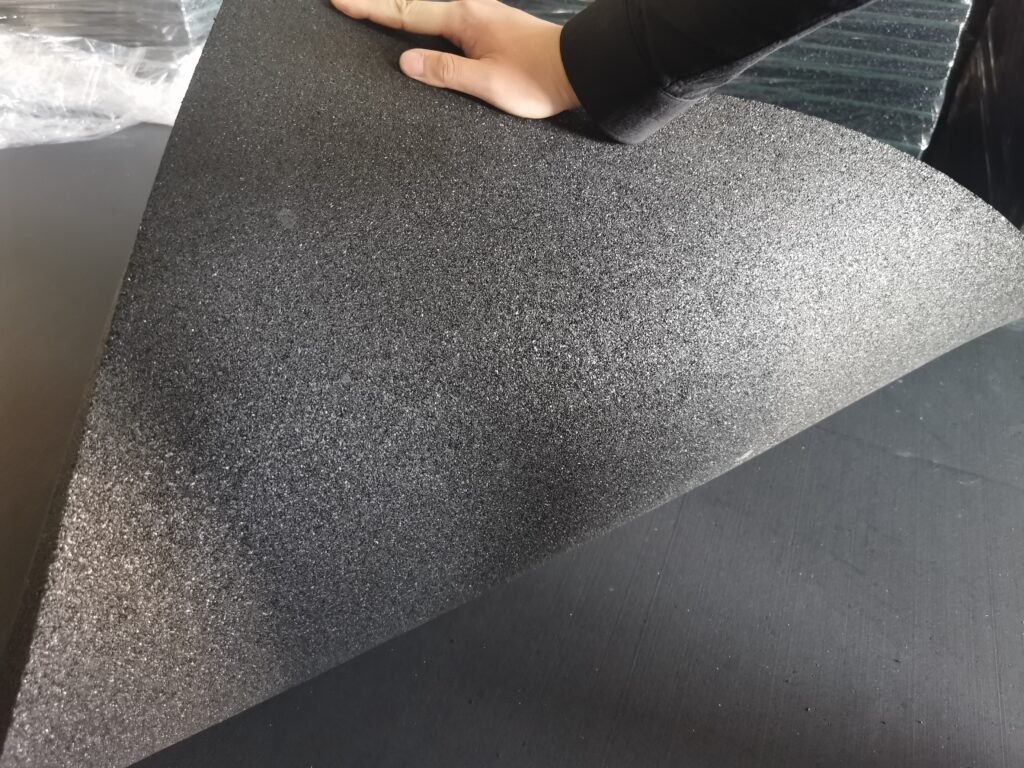
How Do You Guarantee Precision When Cutting Rubber Flooring?
Ensuring your rubber flooring has that perfectly straight edge isn’t just a great idea—it’s essential for a professional-looking finish. Whether you’re customizing anti-fatigue mats for your kitchen or sizing down rubber horse mats for the stable, the key to a flawless fit lies in the precision of your cut.
Start by rolling out your rubber flooring and decide on your desired length. Measure twice because accuracy now can save you costs and hassle later. Once you’ve got your measurements spot on, it’s time to mark your territory. A chalk line is your best friend here, creating a clear, straight guide on the mat. Then, take a straight edge or a carpenter’s square—this will be your trusty sidekick to ensure the line you cut doesn’t waver.
Press firmly on your straight edge, aligning it with your marked line. This is where you’ll make your stand, as you’ll want to keep the rubber roll from shifting. A simple utility knife can handle thinner rubber rolls, but for thicker mats or rubber horse mats, you might need to pull out the big guns—like a pair of heavy-duty scissors or even a power tool. Remember, shallow scores are your goal. Gradually deepen the cut with care, and you’ll slice through the whole mat with control and ease.

When it comes to cutting horse stall mats or thicker mats, a circular saw might just be the MVP. It’s a tool that can transform a daunting task into a manageable one, especially if you’re dealing with a whole mat that needs a custom cut. But, as with any hero, it’s only as good as its tools—so make sure you’ve got a blade that’s up to the challenge.
Here’s how to tackle it:
1. Select the Right Blade: A carbide-tipped blade is your best bet for making those clean cuts through thicker rubber rolls or stall mats.
2. Mark Your Mat: Measure the mat carefully and mark your cutting area. A straight edge will help you draw a line that’s as straight as a wall.
3. Secure Your Mat: Ensure the mat is stable and protect the surface underneath before cutting. You want to avoid accidentally missing something meaningful.
4. Dress for Success: Safety gear is non-negotiable. Goggles to protect your eyes and gloves for your hands are a must.
5. Set Your Saw: Adjust the saw’s blade to just a tad more profound than the thickness of your mat. This will help you achieve a clean cut without unnecessary wear on the edge.
6. Begin the Cut: Power up the saw and let it reach its full speed. Steadily guide it along the line, maintaining a firm grip and even pressure.
7. Finish Strong: As you approach the end of your cut, support the mat to prevent any unwanted tears or snags. Once you’re through, please turn off the saw and let the blade come to a complete stop before you lift it away.
With these simple steps, you’ll find that cutting rubber flooring, especially the thicker varieties, is a task you can handle with confidence. Just remember to take your time, measure with care, and respect the power of the tools you’re working with.

What Are Some Simple Steps to Cut Rubber Mats at Home?
Cutting rubber mats at home doesn’t have to be a trip to the hardware store waiting to happen. In fact, with a few simple steps and some essential tools, you can achieve those straight cuts and fit your rubber flooring like a glove.
Here’s how to DIY this task without breaking a sweat:
1. Choose Your Tools: A sharp utility knife is usually all you need for thinner rubber mats. Ensure the blade is fresh—blunt blades make for challenging work and ragged cuts.
2. Measure and Mark: Measure your rubber mat’s desired length and width. Use a chalk line or a non-permanent marker to draw your cut lines. Accuracy here is vital to ensure you save material.
3. Protect Your Surface: Before cutting, lay down some scrap plywood or a thick layer of cardboard underneath the mat. This will protect your floor or table from any accidental damage.
4. Start Cutting: Place a straight edge along the line you’ve marked. Apply firm pressure to keep it from moving, and pull the utility knife along the edge smoothly. Remember, try to avoid cutting through in one go. Several shallow scores will eventually penetrate the mat and give you a clean edge.
5. Maintain Your Knife: Keep your utility knife sharp as you work. If you notice any drag or difficulty cutting, it might be time to swap out for a new blade. A sharp knife is safer and more efficient.

How Do You Handle Cutting Curves or Custom Shapes in Rubber Mats?
When your design calls for more than just straight lines—maybe you fit mats around corners or equipment, or you want a custom shape for a specific area—precision cutting becomes even more critical.
Here’s how to manage those more intricate cuts:
1. Mark Your Mat: Use a non-permanent marker to draw the custom shape or curve directly onto the rubber mat. If you need more confidence in your freehand skills, use a template or a set of compasses for circles.
2. Choose the Right Tool: A utility knife is often your best bet for curves and custom shapes. It offers more control and can easily handle slight turns and corners.
3. Cut in Sections: If you’re dealing with mat folds or complex shapes, tackle them in sections. Make relief cuts to help the mat lie flat if necessary. This will help you manage the material and make the proper cut.
4. Take Your Time: Slow and steady wins the race here. Follow your marked line with care, and don’t rush the cut. It’s better to go over the line multiple times lightly than to try and force it and make a mistake.
5. Smooth Out Edges: After you’ve made your cut, you might find you have a few rough edges. You can clean these up with scissors or lightly sand them down for a polished look.
With these techniques, you’ll be able to handle even the most complex cuts on your rubber mats. Whether it’s a simple rectangle or an elaborate pattern, you’ve got this!
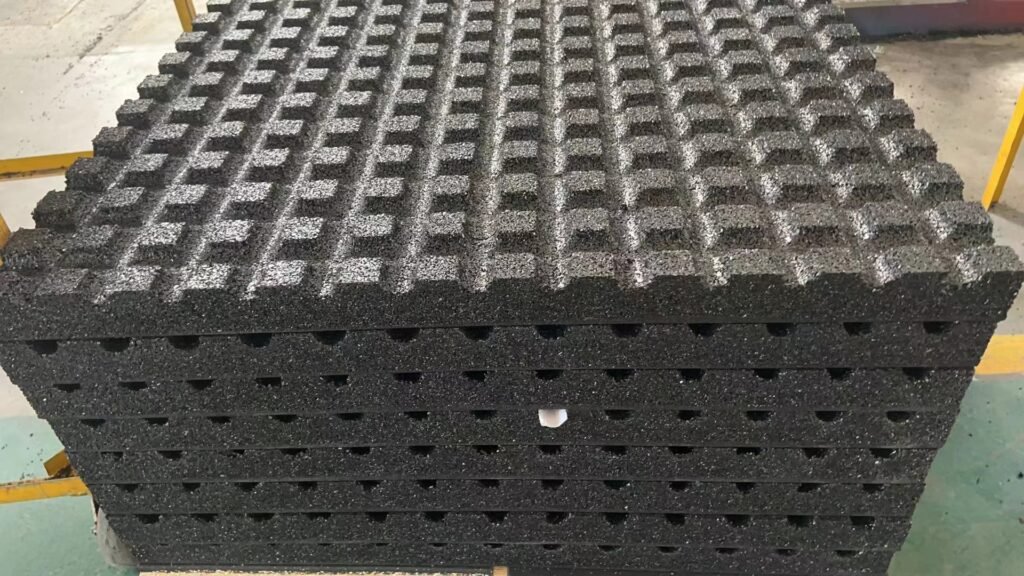
What Are the Best Practices for Maintaining Your Tools When Cutting Rubber?
Maintaining your tools isn’t just about prolonging their life—it’s about ensuring your safety and the quality of your cuts when dealing with rubber materials.
Here’s how to keep your utility knives and power tools in top-notch condition:
1. Keep Blades Sharp: A dull blade can be dangerous, requiring more force and increasing the risk of slipping. Regularly change the blades in your utility knife, and if you’re using a power tool, have the blades sharpened or replaced as needed.
2. Clean After Use: Rubber can leave a sticky residue on blades, leading to rust or gunk buildup. Clean your blades with soapy water or a suitable solvent after use, and dry them thoroughly to prevent corrosion.
3. Lubricate Moving Parts: For power tools, ensure that moving parts are well-lubricated according to the manufacturer’s instructions. This reduces wear and tear and keeps the agencies operating smoothly.
4. Store Properly: Don’t toss your tools in a drawer or shelf. Store them in a dry place, and if possible, keep them in a case or sheath to protect the blades and prevent accidents.
5. Regular Inspections: Before each use, inspect your tools for any signs of damage or wear. If a device is damaged, it’s better to replace it than to risk an injury or a botched job.
By following these best practices, you’ll ensure that your tools are always ready for action, and you’ll get cleaner cuts on your rubber flooring or mats with less effort and frustration.

How Do You Keep Your Work Area Safe While Cutting Rubber?
Safety should always be your priority when cutting materials like rubber that require sharp tools and a bit of muscle.
Here’s how to keep your cutting area safe and accident-free:
1. Secure the Mat: Before you make a single cut, ensure the rubber mat is securely in place. Use clamps or weights to hold it down and prevent it from shifting as you work.
2. Correct Stance: Stand firmly with your feet shoulder-width apart to give yourself a stable base. Ensure you’re balanced and not overreaching, which could cause you to slip or lose control of the tool.
3. Non-Slip Surface: Work on a surface that prevents the mat from slipping. If working on a smooth floor, put down a non-slip pad or rubber grippers to keep everything stable.
4. Keep the Area Clean: Remove any clutter from your work area that could cause you to trip or distract you while you’re cutting.
5. Wear the Right Gear: Use personal protective equipment. At a minimum, wear cut-resistant gloves and safety glasses to protect against flying pieces of rubber or a stray blade.
6. Mind Your Hands: Keep your hands and fingers away from the cut line. Use push sticks or holders if you’re working with power tools to keep a safe distance.
By keeping these safety tips in mind, you’ll create a work environment that’s as safe as it is efficient, allowing you to focus on the task at hand without worry.
What Cleaning and Maintenance Tips Extend the Life of Rubber Mats?
After customizing your rubber mats to the perfect size, you’ll want to keep them looking and performing their best for as long as possible. Proper cleaning and maintenance are crucial to extending the life of your mats, whether they’re laid out in your home gym, workshop, or horse stable.
Here’s how to keep them in tip-top shape:
1. Clean Cuts Right Away: You might notice some rough edges or small rubber particles along the cut lines after cutting your mats. Gently brush these away and clean the cuts with a mild soap and water solution to prevent dirt from getting embedded in the mat.
2. Regular Cleaning Routine: Establish a regular cleaning routine for your mats. Vacuum or sweep them to remove loose debris, and then follow up with a mop or cloth using a mild detergent. Avoid harsh chemicals, as they can break down the rubber over time.
3. Tackle Stains Immediately: Act quickly if your rubber mats get stained. Use a cleaning solution designed for rubber mats, apply it to the stain, and gently scrub with a soft-bristled brush. Rinse with water and let the mat dry completely.
4. Avoid Sunlight and Heat: Rubber mats can degrade if exposed to direct sunlight or high temperatures for extended periods. Store your mats in a cool, shaded area to prevent them from drying out and cracking.
5. Use Proper Mat Cleaners: Cleaners designed explicitly for rubber mats remove dirt and buildup without damaging the material.
6. Inspect Mats Regularly: Check your mats for signs of wear and tear. Minor cuts or holes can turn into larger rips if left unattended. Catching damage early can save you the cost of replacing the entire mat.
7. Mind the Weight: Be cautious of the weight placed on your rubber mats. Heavy equipment or sharp objects can cause indentations or punctures, so use protective layers or move heavy items periodically to distribute the weight evenly.
By following these cleaning and maintenance tips, you’ll ensure that your rubber mats continue to provide comfort, protection, and durability for years to come. And for those stubborn stains or unique cleaning challenges.
In wrapping up, cutting rubber mats at home is a task within your reach. With the right tools, a steady hand, and patience, you can achieve professional-looking cuts on any rubber mat, whether for your home gym, workspace, or stable. Remember to keep those tools sharp, your work area safe, and your cuts clean. And once the cutting is done, remember the importance of regular cleaning and maintenance to keep your mats in prime condition.
By following these straightforward tips and tricks, you’ll save on costs and enjoy the satisfaction of a job well done. Here’s to many years of enjoying your perfectly cut and well-maintained rubber mats!
This conclusion summarizes the key points of the discussion and reinforces the importance of proper technique and maintenance for the longevity of rubber mats.
