Navigating through a gym can sometimes feel like walking through a maze. It can seem chaotic with various equipment scattered around and different fitness activities happening simultaneously. But have you ever noticed the lines and markings on the gym floor? They’re not just arbitrary designs or solely for aesthetics; they serve many functional purposes that subtly, yet significantly, enhance your training experience.
This comprehensive guide will unravel the mysteries behind those lines and markings that crisscross the gym floor. From defining spaces to ensuring safety to aiding in the effectiveness of your workouts, these functional floor markings are the unsung heroes in fitness facilities. So, let’s embark on this enlightening journey to discover how applicable gym flooring markings can be a game-changer in improving the quality and efficiency of your training sessions. Join us as we delve deep into each aspect, answering all your questions about gym floor markings!
What Are Functional Floor Markings?
Functional floor markings are more than just lines and shapes on the gym floor; they are essential tools that enhance the utility and versatility of gym spaces, guiding athletes and fitness enthusiasts in their physical activities and workouts. But what exactly makes a floor marking “functional,” and how do they contribute to a more effective and organized training environment? Let’s dive in!
Firstly, functional floor markings help in defining spaces within the gym. Whether it’s a basketball court, a yoga area, or a zone for practical training exercises like lunges and squats, these markings create clear, designated areas for various activities. This not only helps in maintaining order but also ensures that each action has a dedicated space, minimizing disruptions and maximizing the use of the gym’s square footage.
Secondly, functional floor markings play a crucial role in safety. By clearly marking hazardous areas, pathways, and emergency exits, they help navigate the gym space safely and efficiently. Bright colors are often used to ensure that these markings are easily noticeable, aiding in quickly identifying safe paths and potential hazards, such as areas near heavy equipment or high-traffic zones.
Moreover, functional floor markings contribute to the effectiveness of workouts and training sessions. For instance, agility ladders, target circles, and lines for shuttle runs integrated into the floor design can aid athletic training and performance. These markings can guide athletes through specific drills and exercises, improving precision, agility, and overall athletic performance.
In conclusion, functional floor markings are indispensable in creating a well-organized, safe, and effective gym environment. They optimize space, enhance safety, and contribute to the quality of workouts, making them a vital aspect of gymnasium flooring. So, the next time you step into a gym, take a moment to appreciate the thoughtfully marked floors that contribute to making your training sessions fruitful and well-coordinated.

What Do the Lines on a Gym Floor Mean?
Navigating the labyrinth of lines on gym floors can be a perplexing experience. These floor lines, often painted or crafted using durable floor marking tape, serve as silent orchestrators of order and safety within sports facilities. Let’s decode the significance behind these markings and understand their indispensable role in enhancing the functionality and aesthetics of gym floors.
The markings, whether on hardwood floors or mats, are primarily meticulously laid out to delineate specific areas for various sports and activities. From the center court logo in a basketball court to the striking circles in a wrestling ring, each mark is a crucial component that guides the flow of activity, ensuring that sports rules and regulations are appropriately followed.
Safety is paramount in the design of these markings. Essential areas such as electrical panels, fire protection equipment locations, and storage areas housing flammable liquids are marked. This color coding acts as a visual guide, keeping physical hazards and ensuring that pathways, like permanent aisles and loading docks, are easily identifiable, reducing risks and enhancing overall safety.
The choice of materials used in creating these lines, such as paint or tape, is also pivotal. They need to be durable, ensuring that the markings withstand the wear and tear of high-traffic areas, whether on the gym’s hardwood, tile, or concrete surfaces. The process might involve using sealants and other materials that enhance the durability and traction of the lines, ensuring they remain vivid and functional over time.
In a multifunctional facility, the floor lines go beyond traditional sports floors. In a school gym, for instance, you might find the floor adorned with mascot names or other graphics, adding a layer of identity and pride to the space. The markings also extend to non-sporting areas like the shop floor, vital in organizing space, marking pathways, and ensuring operational efficiency.
In conclusion, the lines and markings on a gym floor are a symphony of functional graphics, each playing a part in orchestrating the rhythm of activities within the space. From ensuring safety and compliance with regulations to enhancing aesthetic appeal, these markings are the unsung heroes that make the gym a conducive, safe, and organized environment for various activities to flourish.
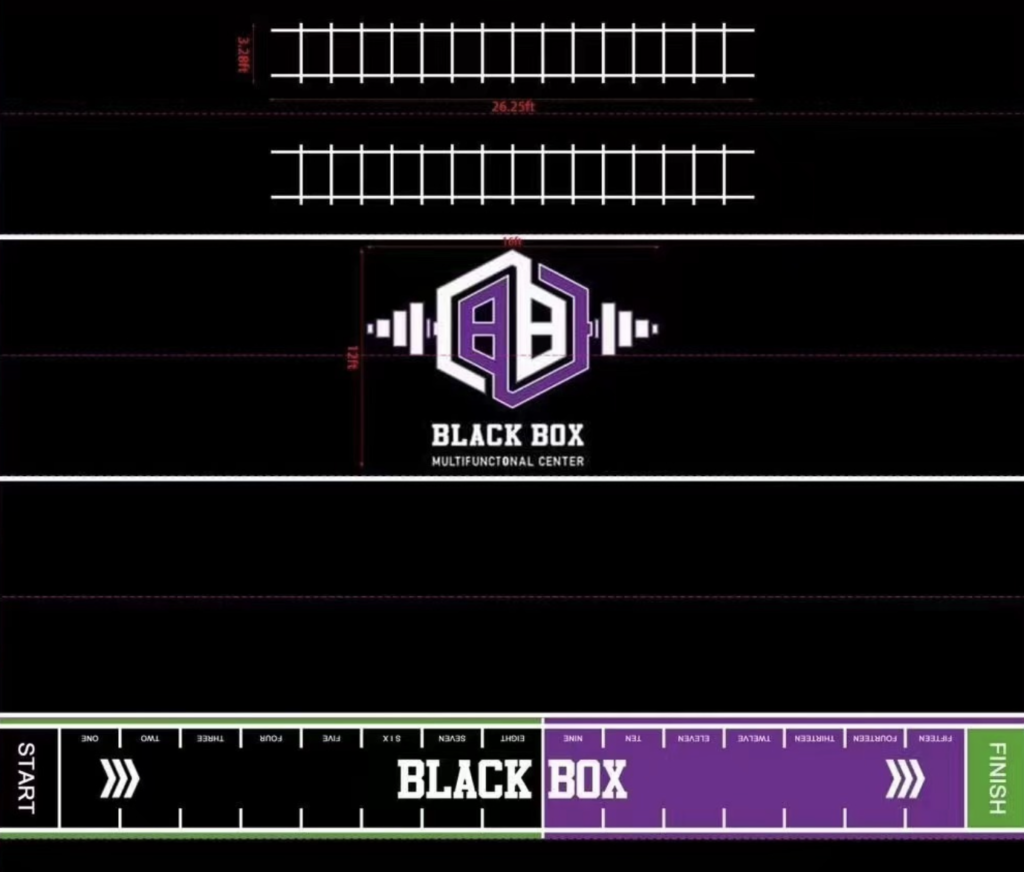
Why Do Gym Floors Have Lines and Markings?
Stepping into a gym, the vibrant tapestry of lines and markings on the sports floor immediately captures attention. These aren’t just random paint strokes but a meticulously planned system that brings structure, safety, and functionality to the gym environment. Let’s delve deeper into understanding why these markings are essential and the foundation of an organized sports facility.
Structuring the Space
The first step in preparing a gym for action is laying down the markings. Whether on wood or another surface type, these lines are the blueprint that organizes the space. They demarcate areas for different activities, ensuring that each sport or exercise has an appropriately marked area, enhancing the flow of activities and the utilization of space.
Safety and Navigation
Safety is a paramount concern in gym design. Markings contribute significantly to this aspect, offering guidance on movement, helping avoid hazards such as falling, and ensuring that areas prone to accidents, like wet or newly sealed surfaces, are marked. Vibrant colors, like yellow, make these markings easily noticeable, acting as silent guardians that guide foot traffic safely around the gym.
Aesthetic and Visual Appeal
The painting job, while primarily functional, also adds to the aesthetic appeal of the gym. Creative use of colors, the careful choice of where to lay lines, and even the decision of whether to strip away old markings or add new ones play a role in defining the gym’s visual character. It’s not just about utility; it’s also about creating an environment that feels vibrant and engaging.
Durability and Maintenance
The choice of materials used in the markings, from the paint to sealants, is crucial. These markings are subjected to endless foot traffic, dust, and dirt, necessitating a choice of durable materials that can withstand wear and tear. Additionally, considerations like shock absorption are essential, ensuring that the floor and its markings remain in prime condition despite the rigorous activities.
Adaptability
Gym floors often need to be adaptable, catering to various activities, from sports to general fitness exercises. The markings play a role here, allowing for flexibility in the use of space. They can be designed to cater to multiple sports or activities, ensuring that the gym can seamlessly transition between different services, maximizing its utility and efficiency.
In conclusion, the lines and markings on a gym floor are silent architects of the space, organizing, guiding, and enhancing the overall gym experience. They embody a fusion of functionality, safety, aesthetics, and adaptability, making them indispensable in creating a versatile and efficient sports facility.

How Does Color Coding Impact Gym Floor Markings?
Color is more than just a visual treat; it’s a powerful communication tool, especially regarding gym floor markings. Color coding in these markings goes beyond aesthetics and enhances functionality, safety, and user experience within sports facilities. Let’s dive into the world of color and explore how it shapes and influences the effectiveness of gym floor markings.
Enhancing Visibility and Clarity
Bright and contrasting colors, such as vibrant yellow or stark white against a wood or dark surface, immediately catch the eye. This heightened visibility ensures that athletes, trainers, and gym-goers can quickly identify specific zones, boundaries, or hazard areas, reducing the risk of accidents or missteps during activities.
Conveying Information
Color coding is like a silent language, conveying specific information without words or symbols. For instance, red might indicate danger zones or off-limits areas, while green could denote safe zones or general workout areas. By standardizing these color codes, gyms can offer a universal understanding, making it easier for users to navigate the space, even if they’re new to the facility.
Aiding in Quick Decision Making
During fast-paced sports or high-intensity workouts, athletes and participants often have seconds to make decisions. Color-coded floor markings can aid in this rapid decision-making process. For example, a basketball player can instantly recognize the three-point line’s color, allowing them to position themselves appropriately during a game.
Enhancing Aesthetics and Ambiance
While functionality is paramount, the aesthetic appeal of color-coded floor markings must be noticed. A well-thought-out color palette can uplift the ambiance of the gym, making it more inviting and energizing. The right combination of colors can also evoke specific emotions or moods, enhancing the overall workout experience.
Facilitating Training and Workouts
Color-coded markings can serve as reference points for training drills or guided workouts. Trainers might use specific colors to denote different stations in a circuit workout or guide participants through agility drills utilizing a series of color-coded dots or lines.
Ensuring Compliance with Standards
In some sports or activities, specific color codes might be mandated by governing bodies or associations. Ensuring that gym floor markings adhere to these standards is crucial for the facility’s legitimacy and hosting official matches or events.
In conclusion, color coding in gym floor markings combines art and science. It combines the visual appeal of colors with their functional significance, creating an efficient and engaging environment. The next time you’re in a gym, take a moment to appreciate the colorful tapestry beneath your feet and the myriad ways it enhances your training experience.
What Considerations Are Essential for Marking Physical Hazards?
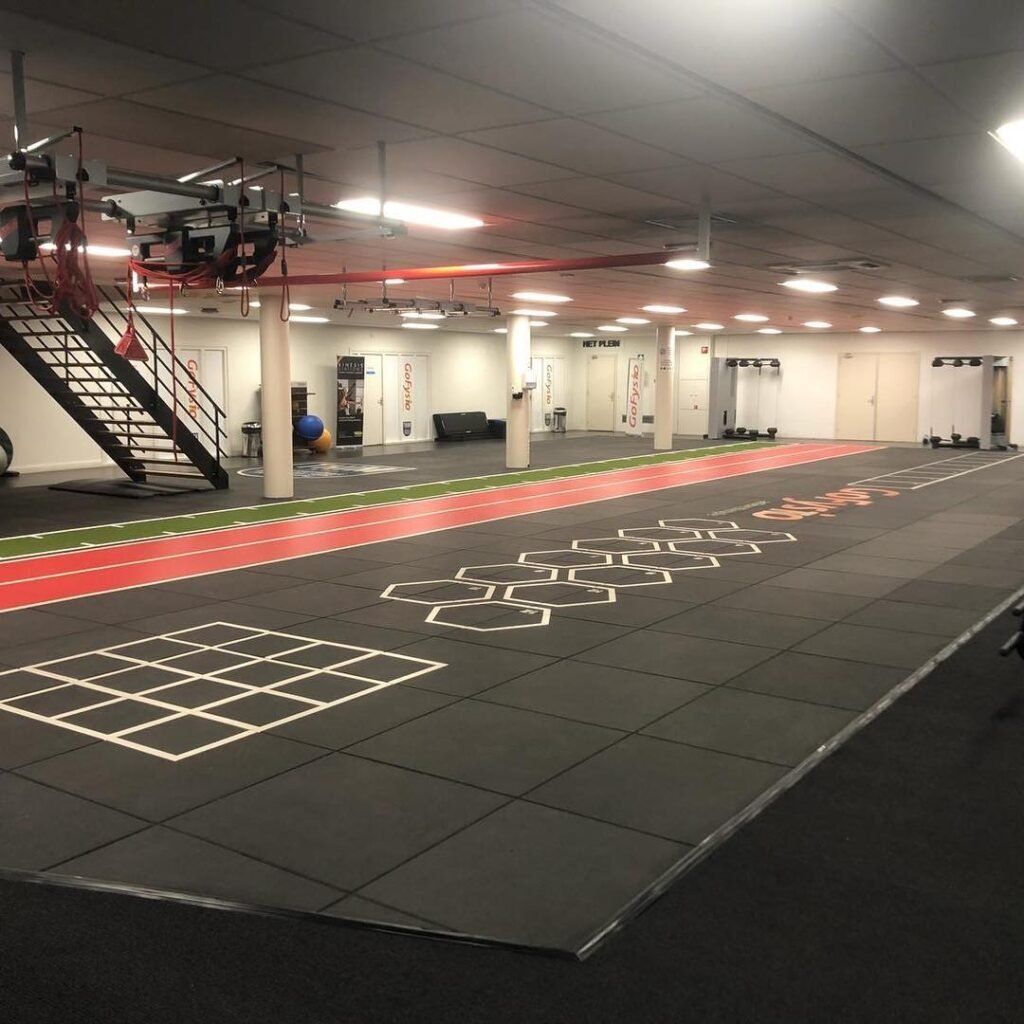
Safety is paramount in any facility, and gyms are no exception. Various equipment, high foot traffic, and intense physical activity necessitate clear markings to indicate physical hazards and ensure the well-being of every individual using the space. Let’s explore the essential considerations when marking physical hazards on gym floors to enhance safety and prevent accidents.
Visibility and Clarity
Markings indicating physical hazards should be prominent. Bright colors like red or yellow, or even contrasting color combinations, can be used to ensure that these markings catch the eye immediately, alerting individuals to potential risks and guiding them safely around the gym.
Size and Positioning
The size and positioning of the hazard markings are crucial. They should be large enough to be easily noticed but manageable enough that they cause confusion or clutter. Placement should be strategic, ensuring that the markings are where individuals are most likely to encounter risks, such as near heavy equipment, electrical panels, or areas with a high risk of slipping or falling.
Durability of Markings
These markings are essential for safety, so they should be durable and resistant to wear and tear. Consideration should be given to the type of materials used, whether paint, tape, or other substances, to ensure that the markings remain clear, visible, and effective over time despite constant foot traffic and gym activities.
Clear and Unambiguous Symbols
Symbols or signs used in marking hazards should be unambiguous. They should convey the nature of the threat effectively, allowing even those new to the gym environment to understand and heed the warnings. Standard symbols or universally understood signs can avoid confusion and ensure clear communication of risks.
Regular Maintenance and Updating
Hazard markings should be regularly maintained and updated as necessary. This could involve refreshing the paint or tape, ensuring that signs and symbols remain clear, or updating the markings to reflect new hazards or changes in the gym layout or equipment.
Compliance with Regulations
Markings for physical hazards should comply with local, state, or industry-specific safety regulations and guidelines. This compliance ensures that the markings meet established safety standards and that the gym operates within legal and regulatory frameworks.
In conclusion, marking physical hazards is a critical aspect of gym safety, requiring thoughtful consideration of various factors such as visibility, durability, clarity, and compliance with regulations. By paying careful attention to these considerations, gyms can enhance safety, minimize risks, and ensure a secure environment for everyone using the facility.

What Size Are Floor Markings in a Gym?
Navigating the vast array of lines, circles, and squares on a gym floor can sometimes feel like deciphering an intricate puzzle. Each marking, each line, and each symbol has a specific size and placement, meticulously designed to meet the unique needs of various sports and activities. So, what sizes are standard for these floor markings, and how are they customized to enhance the functionality and versatility of a gym? Let’s explore.
Standard Sizes for Sports
For established sports like basketball, volleyball, and badminton, there are standard sizes and specifications for floor markings. For instance, a standard basketball court has a free-throw line 15 feet from the backboard, and the three-point arc is 23.75 feet from the basket. These sizes are not arbitrary but are governed by official sports organizations to maintain competition uniformity and fairness.
Customization for Multi-Purpose Gyms
In multi-purpose gyms where space needs to accommodate a variety of activities, customization becomes critical. Here, the sizes of floor markings might be adjusted based on the available space, the intended use, and the priority of various activities. The goal is to maximize the room’s utility while ensuring that it meets the needs of the most common actions and sports practiced in the gym.
Adaptability for Functional Training
Functional training areas within a gym require different considerations. Markings for circuit training, agility drills, or CrossFit might be more flexible and adaptable. Here, the sizes of the markings could vary, designed to be versatile and meet the dynamic needs of functional training routines.
Consideration for Safety and Navigation
Safety markings, such as those indicating emergency exits, fire extinguisher locations, or hazard zones, also come in various sizes. These markings should be prominent enough to be easily noticeable, ensuring that individuals can quickly identify and respond to them in emergencies.
Technological Innovations
Technological advancements have introduced new possibilities in floor marking sizes and customization. Laser technologies, for instance, allow for precise markings, and removable tapes or decals offer flexibility in adjusting sizes and layouts based on changing needs and preferences.
In conclusion, the size of floor markings in a gym is a blend of standard specifications, customization, and innovative adaptations. They are tailored to meet the diverse needs of sports, activities, and safety requirements, ensuring that the gym space is functional, versatile, and conducive to various physical pursuits. So, the next time you step into a gym, you’ll have a newfound appreciation for the thought and planning behind each marking on the floor.
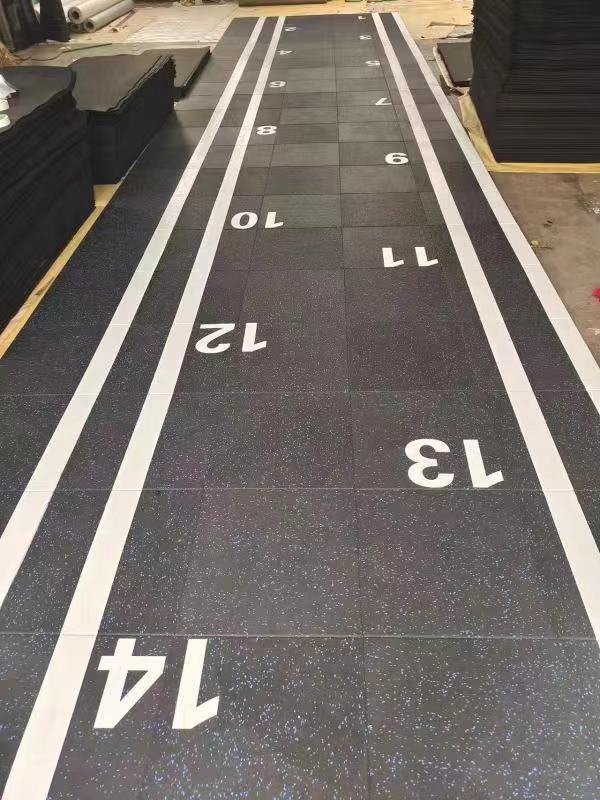
How Do You Paint Lines on a Rubber Gym Floor?
Painting lines on a rubber gym floor is a meticulous task that requires precision, patience, and a bit of artistic flair. These lines and markings are essential for defining spaces, guiding activities, and ensuring the safety and functionality of the gym. If you’re wondering how to do this task, here’s a step-by-step guide to help you effectively paint lines on a rubber gym floor.
Step 1: Planning and Design
– Begin by planning the layout of the lines and markings. Decide on the sports or activities the floor will accommodate and design the markings accordingly. Ensure the design complies with specific regulations or standards for each sport or activity.
Step 2: Cleaning the Floor
– Ensure the rubber floor is clean and free from dust, dirt, or grease. A clean surface will allow the paint to adhere better, ensuring durable and clear lines.
Step 3: Choosing the Right Paint
– Select a paint that is suitable for rubber flooring. The paint should be durable, resistant to wear and tear, and safe for use on rubber surfaces. Choose a color that is easy to clean and maintain.
Step 4: Marking the Guidelines
– Use chalk or a temporary marker to draw guidelines on the floor. These guidelines will serve as a reference, helping you paint straight and accurate lines. Ensure that the policies are aligned correctly and that the dimensions are correct.
Step 5: Applying the Paint
– Using a suitable paint applicator, such as a paint roller or brush, carefully apply the paint along the guidelines. Ensure that the color is applied evenly and that the thickness of the lines is consistent. You should apply multiple coats to achieve precise and vibrant bars.
Step 6: Drying and Curing
– Allow the paint to dry thoroughly. The drying time may vary based on the type of paint used and the environmental conditions. Ensure that the floor is not used during drying to prevent smudging or damaging the lines.
Step 7: Final Touch-ups and Inspection
– Inspect the lines and markings for any inconsistencies or errors once the paint is dry. Make necessary touch-ups to ensure the lines are clear, accurate, and professional-looking.
Step 8: Maintenance
– Regularly maintain the painted lines to ensure their longevity. Clean the floor per the manufacturer’s instructions and avoid using harsh chemicals that might damage the paint.
Painting lines on a rubber gym floor is a process that requires careful planning, precision, and attention to detail. By following these steps, you can achieve professional-quality lines and markings that enhance your gym floor’s functionality, safety, and appearance. Happy painting!

In the intricate ballet of gym floor markings, every line, curve, and symbol plays a pivotal role in orchestrating a harmonious, safe, and efficient environment for physical activity. From planning to painting, each step is a brushstroke in the masterpiece of a well-marked gym floor.
These markings are the silent guides, ensuring that each sport, exercise, and activity unfolds seamlessly, allowing athletes and fitness enthusiasts to navigate the space confidently and clearly. So, as we step into the gym, let’s appreciate the art and science behind these essential markings, celebrating their contribution to our fitness journeys.

