![D 111[1]](https://meettfit.com/wp-content/uploads/2025/04/D-1111.jpg)
Regular cleaning and proper maintenance can double or even triple the lifespan of your gym turf. The key is establishing a consistent routine that includes weekly brushing, prompt spill cleanup, and periodic deep cleaning. This preventative approach saves you thousands in replacement costs.
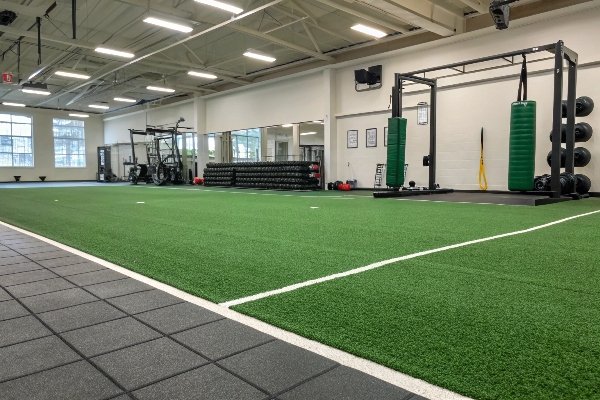
Gym turf has become an essential feature in modern fitness facilities, offering versatility for everything from sled pushes to agility drills. However, many gym owners underestimate how quickly improperly maintained turf deteriorates. I’ve seen pristine installations look worn and matted after just months of neglect, while well-maintained turf can look fresh for years.
The secret lies in understanding that artificial turf isn’t maintenance-free—it simply requires different care than natural grass. Dirt, sweat, chalk, and heavy equipment all take their toll, compacting fibers and creating breeding grounds for bacteria if left untreated.

Let me share what I’ve learned from maintaining turf in my own facility and consulting with professional installers. These practical steps will help you protect your investment while ensuring your members always train on clean, safe surfaces.
How do you take care of new turf?
New turf requires special attention during its first few months. For artificial turf, avoid heavy equipment use for at least 2-3 weeks after installation to allow proper settling. Keep the area clean from debris, brush fibers weekly to prevent matting, and inspect seams regularly to catch any early separation issues.
Proper care during the first 90 days significantly impacts how well your gym turf performs long-term. I made the mistake of allowing heavy sled use immediately after installation at my first facility, and we quickly developed ripples and seam issues that were costly to repair.
Initial Break-In Period
New artificial turf contains fibers that stand unnaturally straight at first. Regular foot traffic and careful brushing help these fibers settle into a more natural position. During this period:
- Keep equipment movement minimal
- Brush gently in multiple directions to help fibers settle naturally
- Remove debris daily, as new installations can shed loose fibers
- Check and document any installation issues before your warranty period expires
Remember that rushing the break-in process can lead to uneven surfaces that affect both performance and safety.

The effort you put into caring for your turf during these first months will establish the foundation for years of trouble-free use. I’ve found maintaining a detailed cleaning log helps establish accountability and ensures no maintenance steps are missed during this critical period.
If your gym uses padded or cushioned turf systems, it’s also important to follow specific care steps — see our guide on How to Clean and Maintain Padded Artificial Turf.
How often should you clean artificial turf?
Artificial gym turf requires daily debris removal, weekly spot cleaning of high-traffic areas, and monthly deep cleaning with appropriate solutions. For heavy-use facilities, brushing fibers 2-3 times weekly prevents matting, while quarterly professional cleaning maintains hygienic conditions and extends turf lifespan.
My maintenance schedule evolved through trial and error. Initially, I underestimated cleaning needs and faced premature wear issues. Now, our systematic approach has kept our turf looking fresh despite heavy daily use.
Daily Maintenance (15 minutes)
- Remove visible debris and equipment marks
- Spot clean any spills or chalk marks
- Quick vacuum of loose particles in high-traffic areas
Weekly Maintenance (30-45 minutes)
- Cross-brush the entire turf surface to prevent fiber matting
- Thorough vacuuming with a turf-appropriate vacuum
- Inspect for damage, particularly in heavy equipment areas
- Spot treat any stains with approved cleaners
Monthly Maintenance (2-3 hours)
- Deep cleaning with proper diluted cleaning solution
- Complete brushing in multiple directions
- Detailed seam inspection and documentation
This tiered approach balances daily convenience with thorough preventative maintenance. I’ve found that keeping cleaning supplies readily accessible encourages staff to address issues immediately rather than letting them accumulate.
To ensure your gym turf stays in top condition every month of the year, you can also read our detailed guide: How Can You Keep Your Gym Turf in Perfect Condition Year-Round?

The most common mistake I see is inconsistent maintenance that allows dirt to build up in the turf base. Once embedded, this dirt becomes nearly impossible to remove completely and accelerates fiber breakdown.
Does turf get moldy?
Yes, gym turf can develop mold when moisture becomes trapped beneath or within the material. Signs include musty odors, discolored patches, and respiratory irritation among users. Prevention requires maintaining proper drainage, ensuring complete drying after cleaning, and using antimicrobial treatments quarterly.
I learned about mold risks the hard way after a small roof leak went unnoticed for weeks. The affected turf section developed black spots and a distinctive odor that members immediately noticed. Removing established mold proved challenging and expensive.
Mold thrives in three conditions commonly found in gym environments:
- Trapped moisture from cleaning, spilled drinks, or humidity
- Organic material like sweat, skin cells, and dirt
- Limited airflow beneath and around turf installations
Indoor installations face greater mold risk due to limited ventilation and sunlight. Our solution included:
- Installing dehumidifiers near turf areas during humid months
- Using fans to accelerate drying after cleaning
- Applying professional-grade antimicrobial treatments quarterly
- Ensuring proper subfloor preparation with moisture barriers
For persistent mold issues, professional cleaning services may be necessary. They use specialized equipment that extracts deeply embedded moisture and applies treatments that prevent recurrence.

Remember that mold isn’t just an aesthetic issue—it poses health risks to members and can deteriorate turf backing. Quick response to any signs of moisture accumulation or unusual odors prevents small problems from becoming major expenses.
Does turf get smelly?
Absolutely, gym turf develops odors primarily from bacterial growth feeding on sweat, skin cells, and other organic matter. The distinctive "gym smell" intensifies in high-humidity environments and with inconsistent cleaning. Effective odor management requires immediate attention to spills, regular disinfection, and periodic enzyme treatments.
Odor control became my obsession after member complaints about our turf area. Through experimentation, I discovered several effective approaches that transformed our facility’s atmosphere.
Gym turf odors typically stem from:
- Bacterial proliferation in moist conditions
- Trapped sweat and body oils
- Protein-based spills (shakes, supplements)
- Inadequate drying time between cleanings
Our most effective odor-fighting protocol includes:
Daily Practices
- Enhance air circulation with strategically placed fans
- Spot-treat protein spills immediately with enzymatic cleaners
- Remove chalk accumulation which traps odor-causing particles
Weekly Treatments
- Apply diluted vinegar solution (1:10 ratio) to neutralize alkaline residues
- Use sports-specific antimicrobial sprays designed for porous surfaces
- Cross-brush to release trapped particles from fiber bases
Monthly Maintenance
- Apply professional-grade enzyme treatments that digest organic matter
- Use hot water extraction in problem areas
- Inspect backing and padding for moisture penetration

The difference between a fresh-smelling facility and one with persistent odor issues often comes down to consistency. I maintain a cleaning calendar visible to all staff, creating accountability and ensuring no maintenance steps are overlooked.
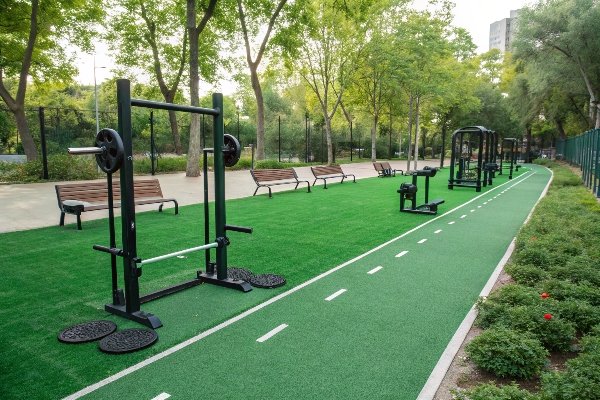
How to install gym turf indoors and outdoors?
Proper gym turf installation requires careful surface preparation, appropriate adhesives, and precise seam management. Indoor installations need vapor barriers and shock-absorbing underlayment, while outdoor applications demand proper drainage layers and UV-resistant materials. Both require professional-grade materials designed specifically for athletic use.
Having overseen multiple turf installations, I’ve identified crucial differences between indoor and outdoor approaches. My most recent installation went smoothly because I applied lessons from previous mistakes.
Indoor Installation Essentials
-
Surface Preparation
- Ensure concrete is fully cured (minimum 28 days)
- Test moisture levels (should be below 5%)
- Level all surfaces (maximum 1/8" variation per 10 feet)
- Clean thoroughly to remove all dust and debris
-
Material Layering
- Install vapor barrier membrane
- Apply shock-absorbing underlayment (5-8mm thickness for gym use)
- Position turf rolls and allow 24-hour acclimation
-
Attachment Methods
- Perimeter tape system for temporary installations
- Full adhesive application for permanent installations
- Double-sided seam tape for joining sections
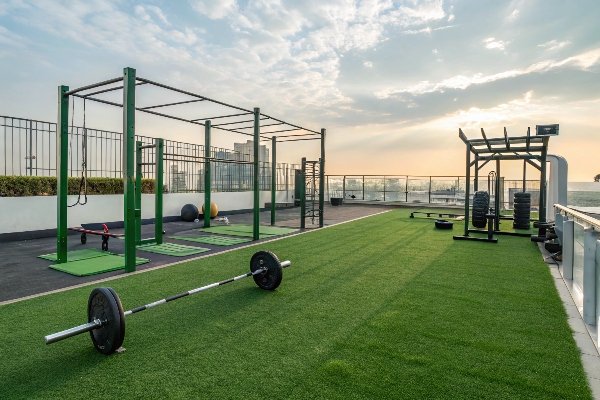
Outdoor Installation Differences
-
Base Construction
- 4-6" compacted aggregate base
- 1-2" leveling layer of crushed stone
- Proper slope design (1-2% grade for drainage)
-
Drainage Considerations
- Perforated turf backing
- French drain systems for heavy rainfall areas
- Proper water runoff planning
-
Weather Adaptations
- UV-stabilized fibers for sun exposure
- Secure anchoring for wind resistance
- Freeze-resistant backing in cold climates
One critical lesson I’ve learned: never rush the acclimation process. Allowing turf to adjust to your facility’s temperature and humidity before final attachment prevents rippling and buckling issues that can appear weeks later.
How to rejuvenate artificial turf?
Rejuvenating worn gym turf requires deep cleaning, fiber restoration, and backing assessment. The process involves power brushing to stand fibers upright, hot water extraction to remove embedded contaminants, and specialized equipment to restore the turf’s resilience. Professional rejuvenation services typically cost $0.50-$1.50 per square foot.
After five years of heavy use, our facility’s turf began showing significant wear patterns. Rather than replacing it entirely, we explored rejuvenation options that extended its life by nearly two years.
DIY Rejuvenation Steps
-
Deep Cleaning Phase
- Use commercial-grade turf vacuum to remove surface debris
- Apply appropriate cleaning solution with soft-bristle brush
- Allow 15-20 minutes for cleaner to penetrate
- Rinse thoroughly with clean water
-
Fiber Restoration
- Use counter-rotating brush machine against fiber direction
- Manual grooming with stiff nylon brush in multiple directions
- Apply silicone-based fiber conditioner for brittleness
-
Performance Restoration
- Test surface resilience with drop tests
- Address any backing separation issues
- Apply backing sealant where necessary
For severely matted areas, professional services use specialized equipment like power brooms with adjustable settings and extraction systems that can reach the turf base. They also have access to commercial-grade conditioners that restore fiber flexibility.
The most dramatic improvements come from combining mechanical restoration with proper cleaning. We found that addressing both aspects simultaneously yielded better results than tackling them separately.
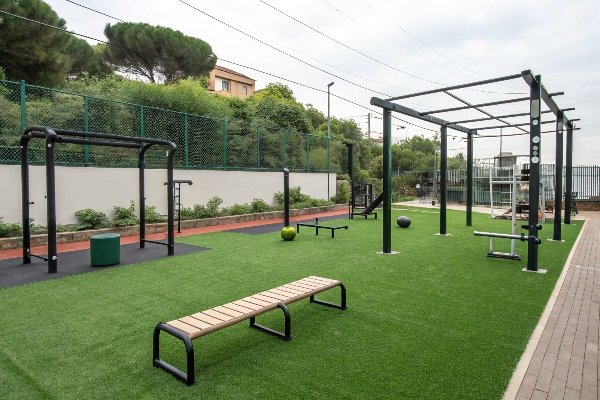
Can gym turf handle heavy equipment like barbells or sleds?
High-quality gym turf can handle heavy equipment when properly installed with appropriate underlayment. Look for products with face weights exceeding 60 oz per square yard and fiber heights of 15-20mm. Equipment-specific turf often features reinforced backing and higher density stitching to withstand direct impact and dragging forces.
Managing a facility that hosts strongman events taught me valuable lessons about turf durability. Not all artificial turf is created equal when it comes to heavy equipment use.
The ability of turf to handle equipment depends on several factors:
Critical Specifications
- Face Weight: Higher numbers (60-80 oz) indicate more fiber material and better durability
- Backing Strength: Look for minimum 15 lb tear strength
- Stitch Rate: Higher density (minimum 18 stitches per 3 inches) provides better resistance
- Fiber Material: Nylon/polyethylene blends offer superior durability to pure polyethylene
Equipment Accommodation Strategies
-
Barbell Protection
- Designate specific dropping zones with additional padding
- Use protective mats for Olympic lifting areas
- Create clear pathways for barbell transportation
-
Sled Usage Optimization
- Rotate sled lanes weekly to distribute wear
- Use sleds with appropriate runners for turf (wider is better)
- Apply silicone spray to sled runners to reduce friction
-
Rack and Platform Placement
- Install additional rubber underlayment beneath heavy equipment zones
- Use transition strips between turf and platform areas
- Create equipment-free buffer zones around heavy-use areas
Through experience, I’ve found that targeted protection in high-stress areas extends overall turf life significantly. Strategic placement of 3/8" rubber mats in barbell landing zones prevents backing damage while maintaining the aesthetic and functional benefits of a continuous turf surface.
What is high-density turf and why does it matter in gyms?
High-density turf contains more fiber strands per square inch (typically 60-80+ ounces per square yard) than standard installations. This increased density creates superior resilience, enhanced foot stability, and greater durability under heavy use. In gym environments, high-density turf lasts 30-50% longer than standard options while providing more consistent athletic performance.
After replacing standard turf with high-density material in our facility, the difference was immediately noticeable in both feel and performance. Members commented on improved stability during lateral movements and greater comfort during floor exercises.
Technical Advantages of High-Density Turf
-
Structural Integrity
- More fibers per square inch creates natural resistance to matting
- Tighter stitch patterns prevent backing exposure
- Superior weight distribution under heavy objects
-
Performance Benefits
- More consistent foot engagement during explosive movements
- Reduced fiber separation during directional changes
- Better energy return for plyometric activities
-
Maintenance Efficiency
- Resists deep contamination due to tighter fiber structure
- Maintains appearance longer between rejuvenation treatments
- Better resistance to crushing from equipment placement
The difference becomes particularly noticeable in high-traffic areas like sled lanes and sprint tracks. While standard turf might develop visible wear patterns within months, high-density options maintain their appearance and performance characteristics significantly longer.

The initial investment in high-density turf typically runs 15-30% higher than standard options, but the extended lifespan and reduced maintenance costs create substantial savings over time. Our facility’s cost analysis showed complete return on the premium investment within two years.
What’s the best gym turf for CrossFit and HIIT training?
The ideal turf for CrossFit and HIIT training features 15-20mm pile height, 60+ oz face weight, and reinforced backing with 5-8mm shock-absorbing underlayment. Look for products with heat-set nylon fibers that resist crushing from equipment and provide appropriate friction for explosive movements without causing abrasions during floor work.
After testing multiple turf options in our CrossFit space, I found specific characteristics that dramatically impacted both performance and maintenance requirements.
Essential Turf Characteristics for Functional Training
-
Optimal Fiber Structure
- Multi-directional fibers that provide traction in all movement planes
- Thatch layer dense enough to protect backing during burpees and push-ups
- Proper balance between grip and slide for dynamic movements
-
Impact Management
- Correct combination of turf and underlayment thickness (typically 25-30mm total)
- Progressive resistance that absorbs initial impact but provides stability
- Consistent performance across the entire installation
-
Recovery Properties
- Quick-rebound fibers that return to position after compression
- Resistance to permanent tracks from repeated movement patterns
- Heat-set technology that maintains fiber structure under stress
Top performing brands in our testing included specialized athletic turf from manufacturers focusing specifically on fitness applications rather than landscape or general sports turf. The difference in performance and durability justified the higher initial investment.
I’ve found that consulting with facilities similar to yours provides valuable real-world insights. When researching options, I visited five different CrossFit boxes to examine how their turf performed after various periods of use, which proved more valuable than any marketing materials.
Conclusion
Regular maintenance, appropriate equipment usage, and investing in high-quality, high-density turf specifically designed for fitness applications are the keys to maximizing your gym turf’s lifespan and performance.