


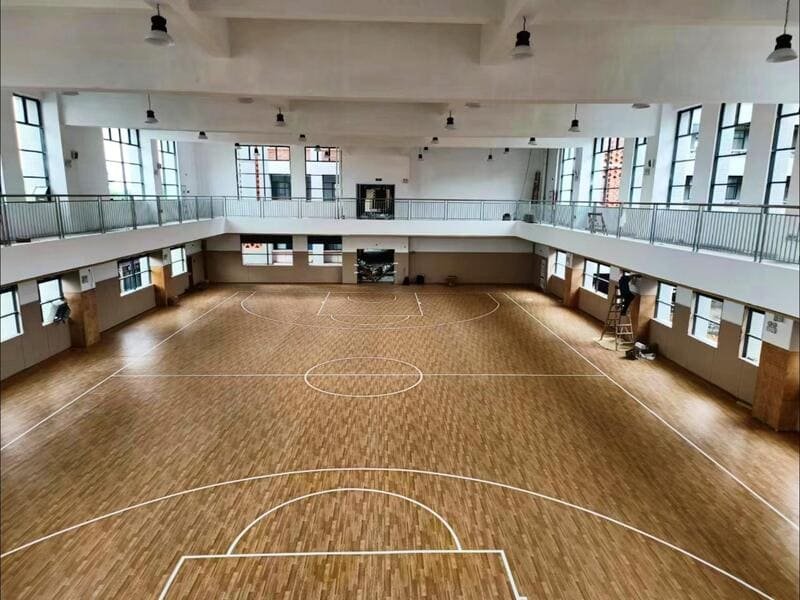
A proper post-installation inspection checks four things: surface flatness, seam integrity, adhesion, and standard compliance (EN 14904 / ASTM F2772). Skipping this step risks athlete safety, voided warranties, and early floor failure.
I have walked hundreds of finished courts before final sign-off, and I can tell you this: a floor that looks good from the doorway can still hide problems. Bubbling under the surface, a weak seam near a wall, a subfloor ridge telegraphing through the PVC — these issues do not always show up on day one. They show up six months later, after heavy foot traffic and a few temperature swings. That is why I treat inspection as a structured process, not a quick walk-around. I break it into phases: preparation, visual check, checklist verification, seam and weld review, the right tools, physical performance testing, standard compliance, defect logging, and final sign-off. Each phase catches a different type of risk, and skipping any one of them leaves a gap that shows up later as a warranty claim or a safety hazard.
Before you grab a checklist and start walking the court, there is groundwork to cover. Let me start with what happens before the inspection even begins.
What Should You Check Before the Walk-Through Begins?
Wait 24 to 72 hours for adhesive cure, then verify the installed product against the spec sheet and the recorded environmental conditions.
| Pre-Inspection Item | Porque é que é importante |
|---|---|
| Adhesive cure time | Foot traffic too early can shift seams or trap moisture |
| Product code / thickness match | Confirms the correct spec was installed, not a substitute |
| Ambient temperature log | PVC expands and contracts; wrong install temp causes gaps |
| Subfloor moisture reading | High moisture leads to bubbling and adhesive failure later |
I never walk a floor the same day the crew finishes rolling adhesive. Most PVC adhesives need real time to set, and pressing on a floor too early can shift a seam that looked perfect an hour before. Beyond timing, I pull the project spec sheet and match it line by line against what was actually installed — product code, thickness, roll batch. This sounds basic, but substitutions happen, and a mismatched thickness affects both shock absorption and warranty coverage. I also review the environmental log from install day: ambient temperature, humidity, and subfloor moisture readings. PVC reacts to these conditions during cure, so a floor installed in high humidity without proper ventilation is more likely to trap moisture vapor under the surface, which shows up later as domes or blisters.
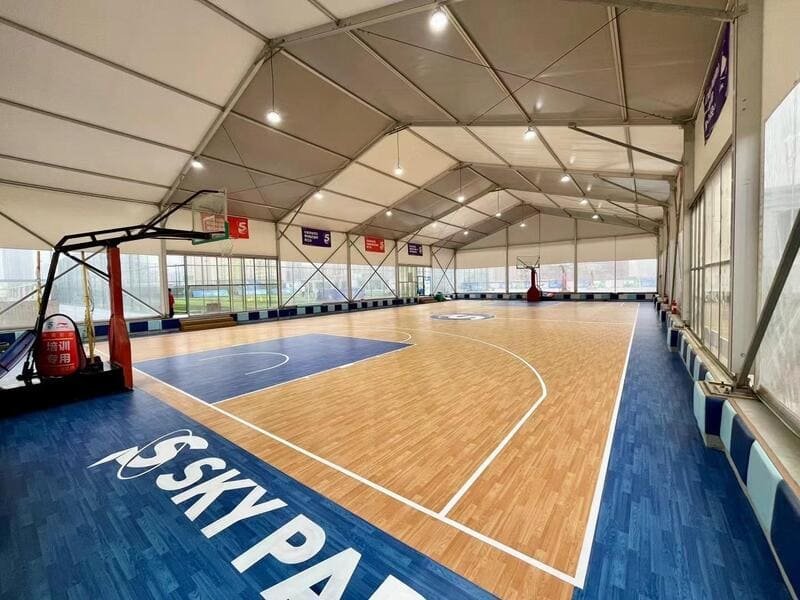
Once the paperwork checks out, it is time to get down on the floor itself and start looking.
What Does a Visual Inspection of PVC Sports Flooring Cover?
A visual check covers flatness, bubbling, color consistency, and game line precision — the four areas most likely to reveal installation errors.
| Controlo visual | O que procurar |
|---|---|
| Surface flatness | Telegraphing ridges, debris under the sheet |
| Bubbling / blistering | Trapped air vs. moisture vapor domes |
| Color consistency | Shade variation between rolls, wrong roll direction |
| Game lines | Sharp edges, correct measurements, paint adhesion |
Surface Flatness and Bubbling
I start low, at eye level with the floor, and look across the surface for telegraphing — small ridges or bumps where subfloor imperfections push through the PVC. This usually means debris or poor leveling underneath. Next, I check for bubbling in high-traffic zones, along perimeters, and near heat sources like windows or HVAC vents. A soft, shallow bubble is often trapped air. A firm dome that does not flatten under pressure is more likely moisture vapor, which is a bigger problem because it points to a subfloor issue, not just an installation slip.
Color and Game Lines
I also check roll direction and shade consistency, since manufacturers often require directional installation for both appearance and wear pattern. Then I measure game lines against official sports regulations and check the edges for bleed-through or jagged cuts, since sloppy lines usually mean the paint did not bond well to the top PUR layer.
A visual walk-through only works if you know exactly what "pass" looks like for each item. That is why I always work from a written checklist, not memory.
What Is Included in a PVC Sports Flooring Inspection Checklist?
A complete checklist covers flatness, seam welding, adhesion, thickness, shock absorption, line marking, surface finish, cleanliness, and documentation, each with a clear pass criterion.
| Inspection Item | Pass Criterion |
|---|---|
| Floor flatness | No visible waves or ridges under a straightedge |
| Seam welding | Fully fused, no gaps or pinholes |
| Adesão | No hollow sound or lifting when pressed |
| Espessura | Matches project specification |
| Absorção de choques | Meets EN 14904 / ASTM F2772 requirement |
| Line marking | Correct dimensions, sharp edges |
| Surface finish | No scratches, gouges, or dull patches |
| Limpeza | No adhesive residue or manufacturing film |
| Documentação | Warranty and maintenance guide received |
I hand this checklist to the crew before the walk-through even starts, so nobody is guessing what "acceptable" means. Every item on it maps back to something I have already covered in the visual and functional checks, but writing it down as pass/fail criteria removes the guesswork. For example, "no hollow sound when pressed" is something anyone on the owner’s side can test themselves with a light tap, even without training. I always attach this checklist to the final punch list, so the sign-off documentation and the inspection process line up item for item. Facility managers who keep this on file also have an easier time filing a warranty claim later, since they can point to the exact criteria the floor passed on day one.
A checklist tells you what to check. Seams and welds are where I spend the most time actually checking it.
How Do You Inspect Seams and Welds for Defects?
Seam inspection confirms the correct weld method was used, checks for uniform groove depth, and looks for gaps or pinholes where water could enter.
| Seam Check | Failure Sign |
|---|---|
| Weld type | Cold weld used where heat weld was specified |
| Groove depth/width | Uneven channel before rod insertion |
| Trim precision | Raised lip or gouged cut |
| Seam adhesion | Gaps, pinholes, incomplete fusion |
Seams are where most long-term failures start, so I give them the closest attention. First, I confirm the crew used the correct weld method — cold weld or heat weld — matching the seam spec, since using the wrong one weakens the bond over time. For heat-welded seams, I check groove depth and width before the rod was inserted; an uneven channel leads to a weak fusion point. I then look closely at the trim work. A proper two-stage trim leaves a flush cut with no gouging and no raised lip catching a rolling ball or a foot. Finally, I press along every seam and edge, feeling for gaps, pinholes, or spots where the weld did not fully fuse. Any opening here lets moisture in underneath the floor, which is one of the fastest ways to void a warranty and shorten the floor’s service life.
Good eyes and hands catch a lot, but some defects only show up with the right instrument. Here is what I bring to every inspection.
What Tools Are Used During PVC Flooring Inspection?
Inspectors rely on a straightedge, moisture meter, hygrometer, pull-off tester, and a raking light source to catch defects that visual checks alone can miss.
| Ferramenta | Objetivo |
|---|---|
| 2m straightedge | Measures flatness and detects ridges |
| Medidor de humidade | Tests subfloor moisture before and after install |
| Hygrometer | Checks ambient humidity during cure |
| Pull-off tester | Measures adhesion bond strength |
| Raking light source | Reveals surface defects invisible under flat lighting |
| Feeler gauge | Checks seam gap width |
A 2m straightedge laid across the floor tells me more about flatness than eyeballing ever will — any gap underneath the edge points to a ridge or a dip that will telegraph over time. A moisture meter is non-negotiable on any project with a concrete subfloor, since readings above the manufacturer’s threshold mean the adhesive bond is at risk even if the surface looks fine today. I also carry a pull-off tester for spot-checking adhesion strength on higher-risk projects, especially gymnasiums with heavy rolling equipment. One tool that gets overlooked is a simple raking light — a handheld light held low and angled across the surface. It throws shadows across bumps, scratches, and seam irregularities that are invisible under normal overhead lighting. None of these tools replace a trained eye, but they turn a subjective call into a documented, repeatable measurement.
With the right tools in hand, the next step is confirming the floor performs the way the standards say it should.
What Physical and Functional Tests Confirm Floor Performance?
Adhesion pressure tests, shock absorption checks against EN 14904 / ASTM F2772, and slip resistance testing confirm the floor performs to standard, not just looks correct.
I press firmly along seams and edges across the whole court, feeling for any spot that lifts or flexes — that tells me if the adhesive bonded fully or if a section is still loose underneath. I also check shock absorption and ball rebound consistency across different zones of the court, referencing EN 14904 or ASTM F2772 depending on the project’s required standard. These specs exist for a reason: inconsistent rebound or shock absorption across a court creates uneven playing conditions and, over time, higher injury risk for athletes making repeated impact movements. Last, I check slip resistance. Excess adhesive residue or an incomplete initial clean can leave slick spots, and I always verify the matte or anti-glare finish looks correct under the venue’s actual overhead lighting, not just daylight from an open door.
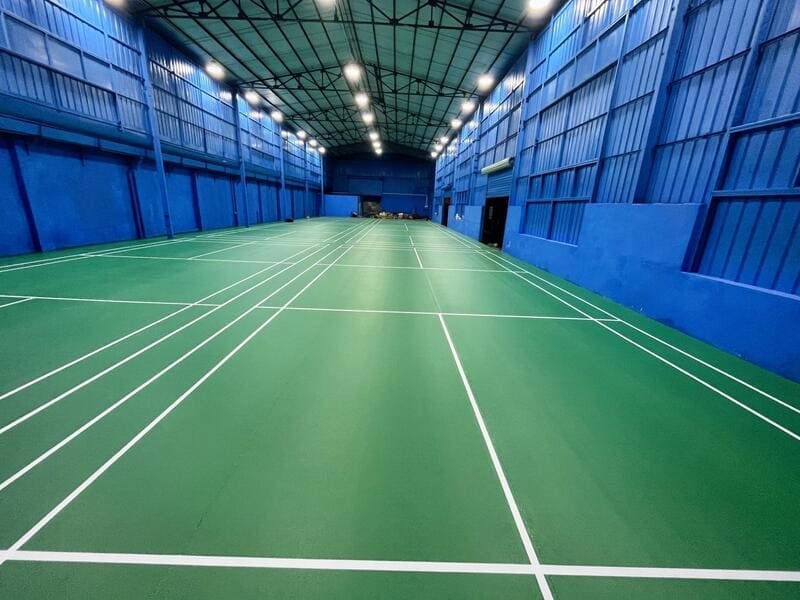
Those two standards get referenced a lot, but they are not interchangeable. Here is what each one actually measures.
Which Standards Are Used for PVC Sports Flooring Acceptance?
EN 14904 evaluates shock absorption, vertical deformation, ball rebound, and friction; ASTM F2772 focuses on force reduction and vertical deformation for indoor sports surfaces.
| Padrão | Região | Key Metrics |
|---|---|---|
| EN 14904 | Europe / International | Shock absorption, vertical deformation, ball rebound, friction |
| ASTM F2772 | América do Norte | Force reduction, vertical deformation |
EN 14904 is the reference most projects outside North America work to, and it covers a broad set of performance metrics: how much shock the floor absorbs on impact, how much the surface deforms vertically under load, how consistently a ball rebounds across the court, and how much friction the surface provides underfoot. ASTM F2772 is the standard I see most often on North American projects, and it narrows in on force reduction and vertical deformation specifically, since those two numbers are what most directly connect to athlete injury risk during hard landings. Neither standard is inherently "better" — the right one depends on the sport federation, the region, and sometimes the insurance requirements tied to the facility. What matters during inspection is confirming the test results on file actually match the standard the project specification called for, not just that a certificate exists.
Acceptance tolerances for flatness, seam height, and line marking should always follow the project specification, the manufacturer’s installation guide, and any local building code — I avoid quoting a fixed number here because it changes project to project, and applying the wrong tolerance can create disputes that were never really about the floor.
Even with every standard met, some defects still show up. Here is how I sort out what is causing them.
What Are the Most Common Defects and How Are They Fixed?
Most defects trace back to trapped air, incorrect weld heat, poor subfloor prep, or leftover adhesive residue — each with a specific, targeted fix.
| Defect Observed | Causa provável | Remediation |
|---|---|---|
| Localized bubbling | Trapped air or late placement into adhesive | Adhesive injection or section replacement |
| Seam separation / pinholes | Incorrect weld heat or poor blade trim | Re-weld segment or seam repair |
| Visible subfloor ridges | Inadequate subfloor leveling | Partial roll lift, level, re-glue |
| Shiny / slippery spots | Leftover release agent or adhesive smudge | Deep scrub with pH-neutral floor cleaner |
I keep this matrix on hand during every walk-through because it turns a vague complaint like "the floor looks off here" into a specific cause and a specific fix. Localized bubbling, for example, almost always means either trapped air during rolling or the crew placed the sheet too late into the adhesive’s open time — the fix is a targeted adhesive injection or, in worse cases, replacing that section. Seam separation usually traces back to incorrect weld heat or a poor blade trim, so I send that seam back for re-welding rather than patching over it. Subfloor ridges mean the leveling work underneath was not adequate, which requires lifting that section, releveling, and re-gluing. Shiny or slippery patches are almost always leftover manufacturing release agent or adhesive smudge, solved with a proper pH-neutral deep scrub rather than assuming it is a material defect.
Once every item on this list is resolved, the last step is making the handover official.
How Do You Complete Sign-Off and Maintenance Handover?
Sign-off requires a documented punch list with photos, approved initial cleaning steps, and delivery of warranty and maintenance documents before final payment.
I never close out a project without a written punch list — clear photos, roll numbers, and correction deadlines for anything that did not pass inspection. This protects both the owner and the contractor if a question comes up later. Before the first wet scrub, I confirm the required waiting period and make sure the facility team knows which cleaning agents are approved, since harsh solvents can damage the PUR wear layer and void the warranty within the first year. Sign-off also means physically handing over the warranty certificate, a maintenance schedule, and any leftover roll material set aside for future repairs. This last piece gets skipped more often than it should, and it is usually the first thing a facility manager wishes they had two years down the line when a repair is needed and the exact roll batch is nowhere to be found.
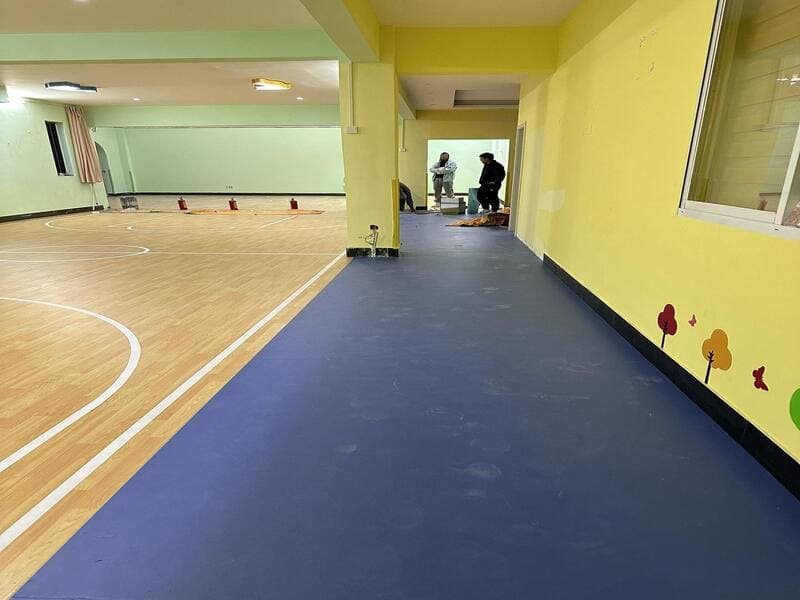
Before I wrap up, let me answer a few questions I get asked on almost every project.
Perguntas mais frequentes
How soon should PVC sports flooring be inspected after installation?
Wait at least 24 to 72 hours after installation, once the adhesive has fully cured, before doing a full walk-through inspection.
What causes PVC sports flooring to fail inspection?
The most common causes are trapped air or moisture under the surface, incorrect weld heat on seams, uneven subfloor leveling, and leftover adhesive residue on the surface.
Can bubbles in PVC flooring be repaired?
Yes. Small trapped-air bubbles are usually fixed with an adhesive injection. Larger domes caused by moisture vapor often require lifting and replacing that section.
How do you check if vinyl sports flooring is properly glued?
Press firmly along seams and open field areas and listen for a hollow sound, or use a pull-off tester for a measured adhesion strength reading.
Who is responsible for flooring defects after installation?
The installing contractor is typically responsible for defects found during the punch list walk-through, which is why documenting issues with photos and roll numbers before final payment matters.
Conclusão
A thorough inspection protects safety, playability, and ROI — never release final payment before every punch list item is resolved.