To build a truly soundproof room, you must decouple the entire structure from the existing building, starting with a high-density soundproof flooring system to stop impact vibration. This involves layering mass-loaded rubber underlayments, framing independent walls, and sealing airtight gaps to create a "floating" environment.
The "Bottom-Up" Engineering Approach
In my 15 years designing production processes for performance flooring, I’ve seen countless high-budget builds fail because they ignored the physics of structure-borne noise. Sound behaves like water; it follows the path of least resistance.
Whether you are building a professional recording studio, a high-impact home gym, a basement cinema, or an industrial machinery room, the principles remain the same. If you build heavy soundproof walls directly onto a standard subfloor, you are mechanically "short-circuiting" your isolation. The vibration simply bypasses your walls and travels up through the floor joists.
Therefore, the Soundproof Flooring system is the foundational engineering component. We must treat the floor as a vibration damper, similar to how we design shock absorbers for industrial presses.
🛑 Critical Distinction: Soundproofing vs. Acoustic Treatment
Before picking up a hammer, you must understand the difference, as 90% of beginners get this wrong:
| Geluidsisolatie (Isolation) | Acoustic Treatment (Absorption) |
|---|---|
| Doel: Stops sound from entering of leaving the room. | Doel: Improves sound quality inside the room (reduces echo). |
| Materialen: Heavy mass (drywall), rubber isolators, decoupling clips. | Materialen: Soft foam panels, bass traps, diffusers. |
| Resultaat: Your neighbors can’t hear you. | Resultaat: Your recording sounds clear, but neighbors still hear you. |
Engineer’s Note: Foam panels on a wall will niet soundproof a room. To block noise, you need mass and decoupling.
⚡ TL;DR – The Proven Soundproofing Sequence
If you want to understand the workflow at a glance, here is the engineering roadmap:
- Floor Isolation First: Install high-density Soundproof Flooring (rubber underlayment) to stop impact vibration.
- Walls Float: Build new stud walls on top of the isolated floor; do not touch existing walls.
- Ceiling Suspended: Hang the new ceiling using resilient clips to break the structural path.
- Add Mass: Use the "Drywall Sandwich" method (Drywall + Damping Compound + Drywall).
- Ventilate Indirectly: Build "Baffle Boxes" to move air without moving sound.
- Seal Everything: If air can get through, sound can get through.

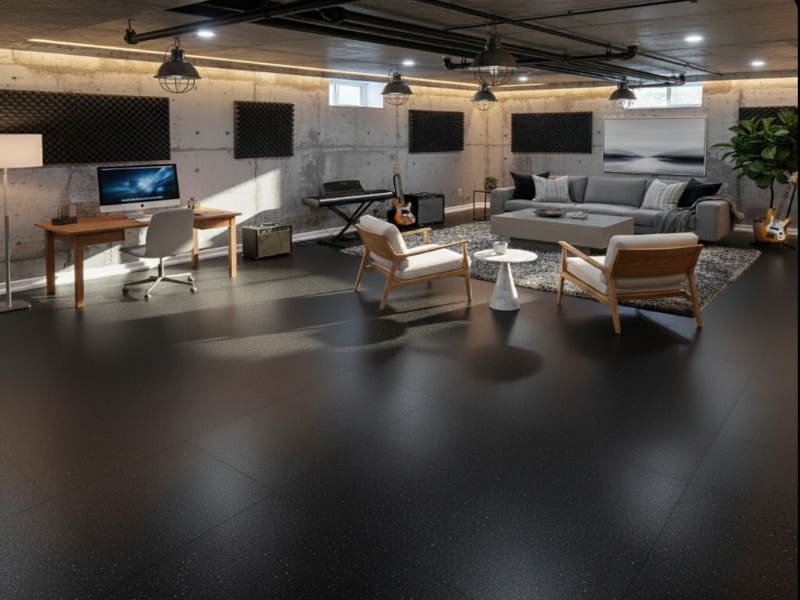
Step 1: The Foundation (Installing Soundproof Flooring)
You must install a specialized high-density soundproof flooring system—typically composed of recycled rubber granules or composite polymers—to decouple the new room from the subfloor. This layer acts as the primary shock absorber.
Why Material Density Matters (The Engineering View)
This is where many DIYers get confused. They buy soft, fluffy foam underlayment thinking it absorbs sound. As a process engineer, I can tell you that under the weight of a "room within a room," soft foam will compress to zero thickness, losing all isolation properties.
For true isolation, you need Soundproof Flooring with specific density characteristics (typically 700kg/m³ to 1000kg/m³). We design these rubber mats to resist compression while remaining elastic enough to dissipate kinetic energy (vibration) into heat—a property called hysterese.
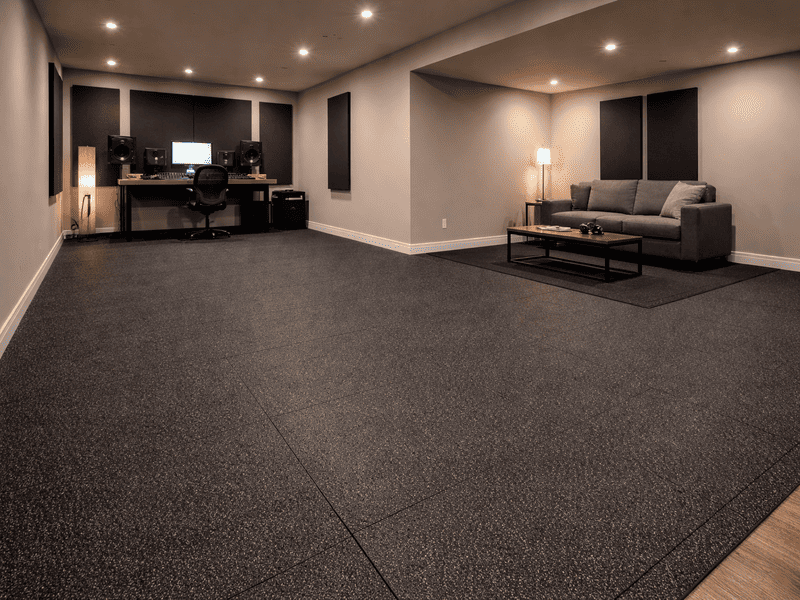
There are two effective ways to deploy Soundproof Flooring in this stage:
- The Full Float: Laying a continuous layer of high-density acoustic rubber underlayment across the entire existing floor. Your new room’s frame sits on top of this mat.
- The Sandwich System: Using the rubber flooring as a damping layer between two sheets of plywood. This "constrained layer damping" is incredibly effective at killing low-frequency bass vibration.
Step 2: The Frame (Decoupling the Walls)
Construct the new wall frames on top of your floating floor system, ensuring they do not touch the existing outer walls. This creates a physical air gap that breaks the path of sound waves.
Integrating the Wall with the Floor
Notice the sequence: The walls sit op the isolated floor structure (or on isolated footing pads made of soundproof rubber), not on the raw subfloor. This ensures that the walls are also "floating."
The air gap between your new studs and the old wall is crucial. In our testing labs, we find that a 1-inch air gap combined with high-mass materials can outperform a solid concrete wall in blocking certain frequencies. This gap acts as a "spring" in the Mass-Spring-Mass equation. However, ensure you do not bridge this gap with debris, nails, or rigid pipes. If a single screw connects the new stud to the old wall, the vibration isolation provided by your Soundproof Flooring foundation is compromised.

Step 3: The Lid (Isolating the Ceiling)
Suspend the new ceiling using resilient isolation clips and hat channels to prevent impact noise from above. This system works in tandem with your flooring to ensure that footprints from upstairs don’t rattle your new room.
The Gravity Challenge
While Soundproof Flooring relies on compression to work, the ceiling relies on suspension. We use isolation clips that contain rubber elements—chemically similar to the polymers we use in floor mats—to decouple the drywall from the joists.
It is critical to fill the ceiling cavity with absorptive material like mineral wool. While this doesn’t stop sound transmission on its own (that’s the job of mass), it stops the "drum effect." Without insulation, your ceiling cavity acts like a giant guitar body, amplifying certain frequencies. The combination of a floating ceiling and a floating floor creates a "box inside a box" where energy has nowhere to enter or exit.
Step 4: The Mass (The Drywall "Sandwich")
Apply double layers of 5/8-inch drywall to your new frame, using a viscoelastic damping compound between the sheets. This adds the necessary mass to block airborne sound (voices, music) that your Soundproof Flooring and frame have structurally isolated.
Mass vs. Damping
As a materials guy, I love this part. We know that heavy objects are hard to move. Sound waves are just moving air molecules trying to push your wall. By using two heavy sheets of drywall, we make it exhausting for the sound waves to push the wall.
But mass isn’t enough. We add a damping compound (like Green Glue) between the layers. This works similarly to our rubber flooring: it converts the mechanical energy of the sound wave into trace amounts of heat. The result is a wall that goes "thud" instead of "ring" when you knock on it. This system complements your Soundproof Flooring perfectly—the floor handles the deep, earth-shaking vibrations, while the heavy walls handle the airborne mid-to-high frequencies.

Step 5: The Lungs (Ventilation Systems)
Install "Dead Vents" or "Baffle Boxes" to circulate fresh air without creating a direct path for sound to escape. Since your new room is sealed airtight to maximize the performance of the flooring and walls, mechanical ventilation is mandatory for safety.
Preventing the "Weak Link"
A common tragedy in soundproofing is building a perfect room and then cutting a hole for an AC duct. That hole destroys the STC (Sound Transmission Class) rating.
A Baffle Box is a maze lined with sound-absorbing duct liner. The air snakes through the maze, but the sound waves get trapped in the turns. When designing these, we calculate the airflow velocity to ensure it’s slow and quiet. This ensures that the silence provided by your high-end Soundproof Flooring isn’t ruined by the "whoosh" of rushing air or the noise of the HVAC unit itself.
Step 6: The Seal (Doors and Electrical)
Finish the room by surface-mounting electrical outlets and installing a solid-core door with full perimeter seals. The final step is using acoustic caulk to seal every gap, particularly where your drywall meets your Soundproof Flooring.
The Final Quality Control Check
In manufacturing, we know that a product is only as good as its smallest defect. In soundproofing, a 1% gap results in a 50% drop in performance. You must liberally use acoustic sealant (caulk) around the entire perimeter of the floor.
Because your Soundproof Flooring is floating, there may be slight movement over time. Standard hard grout or putty will crack. Acoustic caulk remains flexible, maintaining the seal even as the rubber underlayment does its job of flexing under load. For the door, ensure you use an automatic door bottom that seals against a flat threshold—gap-free integrity is the goal.
Conclusie
Building a soundproof room is a complete structural system, but that system relies entirely on a decoupled foundation. Whether you are building a drum room, a home theater, or enclosing a noisy generator, without high-quality Soundproof Flooring to handle structural vibration and impact mass, the rest of the construction is compromised.
If you are calculating the load requirements for your specific project or need advice on which density of rubber flooring (Underlayment vs. Surface Mats) is best for your noise levels, my engineering team can guide you through the material selection process.
[Ask us about our High-Density Soundproof Flooring samples to start your build on the right foundation.]
Mijn rol
I am a Production Process Engineer with over 15 years of experience in the manufacturing of Soundproof Flooring and polymer composites. My expertise lies in designing rubber formulations that maximize vibration damping and impact isolation.