


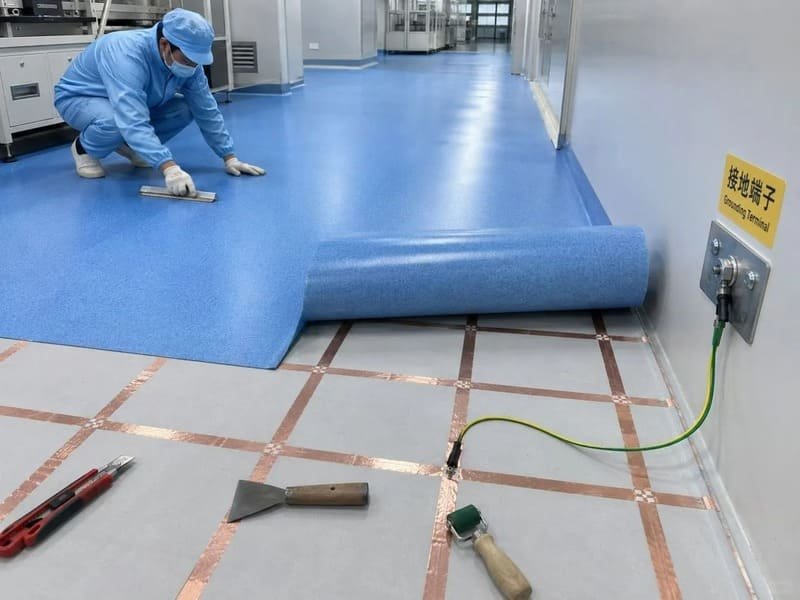
New vinyl flooring can develop bubbles or raised areas from trapped air, incorrect adhesive application, subfloor moisture, or loss of bond. In floating click-lock LVP, a raised area is more often buckling or peaking caused by restricted expansion, heat, or subfloor unevenness rather than a true air bubble.
A bubble, blister, or raised ridge on a newly installed vinyl floor is a common post-installation issue, and it does not automatically mean the floor needs to be replaced. Installation, substrate condition, and site conditions are more common causes than a manufacturing defect. Homeowners often describe any raised area as a "bubble," but true bubbling mainly occurs in flexible sheet or glue-down vinyl. Floating LVP more commonly develops buckling, peaking, or tenting instead. This guide breaks down what causes each type of failure, how to tell them apart, and what to do about them.
Before deciding on a fix, it helps to know exactly what type of raised area you’re dealing with, since sheet vinyl and click-lock LVP fail for different reasons.
Is It Sheet Vinyl or Click-Lock LVP? How to Tell the Bubble Type
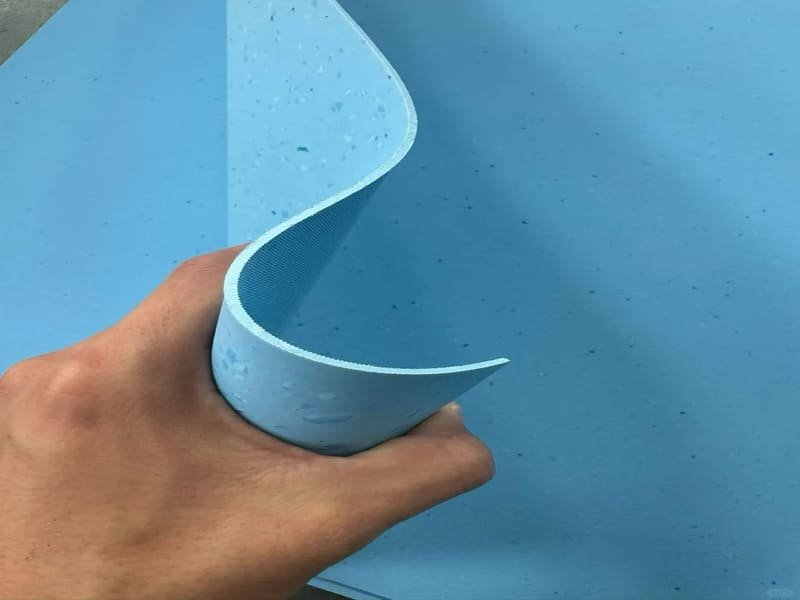
Sheet or glue-down vinyl develops soft air or adhesive bubbles from trapped air, moisture, or bond loss. Click-lock LVP develops hard buckling, peaking, or tenting from restricted expansion or subfloor unevenness.
These two flooring systems fail through different mechanisms, and the fix for one can be the wrong fix for the other.
| Tipo di pavimentazione | What It Looks Like | Causa comune |
|---|---|---|
| Sheet / Glue-Down Vinyl | Soft, compressible pocket | Trapped air, poor adhesive transfer, moisture, or bond loss |
| Click-Lock LVP (Floating) | Hard, raised ridge or peak | Restricted expansion space, subfloor unevenness, heat |
The Press & Feel Test
Pressing a suspected bubble can give an early indication, but it is not a definitive diagnosis. If the area feels soft or compressible, it may indicate loss of bond or a void beneath the flooring rather than trapped air specifically. Moisture cannot be confirmed by touch alone and may require substrate testing or further inspection. If the spot is rigid and will not flatten under pressure, this points toward restricted plank movement rather than a soft pocket, and this distinction matters before you attempt any repair.
Once you have a general idea of what you’re looking at, it’s worth understanding the specific causes behind each type of failure.
What Causes Bubbles and Raised Areas in New Vinyl Flooring?
Common causes include trapped air, subfloor moisture, adhesive timing errors, subfloor irregularities, restricted expansion space, and heat exposure. The cause differs depending on whether the product is glue-down/sheet vinyl or floating click-lock LVP.
Sheet vinyl and glue-down systems generally fail through adhesive- and air-related issues, while floating LVP generally fails through expansion-related issues. Here is how each cause plays out.
Cause 1: Trapped Air & Inadequate Rolling (Glue-Down / Sheet Vinyl)
Rolling the floor after installation helps press out trapped air and improve adhesive transfer between the flooring and the substrate. Use the roller weight and rolling procedure specified by the flooring manufacturer, since requirements vary by product — some call for a 100-lb roller, others specify a lighter weight.
Cause 2: Subfloor Moisture (Glue-Down / Sheet Vinyl)
Concrete slabs can contain and transmit moisture. Excess moisture may interfere with adhesive performance, contribute to bond loss, and in some cases lead to blistering or bubbling. The correct response depends on the system: some floating LVP/SPC products over concrete call for a specified polyethylene sheet, while full-spread glue-down sheet vinyl typically relies on concrete moisture testing against the adhesive manufacturer’s allowable limits, with an approved moisture-mitigation system used where needed. Always follow the flooring and adhesive manufacturer’s specific requirements rather than assuming one solution applies to all products.
Cause 3: Acclimation and Jobsite Conditions
Acclimation requirements vary by product. Some products require a conditioning period before installation, while others mainly require a controlled jobsite temperature during and after installation rather than a fixed acclimation window. Always follow the manufacturer’s installation instructions for temperature, humidity, and any conditioning time.
Cause 4: Adhesive Timing and Compatibility (Glue-Down Systems)
Laying vinyl into adhesive before it has reached the correct open time can leave the glue too wet to bond properly, and this can cause bubbling. Waiting past the adhesive’s working time can cause bond failure. Using an adhesive not recommended by the flooring manufacturer may also be chemically incompatible or fail to develop the required bond with the backing.
Cause 5: Subfloor Irregularities and Debris
Dirt, grit, or dried joint compound left under the flooring typically telegraphs through as a raised bump or high spot rather than a true air blister. Clean and inspect the subfloor thoroughly before installation.
Cause 6: Restricted Expansion and Heat (Floating Click-Lock LVP)
Floating LVP needs a perimeter expansion gap, and direct sunlight through an unshaded window can heat one section of the floor well beyond the surrounding area. Without room to expand, this localized heat gain causes planks to buckle, peak, or tent at the joints.
Knowing the likely cause helps you judge whether this is something to monitor or something that needs prompt attention.
Will New Vinyl Flooring Bubbles Go Away on Their Own?
A very minor surface irregularity may settle as an installation stabilizes, but a true bubble should not be expected to disappear on its own. If it grows, feels soft or wet, or persists after the adhesive’s specified curing period, the cause needs to be investigated.
It’s tempting to wait and see, but a genuine air or moisture bubble does not resolve itself just because adhesive continues to cure. If a bubble appears shortly after installation, it’s worth reviewing the installation itself — adhesive application, rolling, product placement timing, and subfloor moisture are the areas to check first, rather than assuming time alone will fix it.
Why Unaddressed Bubbles Get Worse
Foot traffic wears through a raised area faster than the surrounding floor. Over time, that wear spot can crack, and once the surface is compromised, moisture and further bond loss can spread from that point outward.
If a bubble isn’t improving, the next question is whether to repair it yourself or bring in the installer — and that decision should come before any repair attempt.
What Should You Do Before Attempting a Repair?
Check your warranty and contact the installer or manufacturer before puncturing, heating, or cutting into a newly installed floor, since some repair attempts can void a warranty claim or damage the surface.
For flooring that was only recently installed, the priority is documentation and diagnosis, not immediate DIY repair.
Step 1: Photograph and Document
Take clear photos of the bubble from multiple angles and note the installation date before doing anything else.
Step 2: Contact the Installer or Manufacturer
Determine whether the issue is likely tied to installation, substrate condition, or a material defect before attempting a fix. Cutting, puncturing, or heating the floor first can void a warranty claim and, in the case of heat guns, can distort the vinyl surface.
Step 3: Confirm Whether a Repair Is Permitted
If a repair is appropriate, confirm the method against what the flooring or adhesive manufacturer allows.
Once you’ve confirmed a repair is appropriate and won’t affect your warranty, here are the general approaches used for each flooring type.
How Are Vinyl Flooring Bubbles and Buckling Typically Repaired?
Small air bubbles in sheet vinyl are sometimes repaired with a pinhole and rolling technique where permitted by the manufacturer. Larger adhesive bubbles may require injecting new adhesive. Click-lock LVP buckling is corrected by removing the source of restriction.
These are general repair approaches used in the industry. Confirm the specific method against your product’s warranty and installation guidelines before proceeding, since not every method is appropriate for every product.
Method 1: Pinhole Method (Small Air Bubbles in Sheet Vinyl)
Where permitted by the manufacturer, a small air pocket can sometimes be relieved by making a fine pinhole and pressing the trapped air out toward the hole using a roller or firm, flat pressure.
Method 2: Adhesive Injection (Larger Bubbles with Bond Loss)
Where permitted by the flooring and adhesive manufacturer, a syringe can be used to introduce compatible adhesive into the affected pocket, followed by pressing the area flat and weighting it while the adhesive cures according to the adhesive’s technical data sheet.
Method 3: Correcting Click-Lock LVP Buckling
Identify and remove the source of restriction, such as insufficient perimeter clearance, fixed moldings, transitions, or other obstructions, then trim the perimeter planks to restore the manufacturer’s specified expansion gap. If the locking joints or planks have already been damaged or permanently deformed, the affected boards may need to be removed and replaced rather than reset.
If you’re unsure whether the issue is on the installer’s side or the manufacturer’s side, here’s how that responsibility is typically assessed.
Is a Vinyl Floor Bubble an Installer Error or a Manufacturer Defect?
Installation, substrate, and site-condition issues are more common causes of bubbling than manufacturing defects. True manufacturing defects are less common and are more likely to involve backing delamination, dimensional instability, or a localized material defect.
Determining responsibility matters both for the right repair approach and for any warranty claim.
Signs Pointing to Installation or Site Conditions
No concrete moisture testing performed before installation, inadequate rolling after installation, and insufficient perimeter expansion space are common contributing factors.
Checking Your Warranty
Manufacturers typically distinguish between material defects and installation-related failures in their warranty terms. Review what your specific manufacturer’s warranty covers, and note that many warranties require documentation that moisture testing and jobsite conditions met the specified requirements.
Filing a Claim
Document the issue with photos and installation records, then contact the manufacturer or installer before attempting a repair that could affect the claim.
Whatever the cause turns out to be, the best long-term fix is preventing the same issue on future installations.
How Can You Prevent Bubbles in Future Vinyl Installations?
Prevent bubbling by properly preparing the substrate, testing concrete moisture using ASTM F2170 where applicable, following the flooring and adhesive manufacturer’s moisture limits, controlling jobsite conditions, and rolling glue-down flooring as specified.
Prevention comes down to following manufacturer specifications closely rather than relying on general assumptions.
Subfloor Moisture Testing
ASTM F2170 measures the internal relative humidity of a concrete slab; it does not apply to plywood, OSB, or other wood-based substrates, and it does not set a universal pass/fail threshold on its own. Compare the test result against the specific maximum allowable RH set by your flooring and adhesive manufacturer, and use an approved moisture-mitigation system when the reading exceeds that limit. Self-leveling compound corrects surface flatness and is not a substitute for a moisture-mitigation system unless the specific product is designed for that purpose.
Jobsite Temperature and Conditioning
Follow the manufacturer’s specified jobsite temperature range and any conditioning requirements before installation begins, since these vary meaningfully between flexible vinyl and rigid-core products.
Rolling
Roll the floor in the pattern and with the equipment specified by the manufacturer to promote even adhesive transfer and reduce trapped air.
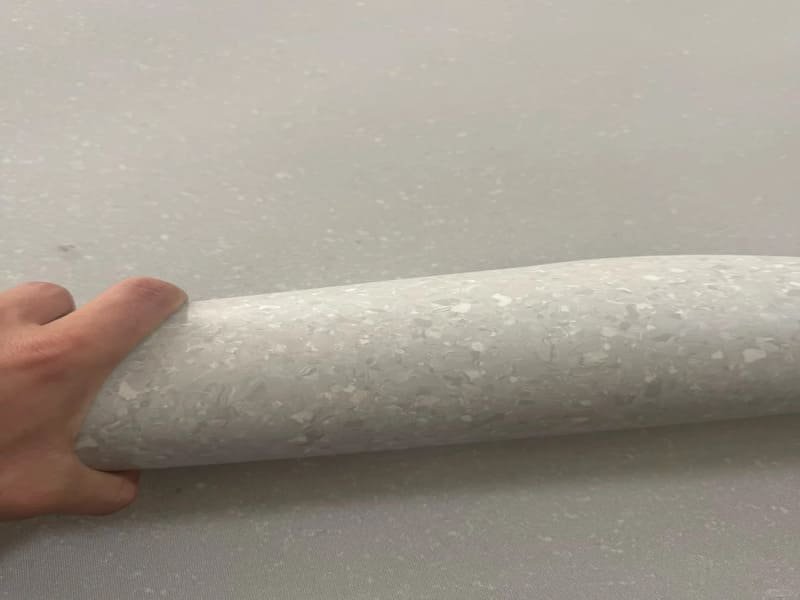
Following these steps can significantly reduce the risk of bubbling, bond failure, and expansion-related buckling. A few more questions come up often.
Domande frequenti
Can I pop a vinyl floor bubble with a needle?
This is sometimes used for small air-only bubbles in sheet vinyl, but check your warranty and installation guidelines first, since puncturing a newly installed floor can affect a warranty claim depending on the manufacturer.
Can heavy furniture cause floating LVP to buckle?
Ordinary movable furniture usually does not cause buckling by itself. However, very heavy or permanently fixed objects, such as cabinets, kitchen islands, or fixed equipment, can restrict the movement of a floating floor depending on the product and installation method. These should always be installed according to the flooring manufacturer’s specific instructions.
How long does vinyl floor adhesive take to fully cure?
Cure time varies significantly between adhesive products. Check the adhesive’s technical data sheet for specific traffic and cure time guidance rather than assuming a fixed timeframe.
What determines the cost of a professional repair?
Repair cost varies widely depending on location, labor rates, the size of the affected area, and whether the repair involves a spot fix or a larger section replacement. Get a quote from a local installer for an accurate estimate.
Conclusione
Identify whether it’s a true bubble or expansion-related buckling, check your warranty before repairing, then address it through the correct manufacturer-approved method or a qualified installer.
If you’re dealing with a bubbling or buckling issue, or you’re planning a vinyl flooring project and want guidance specific to your material and application, send me a message and I’ll help you work through it.
Sull'autore
I work in custom and bulk vinyl flooring manufacturing, with hands-on experience in production processes, material performance, and design optimization across residential and commercial applications. My background covers technical consultation on subfloor compatibility, adhesive systems, and manufacturing solutions tailored to specific project needs, helping product developers and contractors identify and prevent common installation failures.