


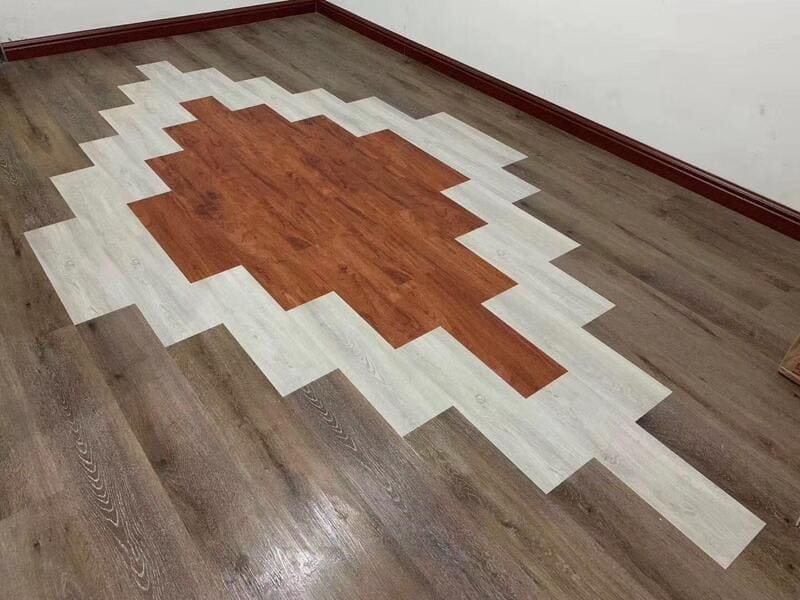
Installing homogeneous vinyl flooring is a complex technical process that requires flawless subfloor preparation, precise sheet layout, and professional-grade heat welding to ensure long-term durability in high-traffic commercial environments.
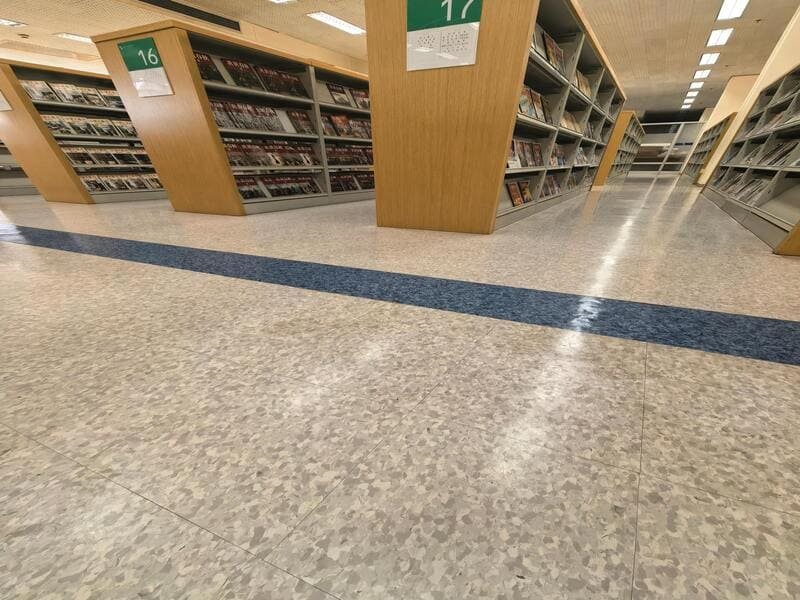
As an installation director with years of field experience, I have seen far too many projects compromised by rushed preparation. Homogeneous vinyl is a dense, through-body material that offers exceptional resilience, making it the industry standard for hospitals, schools, and laboratories. However, its performance is entirely dependent on the quality of the installation. This guide is designed for contractors, project managers, and facility owners who prioritize engineering precision over quick-fix solutions.
What tools and materials are needed?
Success starts with the right equipment. Using subpar or improvised tools is the fastest way to jeopardize the integrity of the floor.
| Categoria | Strumenti e materiali essenziali |
|---|---|
| Preparazione | Calibrated moisture meter, floor grinder, heavy-duty vacuum, self-leveling compound, primer |
| Installazione | Notched trowel (correct notch size), steel straightedge, heavy-duty vinyl knife, 100 lb floor roller |
| Welding | Manual or electric grooving tool, professional hot-air welding gun, welding rod, Mozart-style trimming knife |
Processo di installazione passo dopo passo
Step 1: Inspect and test the subfloor
Before any material touches the floor, you must verify the substrate. Use a calibrated moisture meter to measure vapor emissions. Never ignore high moisture readings; they are the primary cause of adhesive failure and long-term floor blistering.
Step 2: Level, clean, and prepare the surface
Homogeneous vinyl is unforgiving when it comes to subfloor defects. Use a floor grinder to remove residues and apply a high-quality self-leveling compound to eliminate all dips and undulations. Follow this with a thorough vacuuming to ensure the surface is free of microscopic dust particles that hinder bond strength.
Step 3: Acclimate the homogeneous vinyl
Material stability is non-negotiable. Unroll the vinyl sheets in the installation environment at least 24 hours before you begin. This allows the material to adjust to the room’s ambient temperature, effectively preventing unwanted shrinkage or expansion after the installation is complete.
Step 4: Plan the sheet layout
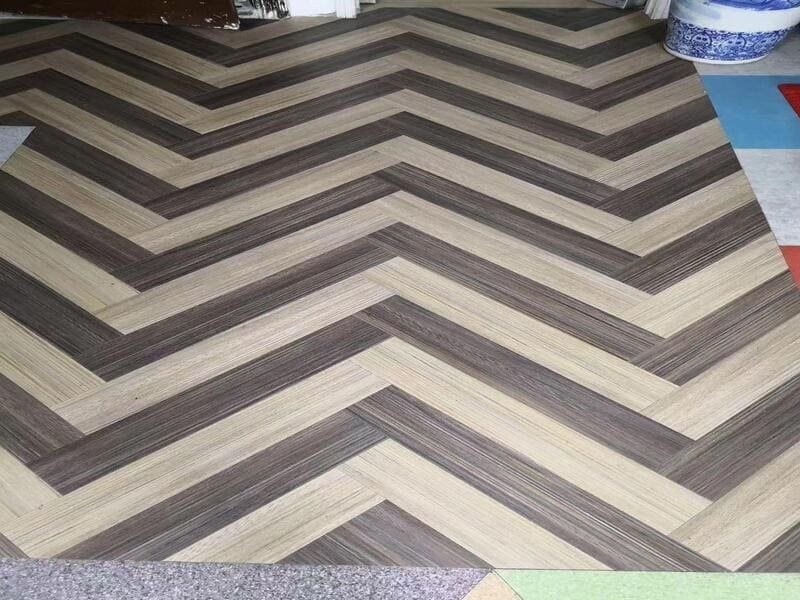
Effective layout minimizes waste and enhances aesthetics. Always center your sheets to avoid awkward, thin strips at the walls. Check the batch numbers on all rolls to ensure color consistency, and plan the direction of the sheets to ensure the grain and pattern remain uniform across the entire facility.
Step 5: Cut and position the vinyl sheets
Dry-fit your sheets to the space. Using a steel straightedge, scribe the material carefully against walls and obstacles for a snug fit. If your project requires double-cutting for a tight seam, ensure you are utilizing a fresh, sharp blade for every single cut to prevent jagged edges.
Step 6: Apply the correct adhesive
Choose an adhesive specifically formulated for the high-performance requirements of homogeneous vinyl. Use the manufacturer-specified notched trowel to apply the glue. Ensure you maintain consistent adhesive contact across the entire area, paying extra attention to edges and seam areas.
Step 7: Lay and roll the flooring
Position the vinyl carefully into the adhesive bed. Once placed, use a 100 lb floor roller to apply firm, even pressure across the entire surface. This step is critical; it forces out trapped air and promotes consistent adhesive contact, which is the foundation of a long-lasting installation.
Step 8: Groove the seams
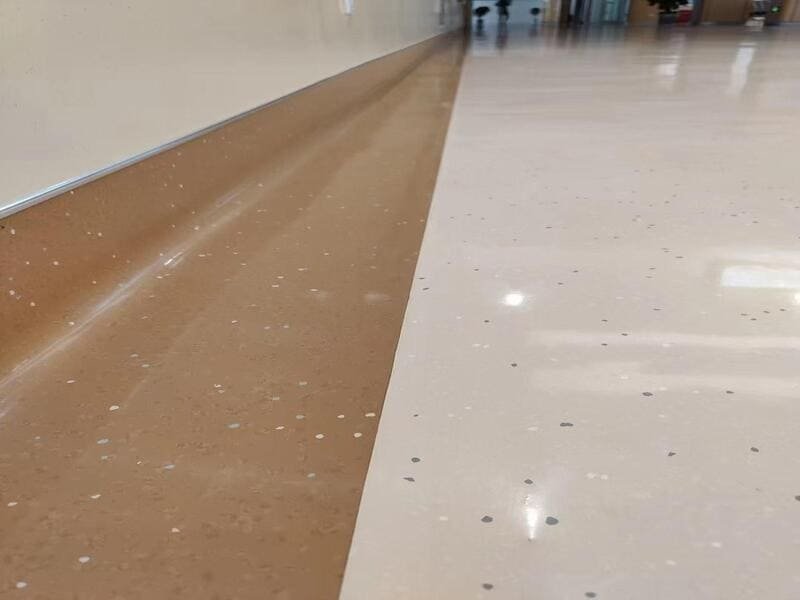
After the adhesive has cured, prepare the seams for welding. Use a seam grooving tool to cut a uniform channel along the length of the joint. The groove depth is typically controlled according to the flooring thickness and welding system—usually around two-thirds of the material thickness—unless the manufacturer specifies otherwise.
Step 9: Heat weld the joints
Use a professional-grade hot-air welding gun to fuse a vinyl welding rod into the grooved channel. You must maintain a steady speed and consistent temperature. The goal is to melt the rod enough to fuse with the sheet edges without scorching or burning the surrounding vinyl floor.
Step 10: Trim and inspect the welded seams
Once the weld has cooled, use a Mozart-style trimming knife with a guide plate to remove the excess rod. A perfect weld is flush with the surface of the floor, creating a monolithic, hygienic, and watertight seal that is as strong as the flooring material itself.
How long before the floor can be used?
You must restrict all foot traffic for a minimum of 24 hours after installation. For heavy furniture, industrial equipment, or high-traffic operational use, wait at least 48 to 72 hours. This time allows the adhesive to fully cure, ensuring it can support long-term performance in demanding environments.
What installation mistakes cause flooring failure?
As an engineering partner, I find that understanding failure points is just as important as knowing the installation steps.
| Errore di installazione | Resulting Failure |
|---|---|
| High subfloor moisture | Adhesive degradation, bubbling, and sheet lifting |
| Poor subfloor leveling | Telegraphing of imperfections, leading to uneven wear |
| Insufficient rolling | Trapped air pockets and areas of weak bonding |
| Improper seam grooving | Weak or ineffective joints prone to dirt accumulation |
| Incorrect welding heat | Scorched material or delamination of the weld rod |
Conclusione
A successful installation is the result of rigorous adherence to technical standards. By meticulously preparing the subfloor and managing your seams with professional heat-welding techniques, you will significantly help maximize the service life of your flooring and ensure a safe, clean environment for years to come.
Need expert technical guidance for your next major project? As an installation director, I specialize in providing the technical consultations required to optimize flooring performance and troubleshoot complex installation challenges. Send me a private message to discuss your specific requirements.