


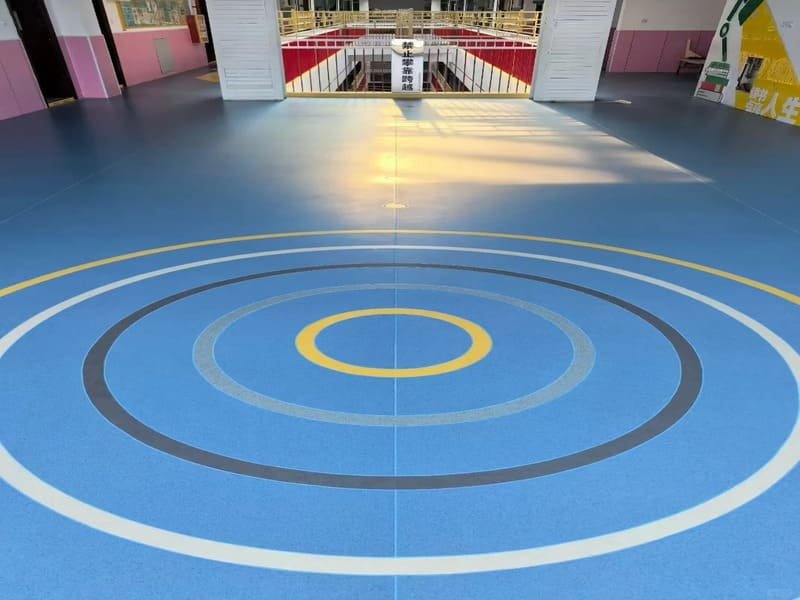
Una preparazione adeguata rappresenta circa l'80% del successo della posa di un pavimento in PVC. Un sottofondo asciutto, piano, pulito e acclimatato è il vero fondamento per un risultato omogeneo e duraturo.
Dopo anni trascorsi sul campo come posatore, posso dirvi che la maggior parte dei problemi dei pavimenti in PVC non deriva mai dal materiale stesso. Deriva da ciò che è successo — o non è successo — prima ancora che la prima doga toccasse il pavimento. Se si salta il test di umidità, si avranno vesciche o muffa sotto la superficie. Se si ignora un sottofondo irregolare, ogni avvallamento e ogni crepa si rifletteranno sul pavimento finito. Se si affretta la fase di acclimatazione, poche settimane dopo, una volta che l’ambiente avrà raggiunto la sua temperatura e umidità normali, si noteranno fessure o deformazioni. Nessuno di questi problemi è dovuto alla sfortuna. Sono tutti dovuti a passaggi tralasciati.
In questa guida ti illustrerò l’intero processo di preparazione all’installazione che seguo in ogni progetto, dal controllo del sottofondo e dalla verifica dell’umidità, all’acclimatazione delle doghe e alla preparazione degli attrezzi. Seguendo questa lista di controllo, eviterete le cause più comuni di cedimento dei pavimenti in PVC e otterrete una finitura che durerà per decenni.
Il tuo ambiente e il sottofondo sono pronti per la posa di un pavimento in PVC?
Il sottofondo deve essere strutturalmente solido, pulito e realizzato con un materiale compatibile, come calcestruzzo, compensato o piastrelle già posate. Non posare mai direttamente su moquette, pavimenti flottanti o legno danneggiato.
Prima ancora di aprire una confezione di pavimenti in PVC, faccio un giro della stanza e controllo cosa c’è sotto. Il calcestruzzo e il massetto sono i sottofondi più comuni e di solito funzionano bene una volta induriti e sigillati. Anche le piastrelle in ceramica esistenti possono andare bene, purché le fughe siano riempite e la superficie sia sgrassata. Anche i sottofondi in compensato e legno vanno bene, ma solo se ogni pannello è ben fissato e non presenta movimenti. Quello che evito sempre è posare il pavimento su moquette, pavimenti flottanti o legno che presenti segni di marciume o danni, perché nessuno di questi materiali offre all’adesivo o al sistema a incastro una base stabile a cui aggrapparsi.
| Tipo di sottofondo | Adatto al PVC? | Fase preparatoria fondamentale |
|---|---|---|
| Calcestruzzo / Massetto | Sì | Trattare, sigillare con primer |
| Piastrelle in ceramica già posate | Sì | Sgrassare e stuccare le fughe |
| Compensato / Legname | Sì | Fissare i pannelli, levigare le giunture |
| Moquette / Pavimento flottante | No | Rimuovere completamente |
| Legno danneggiato | No | Prima riparare o sostituire |
Una volta verificato il tipo di sottofondo, passo all’ispezione strutturale. Assi allentate, piastrelle incrinate e lastre irregolari devono essere tutte segnalate e riparate prima di procedere con qualsiasi altra operazione. Questa ispezione preliminare consente di risparmiare tempo in seguito, poiché è molto più facile risolvere un problema strutturale in questa fase piuttosto che dover sollevare un pavimento già posato dopo l’installazione.
Perché la secchezza è il primo pilastro della preparazione del sottofondo?
L'umidità intrappolata sotto i pavimenti in PVC provoca la formazione di bolle, la proliferazione di muffa e il deterioramento dell'adesivo. Prima della posa, i livelli di umidità devono rimanere al di sotto della soglia indicata dal produttore, solitamente inferiore al 75% di umidità relativa.
L’umidità rappresenta il rischio nascosto più grave in qualsiasi intervento di posa di pavimenti in PVC. Ho visto installazioni altrimenti perfette fallire nel giro di pochi mesi perché il calcestruzzo sottostante continuava a rilasciare umidità. Per verificarlo, utilizzo o un test al cloruro di calcio, che misura l’emissione di umidità nell’arco di 60-72 ore, oppure un test con sonda di umidità relativa, che rileva l’umidità più in profondità all’interno della soletta e tende a fornire un quadro più affidabile. Per un rapido controllo sul posto, a volte fisso con del nastro adesivo un telo di plastica sul pavimento durante la notte; se sotto si forma della condensa, è un chiaro segno che il sottofondo non è pronto. Quando i valori rilevati risultano troppo elevati, non rinuncio al lavoro: applico una barriera al vapore o un primer epossidico progettato per trattenere l’umidità, il che ci permette di procedere in sicurezza senza dover attendere mesi affinché la soletta si asciughi naturalmente.
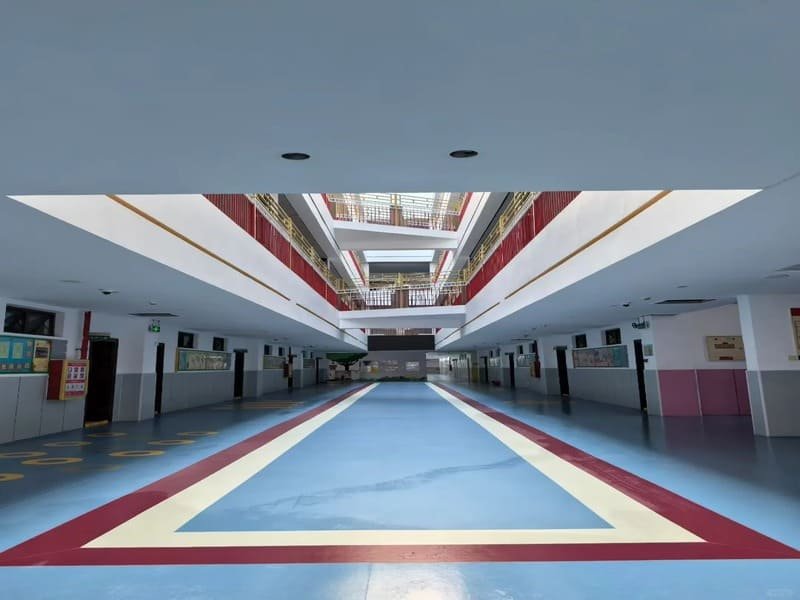
Ottenere il giusto livello di asciutto è fondamentale per garantire la qualità di tutte le fasi successive. Una volta che l’umidità è sotto controllo, la cosa successiva che verifico è quanto la superficie sia effettivamente piana e liscia.
Perché la planarità è importante per la posa dei pavimenti in PVC?
I pavimenti in PVC sono sottili e flessibili, pertanto eventuali irregolarità, crepe o avvallamenti presenti nel sottofondo risulteranno visibili attraverso la superficie finita. Gli standard del settore prevedono una variazione massima di 3 mm su una lunghezza di 2 metri.
Questo fenomeno è chiamato “telegraphing” ed è una delle lamentele più comuni che ricevo dai clienti che hanno cercato di saltare la fase di livellamento del sottofondo. Poiché i pavimenti in PVC sono flessibili per loro natura, assumono la forma di ciò che si trova al di sotto di essi. Controllo sempre la planarità con una riga o una livella a bolla su una lunghezza di 2 metri e, se lo spazio sotto lo strumento supera i 3 mm, quella sezione deve essere corretta prima di procedere. Per piccole crepe e fughe, è sufficiente utilizzare uno stucco o una spatola a bordo smussato. Per aree più estese e irregolari, utilizzo un composto autolivellante per creare un massetto liscio e uniforme su tutto il pavimento. Sui sottofondi in legno, i punti più alti di solito richiedono solo una levigatura, piuttosto che un'intera colata di livellamento.
| Problema di planarità | Correzione consigliata |
|---|---|
| Piccole crepe / fughe | Stucco per ritocchi, bordo sfumato |
| Calcestruzzo irregolare | Composto autolivellante |
| Punti in rilievo sul legno | Levigatura |
Rendere la superficie liscia non è un’opzione facoltativa se si desidera una finitura professionale: è il passaggio che determina se il pavimento apparirà omogeneo o se metterà in evidenza ogni imperfezione sottostante.
Perché è fondamentale garantire la pulizia prima di posare un pavimento in PVC?
Polvere, grasso e residui di adesivo precedente compromettono l’adesione e possono causare un cedimento prematuro dell’adesivo. Prima della posa è necessario effettuare una pulizia accurata, utilizzare un aspirapolvere con filtro HEPA e passare un panno umido.
La pulizia sembra il passaggio più semplice, ma è quello che vedo tralasciare più spesso quando i tempi sono stretti. Vecchi residui di adesivo, schizzi di vernice, grasso e cera si depositano tra il nuovo adesivo e il sottofondo, indebolendo l’adesione nel tempo anche se il pavimento sembra a posto il giorno della posa. La mia procedura standard consiste nel spazzare prima per rimuovere i detriti sciolti, poi passare accuratamente l’aspirapolvere con un filtro HEPA, poiché sono proprio le particelle fini di polvere a interferire con l’adesione a livello microscopico. Dopodiché, pulisco la superficie con un panno umido e la lascio asciugare completamente prima di posare anche una sola doga. Saltare il tempo di asciugatura in questa fase vanifica il lavoro di controllo dell’umidità svolto nel primo punto, quindi tratto questo passaggio con la stessa attenzione.
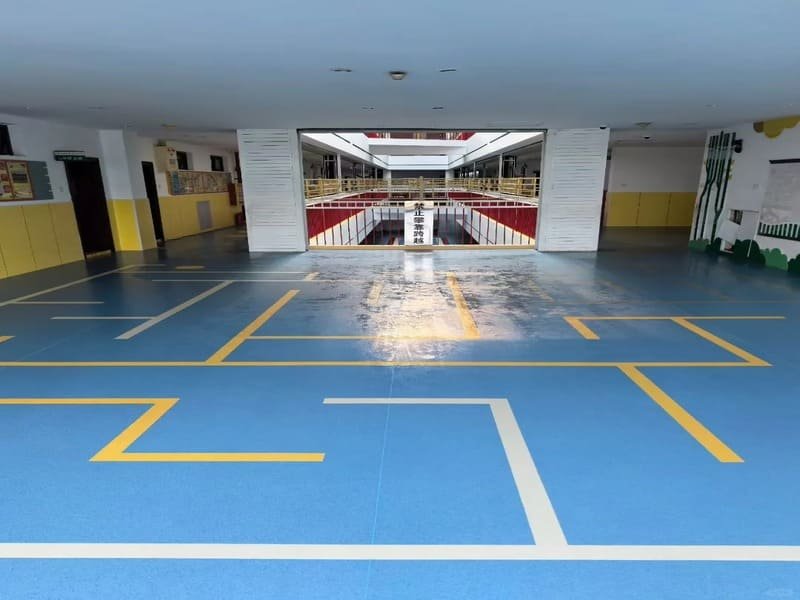
Una superficie pulita garantisce all’adesivo o al sistema a incastro le migliori condizioni possibili affinché funzioni come previsto. A questo punto, l’ultimo elemento fondamentale consiste nel lasciare al materiale stesso il tempo necessario per adattarsi all’ambiente.
Perché l’acclimatazione è indispensabile per i pavimenti in PVC?
Le doghe in PVC devono essere lasciate acclimatare in posizione orizzontale nell'ambiente di posa per un periodo compreso tra 24 e 48 ore, a una temperatura compresa tra 18 °C e 26 °C, per evitare espansioni, contrazioni o spazi vuoti tra le giunture dopo la posa.
I pavimenti in PVC reagiscono alla temperatura e all’umidità anche dopo la posa, motivo per cui l’acclimatazione è una fase che non permetto mai ai clienti di saltare. Conservo le doghe in posizione orizzontale nella stanza in cui verranno posate, non in un corridoio o in garage, per almeno 24-48 ore prima di iniziare. Durante questo periodo, la temperatura della stanza deve rimanere compresa tra i 18 °C e i 26 °C (da 65 °F a 79 °F) e mantengo l’impianto di climatizzazione in funzione ininterrottamente prima, durante e dopo la posa. Saltare questa fase è uno dei motivi più comuni per cui vengo richiamato sul posto mesi dopo: le doghe si dilatano o si contraggono dopo la posa perché non hanno mai avuto la possibilità di adattarsi prima alle condizioni effettive della stanza.
| Requisiti di acclimatazione | Standard |
|---|---|
| Durata | 24–48 ore |
| Temperatura ambiente | 18 °C–26 °C (65 °F–79 °F) |
| HVAC | Funzionamento continuo |
| Posizione del plank | Conservato in posizione orizzontale |
Una volta risolti i problemi di secchezza, planarità, pulizia e acclimatazione, il sottofondo e il materiale sono pronti. Il passo successivo consiste nell’adattare il proprio approccio in base al tipo specifico di sottofondo con cui si sta lavorando.
Come si preparano i diversi tipi di sottofondo per la posa di pavimenti in PVC?
Il calcestruzzo richiede una stagionatura completa e una sigillatura, le piastrelle in ceramica devono essere sgrassate e lo stucco deve essere livellato, mentre i pannelli di compensato devono essere fissati con giunti levigati: ogni materiale ha una propria sequenza di preparazione.
Ogni materiale del sottofondo ha le sue peculiarità, e trattarli tutti allo stesso modo è un errore comune che riscontro anche tra squadre di posatori esperti. Il calcestruzzo nuovo necessita di un periodo di stagionatura completo, in genere da 28 a 60 giorni, prima di essere pronto per la posa del pavimento, mentre il calcestruzzo poroso dovrebbe sempre essere sigillato con un primer adeguato per controllare i futuri movimenti di umidità. Le piastrelle in ceramica già posate devono essere prima sgrassate e pulite a fondo, quindi le fughe devono essere stuccate in modo che l’intera superficie appaia come un unico piano liscio anziché come una griglia di solchi poco profondi. I sottofondi in compensato e legno richiedono che ogni pannello allentato venga fissato per evitare scricchiolii, che le teste delle viti siano svasate in modo da non creare irregolarità e che i giunti vengano levigati e le fessure riempite con stucco per legno.
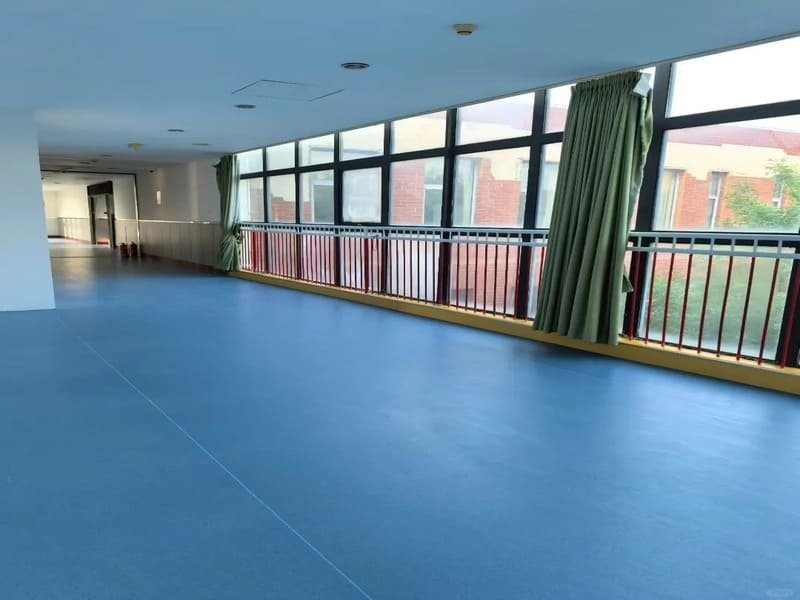
Scegliere il metodo di preparazione più adatto al materiale effettivo del sottofondo che si ha davanti è ciò che fa la differenza tra un pavimento che dura decenni e uno che necessita di riparazioni già entro un anno.
Quali strumenti e materiali servono prima dell'installazione?
Un kit completo comprende un taglierino, un righello, un metro a nastro, un filo a gesso, una spatola dentata, un martello di gomma e un rullo da 50 kg, oltre al sottofondo e all’adesivo adatti al vostro sistema in PVC.
Avere gli strumenti giusti a portata di mano prima del giorno dell’installazione consente di risparmiare ore di inattività ed evita tagli affrettati e approssimativi. Il mio kit standard comprende un taglierino con lame nuove, una riga o una squadra in acciaio, un metro a nastro, un filo a gesso per tracciare i punti di riferimento, una spatola dentata se si esegue una posa con incollaggio, un martello di gomma per i sistemi a incastro e un rullo da pavimento del peso di circa 50 kg (100 libbre) per premere saldamente le doghe nell’adesivo. Oltre agli attrezzi, è altrettanto importante scegliere gli accessori giusti: il sottofondo è spesso necessario per i pavimenti a incastro o in SPC, ma non sempre per i sistemi incollati, e l’adesivo stesso deve essere adatto al metodo di posa, che si tratti di un adesivo sensibile alla pressione o di un adesivo a presa rapida.
Preparare bene questa lista di controllo prima di iniziare significa avere meno interruzioni e ottenere una finitura più pulita e uniforme in tutta la stanza.
Cosa bisogna controllare durante il sopralluogo finale il giorno dell'installazione?
Il giorno della posa, rimuovere i battiscopa e le porte, lasciare uno spazio di dilatazione di 5–8 mm lungo le pareti e mescolare le doghe provenienti da scatole diverse per uniformare le variazioni naturali di colore e struttura.
Prima di posare la prima tavola, faccio un ultimo sopralluogo della stanza. Rimuovo i battiscopa, insieme a eventuali porte o elettrodomestici che intralciano il lavoro, e rifinisco i telai delle porte se l’altezza del nuovo pavimento lo richiede. I giunti di dilatazione lungo le pareti, in genere da 5 a 8 mm, devono essere posizionati correttamente per consentire al pavimento di muoversi naturalmente al variare della temperatura, poiché i pavimenti in PVC possono espandersi e contrarsi leggermente anche dopo l’acclimatazione. Inoltre, mi sono abituato a mescolare le doghe provenienti da diverse scatole man mano che procedo, anziché utilizzare una scatola alla volta, poiché in questo modo si armonizzano le naturali variazioni di colore e texture in tutta la stanza, evitando di creare linee di demarcazione visibili tra i lotti.
Questa ispezione finale è l’ultima occasione per individuare eventuali problemi che potrebbero esserti sfuggiti, quindi non la salto mai, nemmeno nei lavori in cui tutto il resto è andato liscio.
Quali sono le domande più frequenti sulla preparazione dei pavimenti in PVC?
D: Posso posare un pavimento in PVC direttamente sopra un vecchio pavimento in vinile o linoleum?
In molti casi sì, a condizione che la superficie esistente sia piana, ben aderente e priva di danni. Consiglio comunque di verificare prima che la tolleranza di planarità sia di 3 mm/2 m.
D: È necessario un sottofondo per il PVC incollato rispetto a quello con sistema a incastro?
I sistemi con incollaggio di solito non richiedono un sottofondo, poiché l’adesivo aderisce direttamente al pavimento di base. I sistemi a incastro e SPC, invece, ne necessitano in genere, per garantire l’isolamento acustico e una certa tolleranza alle imperfezioni superficiali.
D: Quanto tempo dopo la stesura del massetto o del rivestimento autolivellante posso posare il pavimento in PVC?
La maggior parte dei composti autolivellanti richiede almeno 24-48 ore prima della posa, anche se ciò dipende dal prodotto e dall'umidità ambientale: consultare sempre la scheda tecnica del produttore.
D: Cosa succede se non lascio acclimatare le doghe in PVC?
Saltare la fase di acclimatazione è una delle principali cause dei problemi che si verificano dopo la posa, tra cui fessure tra le doghe, deformazioni o arricciature dei bordi, dovute all’adattamento delle doghe alle condizioni dell’ambiente una volta posate.
Conclusione
Pulito, asciutto, in piano e acclimatato: se rispetti questi quattro requisiti, il tuo pavimento in PVC durerà per decenni.
Se stai pianificando un progetto di pavimentazione in PVC e desideri un secondo parere sulle condizioni del sottofondo, sulla scelta dei materiali o sulle modalità di posa, non esitare a inviarmi un messaggio direttamente. Sarò lieto di aiutarti a valutare attentamente tutti i dettagli prima di iniziare.