Contractors must check subfloor flatness, moisture levels, pH balance, and ambient temperature before installation. These factors ensure the rubber bonds correctly and prevents future gapping or peeling. Proper site inspection is the only way to protect the investment and avoid costly project recalls.
In my years as a flooring contractor, I have seen many projects fail because people rush the start. Rubber flooring is a dense, non-porous material that does not hide mistakes. If your subfloor has a small bump, the rubber will show it. If there is trapped moisture, the adhesive will fail and turn into a sticky mess. I always tell my team that our job is 80% preparation and only 20% actually laying the floor. You are not just selling a product; you are selling a system that includes the slab, the glue, and the rubber. If one part is weak, the whole floor fails. We use a technical approach to look at the chemistry of the concrete. This helps us stop problems before they happen. Most issues like "bubbling" or "walking" seams are 100% preventable if you use a strict checklist.
I want to share the exact steps I use on every job site. Read these details to make sure your next gym or commercial project stays perfect for years.
Is the Subfloor Flat and Clean Enough for Success?
A subfloor must be flat within 3/16 of an inch over a 10-foot radius. It must also be free of oil, wax, and dust. Use the "white cloth test" to check for dust. If the cloth stays clean, the adhesive will bond to the floor properly.
When I walk onto a site, the first tool I grab is a 10-foot straightedge. I look for any light passing under the bar. If I see a gap larger than 3/16 of an inch, we must use a leveling compound. I once saw a contractor ignore a small dip in a weight room. After one month, the heavy dumbbells caused the rubber to stretch into that dip, creating a trip hazard. Structural soundness is also key. If the concrete is crumbling or "spalling," no adhesive in the world will hold it. You also have to check for "bond breakers." These are old paints or sealers that stop glue from sticking.
Standar Penyiapan Subfloor
| Persyaratan | Spesifikasi | Alat yang Digunakan |
|---|---|---|
| Kerataan | < 3/16" per 10′ | 10-foot Straightedge |
| Kebersihan | Zero dust/residue | White Cloth Test |
| Structural | No cracks > 1/8" | Inspeksi Visual |
| Porositas | Water drops absorb in 1-3 min | Uji Tetesan Air |
Once the floor is flat and clean, we have to look at the things you cannot see with your eyes. This is where the science of moisture and pH comes in.
How Do Moisture and pH Levels Affect Your Glue?
Moisture levels should be below 80% Relative Humidity, and pH should be between 7 and 9. High moisture or high alkalinity will destroy the chemical bond of the adhesive. This leads to the rubber lifting or "neoprene rot" where the backing breaks down.
I never trust a concrete slab just because it "looks dry." New concrete needs at least 28 days to cure, but even old slabs can have moisture coming up from the ground. I use In-situ RH probes because they give the most accurate data from inside the slab. If the pH is above 10, the floor is too alkaline. This high pH reacts with moisture to eat away at the polyurethane glue. I have replaced entire floors because the contractor did not test the pH. They thought they saved time, but they lost money on the redo. We also look for "MVER" or Moisture Vapor Emission Rate. If the rate is too high, you need a moisture barrier before the rubber goes down.
Moisture and Chemical Limits
| Jenis Tes | Acceptable Range | Risiko Kegagalan |
|---|---|---|
| Kelembaban Relatif (RH) | < 80% | Adhesive Re-emulsification |
| Tingkat pH | 7.0 – 9.0 | Chemical bond destruction |
| MVER | < 5 lbs / 1,000 sqft | Vapor pressure bubbles |
| Concrete Age | > 28 Days | Shrinkage cracks |
After the chemistry is right, you have to let the rubber get used to the room. This is a step many people skip because they are in a hurry.
Why Is Acclimatization the Most Important "Invisible" Step?
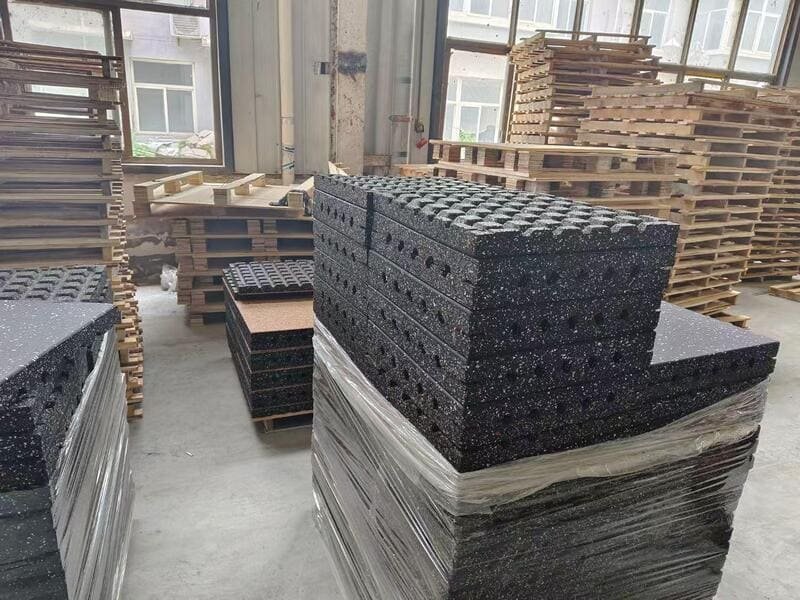
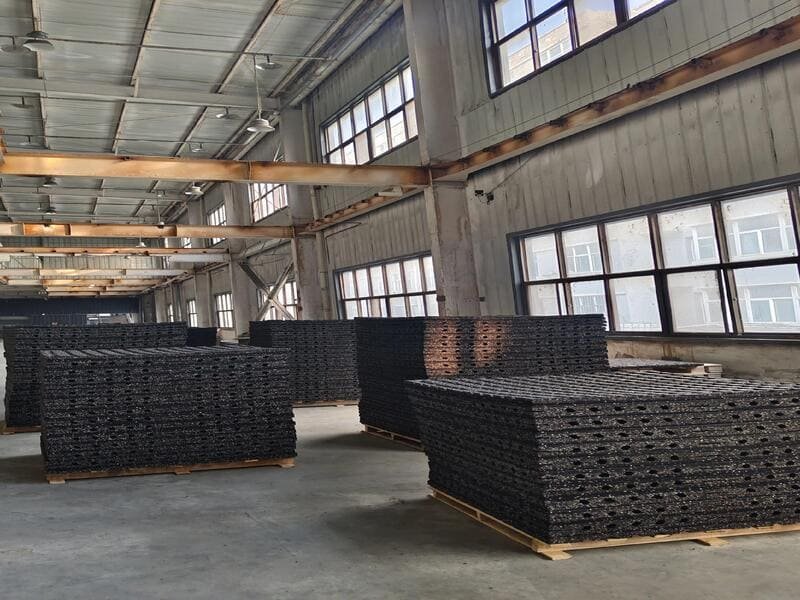
Rubber flooring must stay in the installation room for at least 48 hours before cutting. This lets the material reach the same temperature as the room. If you skip this, the rubber will shrink or expand after you glue it down.
Rubber is a very stable material, but it still reacts to heat. If the rubber is cold when you install it, and the gym gets warm later, the rubber will grow. This causes the seams to "peak" or pop up. I always tell my clients to turn on the HVAC system two days before we arrive. The temperature should stay between 65°F and 80°F. We unroll the mats or stack the tiles in small piles. This gives the rubber time to "relax." I remember a job where the rolls were stored in a cold truck and installed immediately. The next day, every seam had a half-inch gap because the rubber shrank as it warmed up. It was a total disaster that cost the contractor thousands of dollars.
Environmental Requirements
| Kondisi | Rentang Target | Durasi |
|---|---|---|
| Suhu Kamar | 65°F – 80°F | 48 hours before/after |
| Material State | Unrolled/Unstacked | 48 hours minimum |
| Kelembaban | 40% - 60% | Selama instalasi |
Now that the room and material are ready, you must verify that you have the right products. One small mistake here can ruin the look of the entire floor.
Do You Have the Correct Batch and Adhesive for the Job?
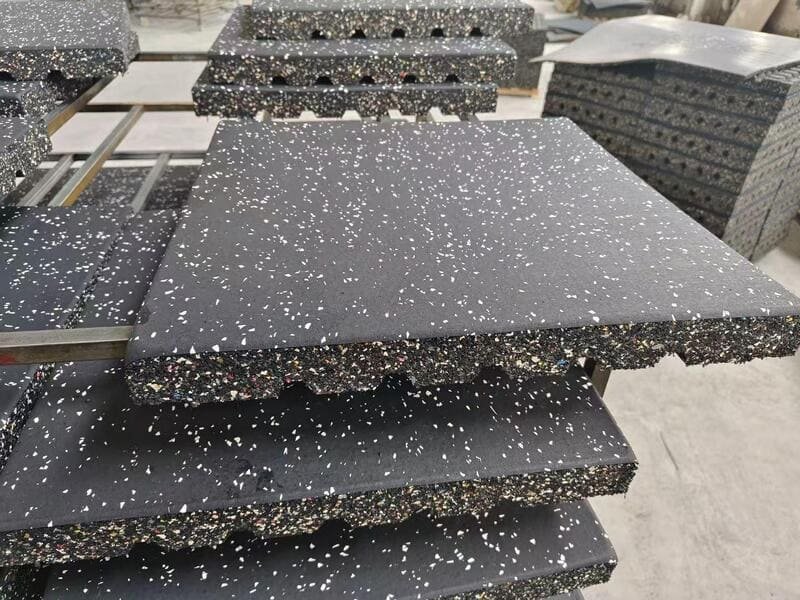
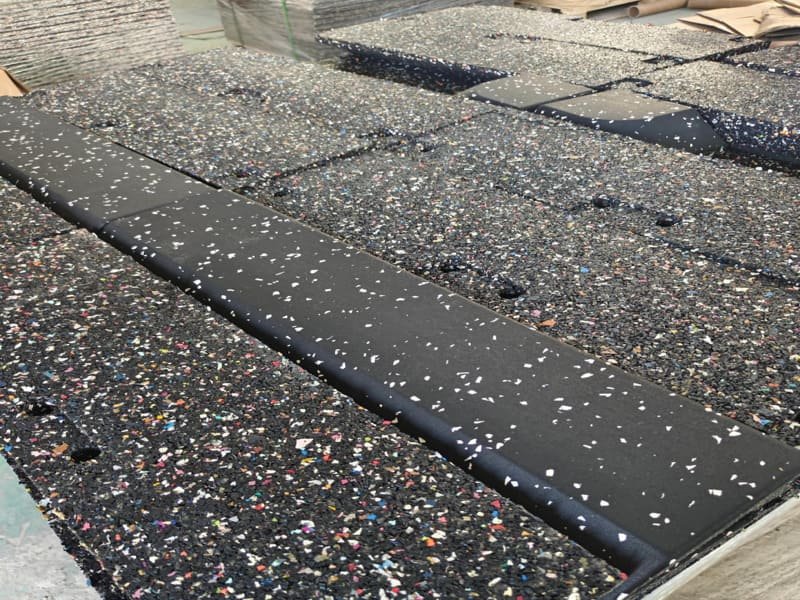
Check that all rubber rolls or tiles have the same batch or dye lot number. Also, ensure your adhesive is compatible with both the rubber and the subfloor. Using the wrong glue or mismatched batches will result in uneven colors and poor bonding.
Even the best factories have slight color changes between production runs. If you mix batch A with batch B, you might see a "checkerboard" effect. It looks unprofessional. I always inspect the factory edges too. If an edge is not perfectly square, the seams will never stay tight. Another big point is the trowel size. If the notches on your trowel are too small, you won’t get "100% transfer" of glue. If they are too big, glue will squeeze up through the seams. I prefer polyurethane adhesives for heavy-duty gym use because they handle the impact better than acrylic. But you must stay away from solvent-based cleaners during the first 72 hours. The solvents can seep into the fresh glue and weaken the bond before it fully cures.
Product Verification Checklist
| Item | What to Check | Mengapa Penting |
|---|---|---|
| Dye Lots | Match batch numbers | Prevent color shading |
| Kuadrat | Check 90-degree corners | Tight, invisible seams |
| Trowel Notch | Match manufacturer spec | Ensure proper glue depth |
| Jenis Perekat | Polyurethane vs. Acrylic | Daya tahan jangka panjang |
If you follow these steps, you will avoid 99% of the problems that other contractors face. This lead to a professional result and a happy client.
Kesimpulan
Check subfloor, moisture, and temperature first to ensure a perfect rubber floor installation.
For professional advice on selecting the right rubber flooring for your next large-scale project or to discuss custom manufacturing needs, feel free to send me a private message.