


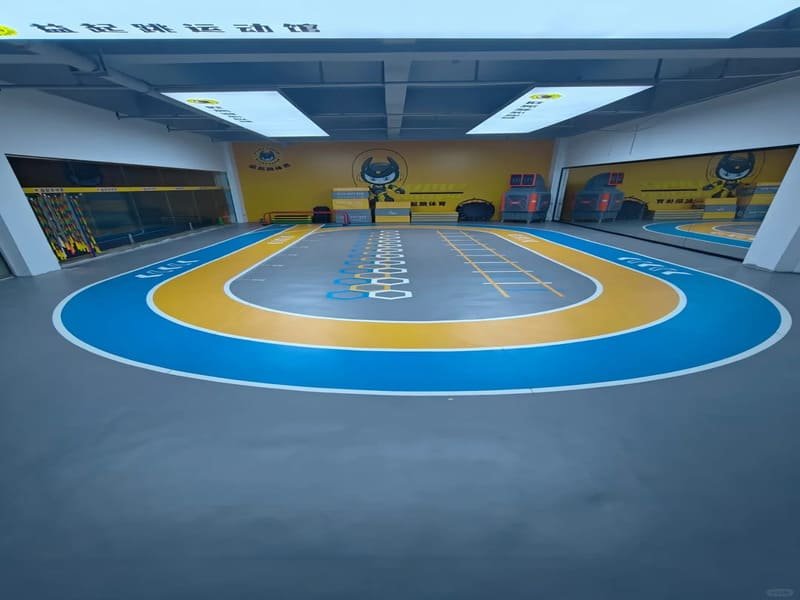
Common causes include an out-of-tolerance subfloor, PVC rolls installed without proper conditioning, and adhesive that was applied, timed, or rolled incorrectly.
I have walked into a lot of gyms where the owner is upset about a floor that looks like it has waves or bubbles. The problem usually started before the flooring ever touched the ground. A subfloor that is not flat enough will telegraph through the PVC sheet. A roll installed before it has adjusted to room conditions can expand later and push itself into waves. Adhesive that is spread, timed, or rolled incorrectly can trap air or leave weak bonding, and either one can surface as a bump days or weeks after the crew leaves. A flat floor is decided mostly before installation day, through subfloor prep and material conditioning, not fixed afterward.
Before we get into causes, there is one diagnostic question worth asking first, because it narrows things down fast. Let’s start there.
Did the Unevenness Appear Right Away or Days Later?
Unevenness visible immediately after installation usually points to the subfloor, trapped air, or installation technique, while problems appearing days or weeks later usually point to moisture, adhesive cure, or temperature movement.
If a bump or ridge is visible the moment the crew leaves, I look first at subfloor flatness, debris under the sheet, adhesive trowel marks, or air that was not rolled out during installation. If the floor looked fine on day one and a bubble, ridge, or lifted seam shows up later, that points more toward subfloor moisture reaching the adhesive bond line, adhesive still working through its cure, or material temperature movement or changing site conditions. This one question saves a lot of guesswork before you start pulling up flooring.
Timing-Based Diagnostic Table
| When It Appeared | Likely Direction to Investigate |
|---|---|
| Immediately after install | Subfloor flatness, debris, trowel technique, trapped air |
| Days to weeks later | Subfloor moisture, adhesive cure, temperature movement, later loading |
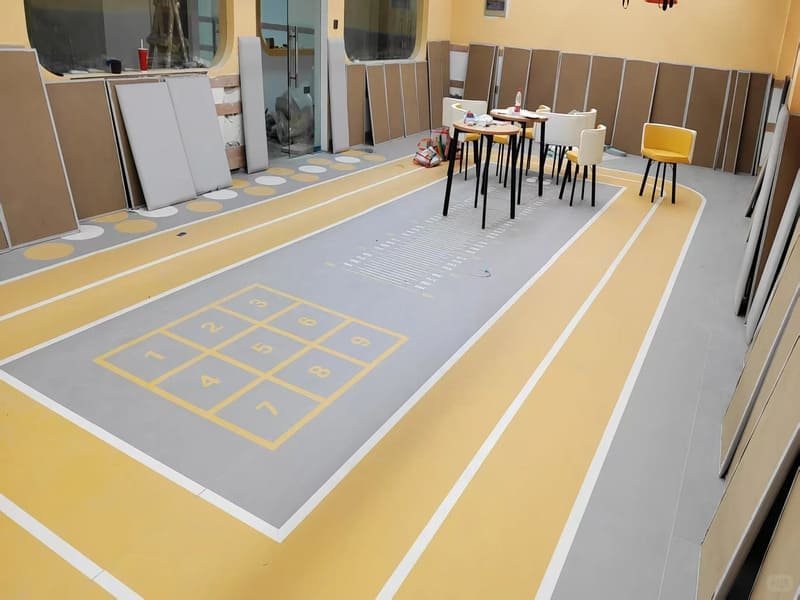
Once you know roughly when the problem started, the specific pattern on the floor tells you even more. Let’s look at that next.
How Do I Diagnose the Type of Unevenness on My Floor?
Rolling waves, curling seams, isolated bubbles, and telegraphed imprint lines each point toward a different mix of possible causes, and the pattern narrows down where to look.
| Pattern | Possible Contributing Causes |
|---|---|
| Large rolling waves | Material conditioning, temperature movement, adhesive bond issues, installation tension |
| Curling or lifting seams | Adhesive not sufficiently set, seams welded too early, edge tension |
| Isolated bumps or bubbles | Trapped air, localized debonding, subfloor moisture |
| Cracks or lines showing through | Subfloor debris or unpatched cracks beneath the sheet |
When I inspect a floor, I walk it in a grid pattern and press on every raised spot. A bump that gives slightly under pressure and a bump that stays hard both need investigation, since a soft bubble can mean trapped air or it can mean the sheet has locally debonded from subfloor moisture. Pressing alone does not confirm the cause; it just tells you where to look closer.
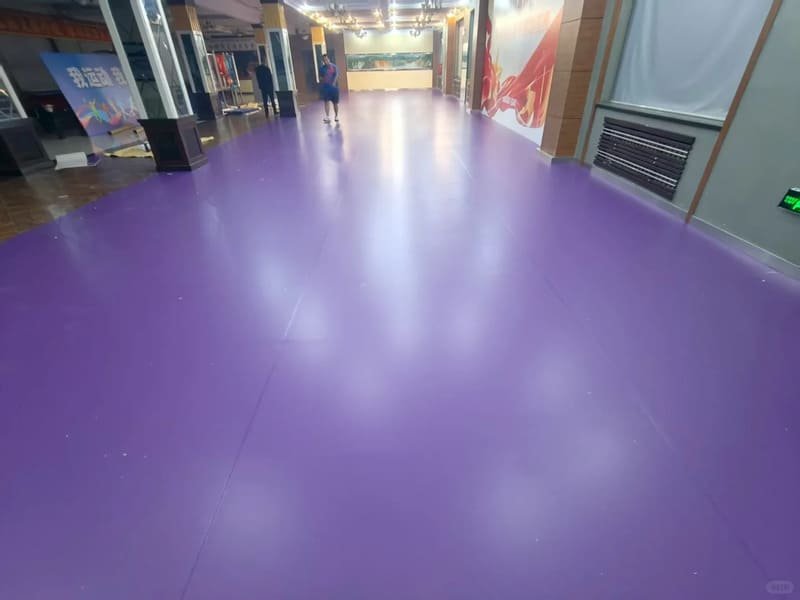
With a pattern and a timeline in hand, we can now go through the actual root causes in more detail.
What Subfloor Issues Cause an Uneven PVC Sports Floor?
Subfloor flatness, moisture at the substrate, and debris left under the sheet are among the most common subfloor-related causes of an uneven PVC sports floor.
The subfloor does not need to be perfectly level, but it does need to be flat and even enough to meet the tolerance required by the sports flooring manufacturer’s installation instructions and any applicable project or national standard. I avoid quoting a single universal number here, because flatness requirements vary by standard, by measurement span, and by the specific flooring system being installed. Moisture is the other major factor. Elevated moisture at the substrate can interfere with adhesive bonding and contribute to blistering or debonding over time, which is why moisture testing is a standard part of subfloor preparation.
Common Subfloor Problems
- Subfloor flatness outside the tolerance specified by the manufacturer or project standard
- Elevated substrate moisture affecting adhesive bond performance
- Dust, sand, or debris left under the sheet
- Weak, crumbling, or unprimed screed
A clean, properly prepared subfloor that meets the manufacturer’s stated requirements is the foundation every later step depends on.
How Do Acclimatization and Environmental Factors Cause Waves?
PVC rolls installed without proper conditioning to room and subfloor conditions can expand or contract after installation, and that movement can show up as waves.
PVC flooring responds to temperature, and installation conditions also affect how well the adhesive performs. If a roll is installed before it has adjusted to the actual conditions of the room, it may continue to move slightly after installation, and that movement has to go somewhere. I follow the specific manufacturer’s conditioning requirements for each product rather than applying one fixed rule across every job, since these requirements do vary between systems.
Environmental Checklist
| Faktor | General Guidance |
|---|---|
| Konditionierung | Follow the manufacturer’s specified conditioning time and method |
| Room and subfloor temperature | Keep stable and within the manufacturer’s stated range |
| Installation environment | Avoid direct sun, drafts, or unstable HVAC conditions during and after installation |
Skipping or shortening this step, or assuming one generic time and temperature applies to every product, is one of the more common mistakes I see.
What Installation Mistakes Create Bumps and Lifted Seams?
Incorrect adhesive application, installing outside the adhesive’s open time, insufficient rolling, and welding seams before the adhesive has set are common installation errors that leave a floor uneven.
Adhesive amount and timing both matter. Applying too much adhesive, using the wrong trowel notch, or laying the sheet at the wrong stage of the adhesive’s open time can delay drying, reduce adhesive transfer, or create localized bond problems. This applies across adhesive types, including the water-based acrylic and pressure-sensitive systems commonly used in resilient sports flooring today. Rolling the floor thoroughly afterward, in the directions the manufacturer specifies, is what pushes out trapped air and helps confirm full adhesive transfer to the back of the sheet.
Installation Technique Checklist
- Use the trowel notch specified for the adhesive and flooring system
- Install within the adhesive manufacturer’s stated open time
- Roll the flooring thoroughly with the roller weight and pattern the manufacturer specifies
- Do not heat-weld the seams until the adhesive has set sufficiently, which many systems specify as approximately 24 hours, though this should follow the manufacturer’s exact instructions
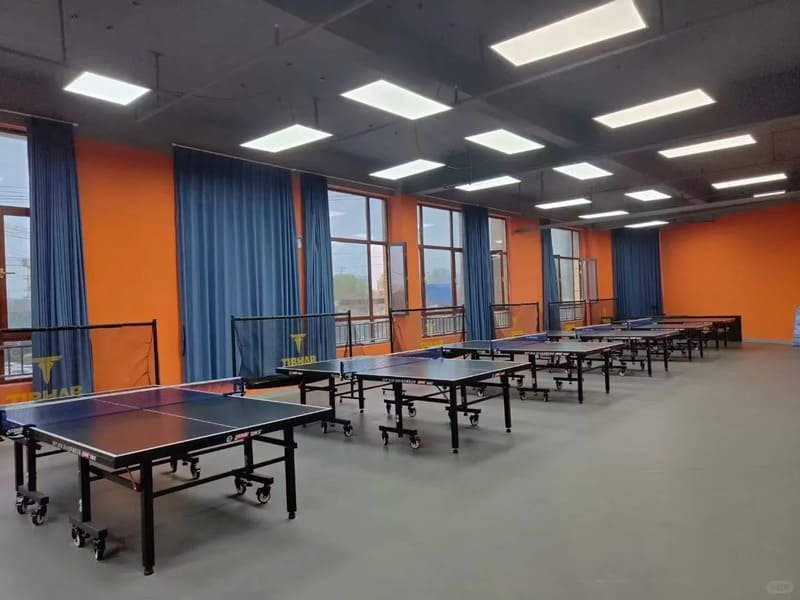
I have seen crews shorten the rolling step or weld seams early to save time, and both mistakes tend to show up as bubbles or lifted seams within days.
How Do I Fix an Uneven PVC Sports Floor?
The right fix depends on the cause: some localized bubbles may allow a manufacturer-approved repair, while moisture-related or widespread problems often require a different approach.
For a small, localized bubble caused by incomplete adhesive transfer, a manufacturer-approved injection repair may sometimes be possible after the cause is confirmed. Moisture-related blisters should not be punctured and re-bonded until the moisture source has been identified and corrected, since sealing over an active moisture issue will not resolve it. Curling or lifted seams may need to be reopened and re-bonded, then rolled and re-welded once the adhesive has set sufficiently. Widespread waves are more difficult: fully bonded PVC sports flooring is not always safe to lift without damaging the backing or the layer beneath, so in some cases the affected section needs to be cut out and replaced rather than lifted and re-laid.
Fix by Scenario
| Problem | Allgemeiner Ansatz |
|---|---|
| Localized bubble from incomplete adhesive transfer | Manufacturer-approved injection repair, once cause is confirmed |
| Moisture-related blister | Identify and correct the moisture source before any repair |
| Lifting or curled seams | Reopen and re-bond, roll, re-weld once adhesive has set |
| Widespread waves or severe subfloor defect | Section removal, subfloor repair, and replacement patch |
Because these repairs can affect warranty coverage and long-term performance, I always recommend checking with the flooring manufacturer or an experienced installer before repairing rather than replacing a section.
How Can I Prevent Unevenness Before Installation Even Starts?
Prevention comes down to confirming subfloor flatness and moisture, conditioning the material properly, and selecting adhesive based on the full installation conditions rather than traffic level alone.
I treat subfloor testing, material conditioning, and adhesive selection as the three checkpoints that matter most before a project begins. Subfloor flatness and moisture should be tested and corrected against the flooring manufacturer’s stated requirements. Rolls should be conditioned according to that specific product’s instructions rather than a generic industry rule. Adhesive should be selected according to the flooring manufacturer’s approved system, backing type, substrate absorbency, moisture conditions, temperature exposure, and expected static or rolling loads, not chosen by traffic level alone.
Checkliste für die Vorinstallation
- Subfloor moisture and flatness tested against manufacturer requirements
- Any subfloor defects repaired before installation
- Rolls conditioned according to the specific product’s instructions
- Adhesive selected based on substrate, moisture, temperature, and load conditions
- Roller weight and rolling pattern matched to manufacturer specification
A few hours of proper preparation and the right product-specific instructions at this stage prevent most of the repair work described earlier.
Why Does Floor Unevenness Affect Athlete Safety and Performance?
Significant waves, ridges, or raised areas can affect footing, create trip hazards, and reduce the consistency of the playing surface, and may also affect sports-performance characteristics evaluated under standards such as EN 14904 and ASTM F2772.
Sports flooring standards such as EN 14904 and ASTM F2772 assess performance characteristics including shock or force reduction, vertical deformation, friction, and ball rebound consistency. A significantly uneven surface can interfere with the uniform performance these standards are meant to measure, and can affect footing and playability during games. I treat unevenness as a performance and safety issue, not just a cosmetic one, which is part of why prevention matters more than repair.
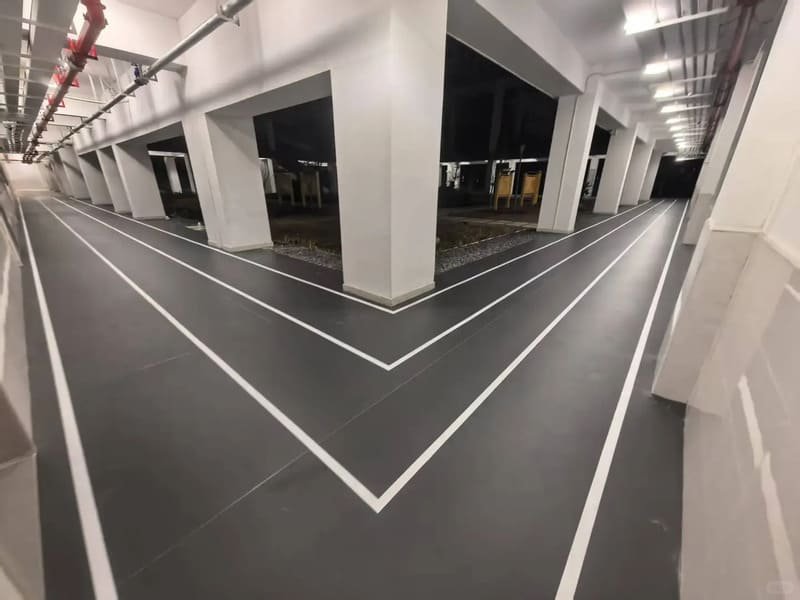
This is also why facility owners should not treat small irregularities as purely visual issues to live with.
Schlussfolgerung
Uneven PVC sports flooring is largely preventable through proper subfloor preparation, correct material conditioning, and adhesive selection matched to actual site conditions.
If your floor is already showing waves, bubbles, or lifted seams, or you are planning a new installation and want the subfloor, conditioning, and adhesive plan reviewed before work begins, send me a message. I am glad to look at your project details and help you find the right approach.