Yes, you can install artificial grass yourself. While professionals treat this like civil engineering, you don’t always need to build a highway for a backyard lawn. However, the secret to a lawn that lasts 15 years versus one that sinks in 6 months is 90% in the ground preparation.
Why Listen to a Production Manager?
Based on my experience managing turf production lines, I see two types of failed installations: those that look fake because of bad seaming, and those that fail structurally because of a bad base. You want a lawn that drains well, stays flat, and looks natural.
In this guide, I will give you the "Gold Standard" method (what we recommend for warranties), but I will also tell you where you can realistically simplify things for smaller, low-traffic projects.
The "Too Long; Didn’t Read" Checklist
For those who just want the steps, here is your project snapshot:
- Clear & Dig: Remove topsoil (2-4 inches deep).
- Barreira contra ervas daninhas: Lay it down to stop weeds.
- Camada de base: Spread Class II Road Base (crushed rock).
- Compact: Water it and vibrate it rock-hard (Crucial!).
- Smooth: Add a thin layer of Decomposed Granite/Fines.
- Acclimatize: Unroll turf in the sun for 2 hours.
- Position: Grain direction MUST face your main view.
- Cut: Slice from the back; remove factory edges.
- Seam: Use tape + glue (leave a tiny 1/8" gap).
- Secure: Nail the perimeter every 6 inches.
- Infill: Spread silica sand to weigh it down.
- Brush: Power broom against the grain to finish.
The "Real World" Decision Guide: Do You Need to Build a Highway?
Before you rent heavy machinery, assess your specific needs. Not every project requires industrial-grade compaction, but every project requires stability. Use this guide to decide your installation intensity.
Matching the Method to the Project
I often hear customers say, "I just want a green patch for my balcony or a tiny side yard, do I really need a plate compactor?" As a manufacturer, I prefer you follow the best practices, but I am also a realist.
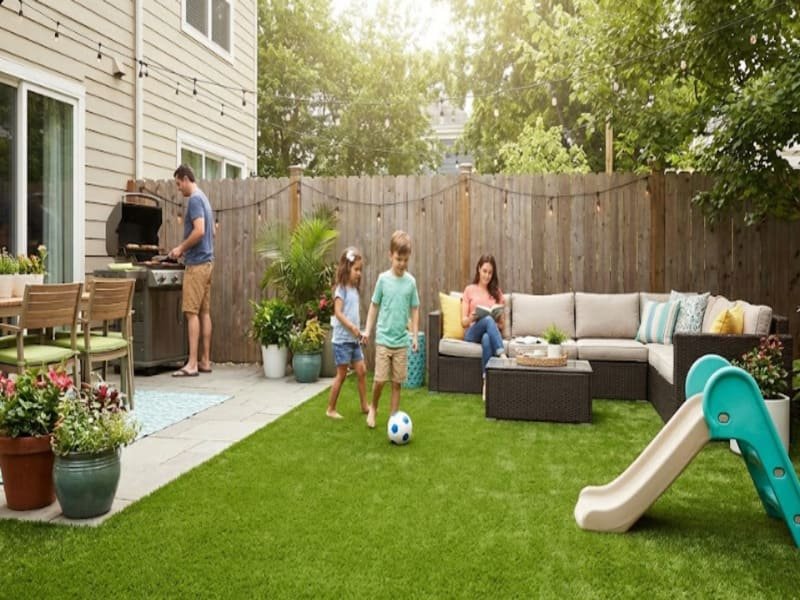
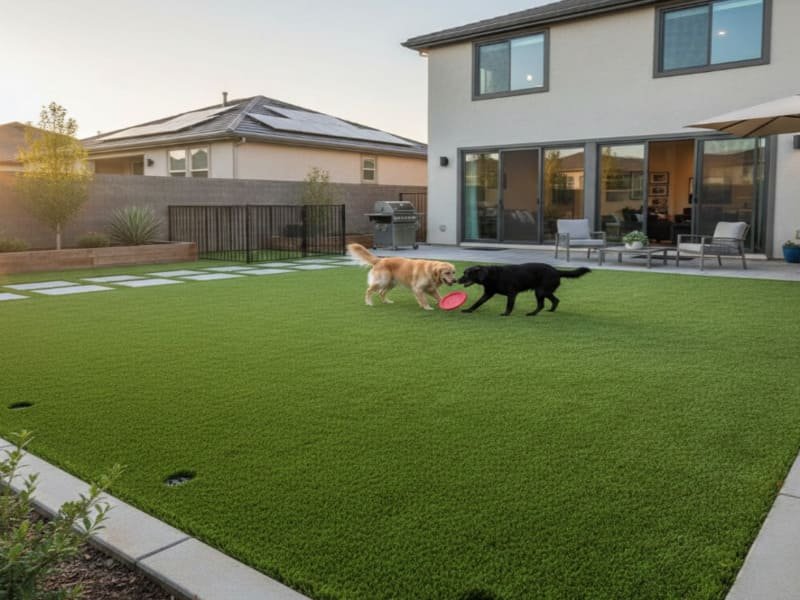
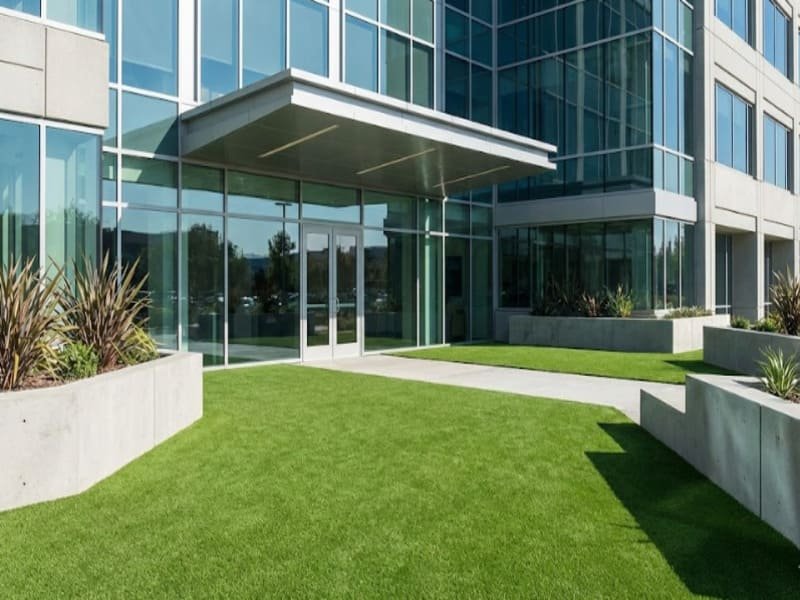
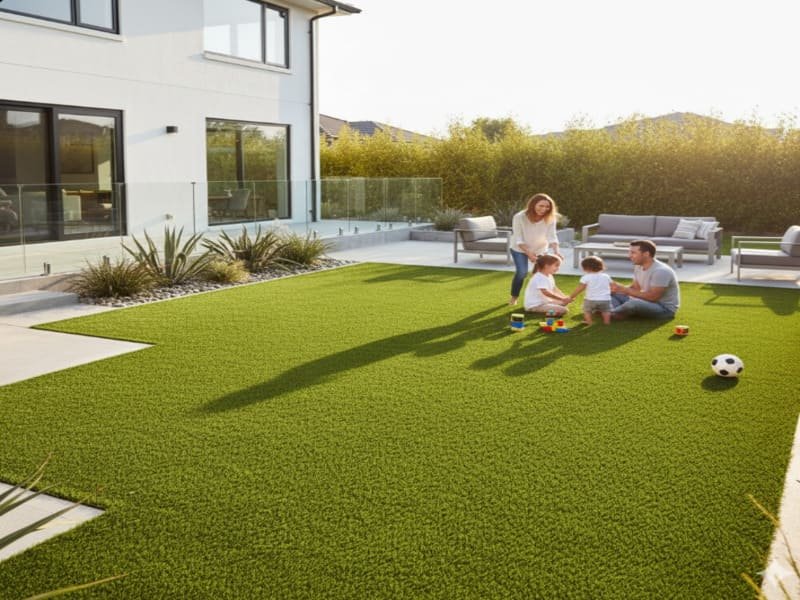
If you are installing a "Forever Lawn" (Kids running, dogs playing, hosting BBQs, area > 300 sq. ft.), you strictly follow the guide below. You need the 3-4 inch base and the plate compactor. If you skip this, the traffic will cause divots.
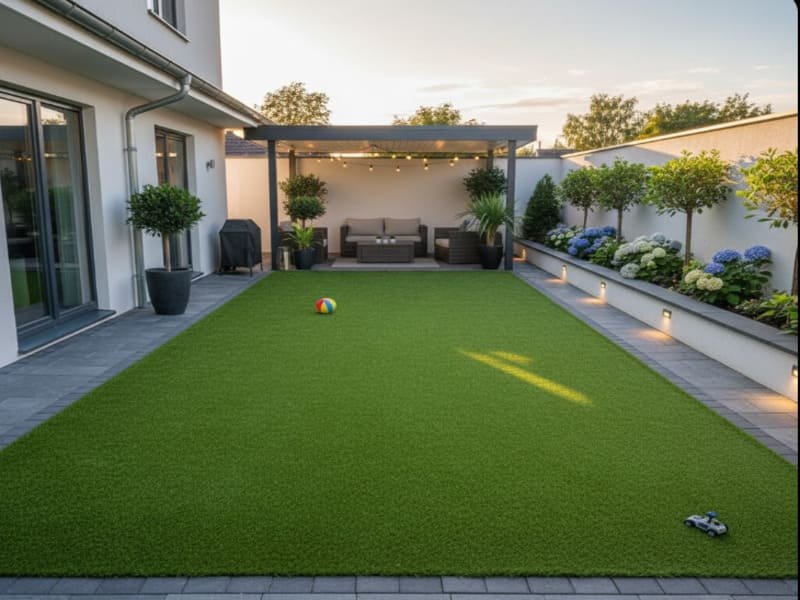
However, if you are doing a "Visual Patch" (Decorative area, low foot traffic, area < 100 sq. ft.), you can modify the process. You might only dig 2 inches, and yes, you can get away with using a heavy hand tamper instead of renting a machine. But be warned: hand tamping requires serious muscle. If you cut corners on the base, you must accept that the ground might settle slightly over time.
| Tipo de projeto | Base Depth | Compaction Method | Enchimento |
|---|---|---|---|
| High Traffic / Large Lawn | 3-4 Inches | Plate Compactor (Must Rent) | Heavy (2kg/sq ft) |
| Decorative / Small Area | 2-3 Inches | Hand Tamper (Labor Intensive) | Standard (1kg/sq ft) |
Now, let’s look at the tools you need to get the job done right.
What Tools and Materials Do You Really Need?
You need a heavy-duty utility knife, a shovel, and a landscape rake. For larger projects, renting a Plate Compactor is the single best investment you can make to save time and ensure quality.
Selecting Professional-Grade Materials
The difference between a DIY look and a pro finish often comes down to materials. Do not just buy generic "gravel." You need Class II Road Base. This mix of jagged rocks and dust locks together tightly. On top, you need Decomposed Granite (fines) to smooth it out.
When ordering turf, remember the 10-15% Wastage Rule. Turf comes in fixed widths (usually 12ft or 15ft / 2m or 4m). If your yard is shaped oddly, you will have cut-offs. You cannot buy the exact square footage; you must plan for the cuts to ensure the grain direction matches.
- Must-Haves: Utility Knife (buy extra blades!), Shovel, Wheelbarrow, Rake, Tape Measure.
- The "Pro" Rental: Plate Compactor (Cost ~$80/day, saves your back and your lawn).
- The Glue: Turf Glue + Seaming Tape (Lasts longer than self-stick tape).
With your plan set, let’s break ground.
Phase 1: How Do You Prepare the Site Foundation?
Clear the area and dig down 3-4 inches (or 2 inches for decorative areas). Cap sprinklers, lay your weed barrier, spread your road base, wet it, and compact it until it feels like concrete.
Building the Sub-Base Layer by Layer
This is the hardest part of the day. Excavate all grass and roots. If you leave organic matter, it will rot and create holes later. Cap your irrigation lines—you don’t want water bubbling up under your carpet.
The Weed Barrier Debate: Place your geotextile fabric at the very bottom, on the soil. This stops mud from mixing with your clean rock base.
The "Magic" of Compaction: Spread your Class II Road Base. Wet it thoroughly. Water acts as a lubricant, helping the stones slide together. Then run the plate compactor. You want to reach 90% compaction. It should be hard enough that your shoe doesn’t leave an indent. Finally, add 1 inch of "Fines" (Decomposed Granite) to smooth out the jagged rocks. Grade the soil 1-2% away from your house for drainage.
Foundation done. Now, let’s make it look green.
Phase 2: How Should You Position and Lay the Turf?
Roll out the turf and let it "acclimatize" in the sun for two hours. Crucially, position the grass so the grain direction points toward your house or main viewing area for the best color.
Acclimatization and The "Grain Rule"
Turf has "memory." It’s been rolled up tight in our factory. When you unroll it, it will look flat. Let it sit in the sun for 2 hours. The heat relaxes the backing and lets the blades stand up.
O #1 Amateur Mistake is ignoring Grain Direction. Grass blades lean in one direction.
- Correct: Point the grain towards the viewer (e.g., looking from your patio). The grass looks deep green and lush.
- Incorrect: Point the grain away from the viewer. The grass looks shiny and plastic because you are seeing the reflection off the flat back of the blade.
Positioning is key. Now, let’s hide those seams.
Phase 3: How Do You Cut and Seam Like a Pro?
Cut off the factory edge (at least 3 stitch rows). Align pieces with a 1/8-inch gap (do not overlap!). Use glue and tape underneath, then "zipper" the fibers together.
The Art of the Invisible Seam
Do not use the factory edge! It is designed to protect the roll, not to be part of your lawn.
- Cut: Flip the turf over. Cut between the stitch rows. Remove at least 3 rows to get rid of the "mohawk" curve.
- Gap: Place the two clean edges together. Leave a 1/8 inch gap. If they touch too tightly, they peak (mohawk). If they are too far apart, you see a line.
- Glue: Fold back the edges, lay your tape, apply glue, and fold them back down.
- Zipper: While the glue is wet, use your fingers to mix the fibers across the seam line. This hides the gap.
Almost there. Let’s lock it down.
Phase 4: How Do You Secure and Finish?
Nail the perimeter every 6 inches. Spread silica sand infill (don’t skip this!) and power brush the fibers upright to give the lawn a natural, fluffy look.
Why You Cannot Skip Infill
"Can I save money by skipping the sand?" Não.
Infill is not just weight; it is the structural support for the grass blades. Without sand, your grass will lie flat and look matted within months.
- Nail: Use 6-inch galvanized nails along the edges. Separate the fibers so you don’t hammer the grass blades down.
- Fill: Spread silica sand (approx. 1-2kg per sq. ft.).
- Brush: Use a power broom (or stiff push broom) and brush against the grain. This pushes sand down and pulls grass blades up.
Troubleshooting: What Could Go Wrong?
Watch out for reflective melting from windows, sinking spots due to poor compaction, and visible seams caused by bad cutting.
The "Reflective Melting" Warning
If you have energy-efficient (Low-E) windows, they act like a magnifying glass. The reflection can melt plastic turf in minutes. If you see a melted line, check your windows. You may need window screens.
Sinking / Divots
If your lawn gets bumpy after rain, your base wasn’t compacted enough. There is no shortcut fix; you have to lift the grass and add more road base. This is why we emphasize the "Highway" preparation method for large lawns.
Conclusão
Installing artificial grass is a balance between heavy labor and artistic detail. Whether you choose the "Highway" method for a family lawn or the lighter method for a decorative patch, the key is respecting the grain direction and securing the edges.
Sobre o autor
I am the Production Manager at PISO MF, specializing in the manufacturing and technical application of sports and landscape artificial grass. We bridge the gap between factory specifications and real-world DIY success.
Not sure if you need a 30mm or 40mm pile height for your specific project? Contact the MF FLOOR team today. We can help you choose the right turf for your budget and send you free samples to feel the quality yourself.