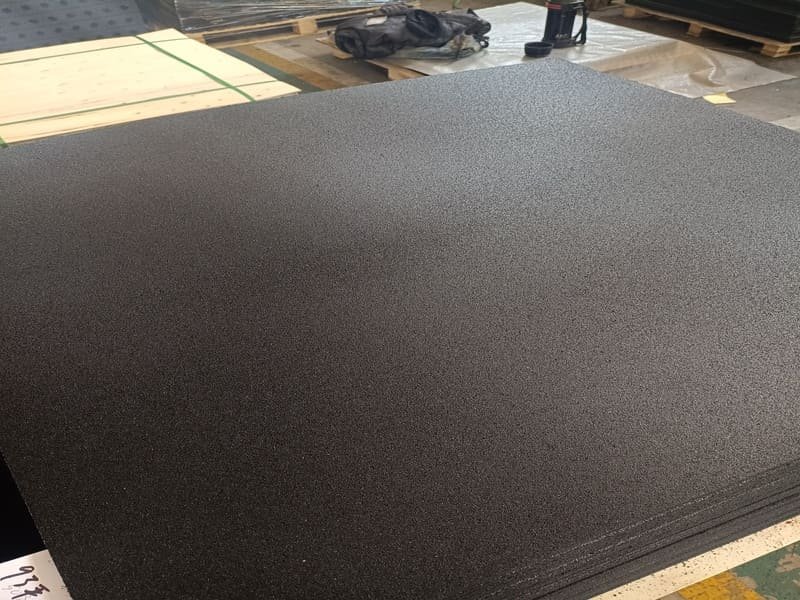
Para nivelar um subpavimento, tem de começar por lixar os pontos altos e depois preencher os pontos baixos utilizando um composto autonivelante ou um remendo de cimento. Uma superfície plana evita que as costuras de borracha se abram e impede que os ladrilhos se desloquem sob cargas dinâmicas pesadas durante exercícios de alto impacto.
Passei 20 anos no fabrico de pavimentos de borracha e em I&D. Vejo frequentemente rolos de borracha de alta qualidade falharem porque o instalador ignorou o substrato. A preparação do subpavimento não é apenas uma sugestão; é um requisito crítico de engenharia. Se o seu pavimento tiver uma variação de mais de 3 mm num raio de 3 metros, a borracha "telegrafará" todas as imperfeições. Isto significa que uma pequena saliência no betão se torna um risco visível de tropeçar no seu pavimento de ginásio. Nas nossas instalações de produção, testamos a forma como a borracha reage a pressões irregulares. Quando o subpavimento é oco ou com picos, a fricção interna da borracha aumenta. Isto leva a um desgaste prematuro. Deve tratar a sub-base como a base do desempenho do seu equipamento.
Um início sólido é a única forma de garantir que o seu ginásio tenha um aspeto profissional e se mantenha seguro durante anos.
Porque é que o Subfloor Prep 90% é um sucesso nos pavimentos de ginásio?
A preparação do subpavimento garante que a borracha fica plana, o que evita a separação das juntas e elimina o "ressalto" ou sons ocos. Uma preparação adequada também elimina os riscos de tropeçar causados por ladrilhos irregulares e protege o material dos danos provocados pela humidade que podem ocorrer em caves ou garagens não vedadas.
Na minha experiência, "improvisar" é o erro mais caro que se pode cometer. Quando um subpavimento é irregular, as linguetas de encaixe dos ladrilhos de borracha são sujeitas a uma tensão de cisalhamento constante. Isto acaba por fazer com que as juntas se abram. Uma vez fui consultor num projeto em que o cliente ignorou pequenos buracos no betão. No espaço de seis meses, as pesadas estantes eléctricas fizeram com que a borracha se afundasse nesses buracos, criando reentrâncias permanentes.
O custo real de uma má preparação do subpavimento
| Problema | Causa técnica | Impacto a longo prazo |
|---|---|---|
| Abertura da costura | Os "picos" do substrato esticam a borracha | Falha estética e acumulação de sujidade |
| Riscos de viagem | Deslocamento vertical nas juntas | Responsabilidade pela segurança dos utilizadores |
| Fadiga do material | Flexão constante sobre pontos ocos | Redução do tempo de vida do produto |
Se quiser que o seu ginásio se assemelhe a um estabelecimento comercial, deve dar prioridade à planura em vez do nivelamento perfeito.
Como identificar áreas problemáticas na sub-base?
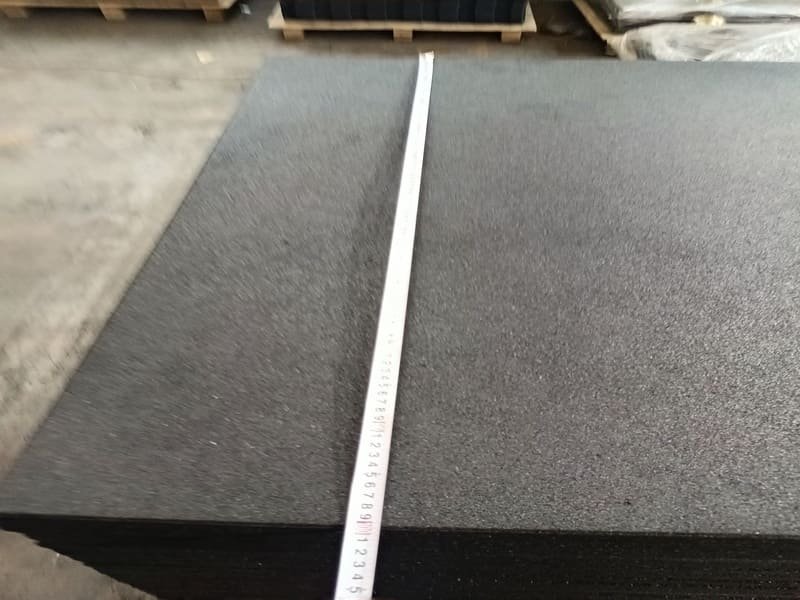
Pode identificar as áreas problemáticas utilizando uma régua de 1,5 ou 2,5 metros para encontrar lacunas e uma lanterna encostada ao chão para revelar sombras nas depressões. Deve também verificar níveis aceitáveis de humidade do betão antes de instalar um pavimento de borracha colando plástico sobre a laje para verificar se há condensação.
Encontrar os "altos" e os "baixos" é um processo de diagnóstico. Digo sempre aos meus parceiros para usarem o "truque da lanterna". Colocando uma luz de alta intensidade no pavimento, qualquer depressão com mais de 3 mm de profundidade projectará uma longa sombra. Isto é muito mais rápido do que utilizar apenas um nível. No caso do betão, também é necessário verificar se existe "laitância" - aquela camada superior fraca e poeirenta. Se o seu nivelador ou adesivo aderir ao pó em vez de ao betão sólido, todo o pavimento acabará por se descolar.
Métodos de diagnóstico do subpavimento
| Método de ensaio | Ferramenta necessária | O que detecta |
|---|---|---|
| Teste da linha reta | Barra metálica de 8 pés | Pontos altos e depressões localizadas |
| Teste de lanterna | Luz de trabalho LED | Textura da superfície e variações de profundidade |
| Cloreto de cálcio | Kit de teste de humidade | Taxas de emissão de vapor no betão |
Depois de saber onde estão os problemas, pode começar o trabalho físico de remoção dos pontos altos.
Quais são os melhores métodos para a remoção de pontos altos?
Para os pontos altos do betão, utilize uma rebarbadora de betão ou um cinzel frio para as pequenas saliências. Para os pavimentos de contraplacado, deve lixar as juntas ou substituir os painéis empenados. Utilize sempre um aspirador HEPA para gerir o pó durante este processo e manter o ar limpo.
A remoção do material é a "Fase 1" da preparação do pavimento. Na nossa fábrica, utilizamos rebarbadoras industriais para garantir que a base está plana antes de pensarmos sequer em testar a densidade do material. Se estiver a trabalhar numa garagem em casa, uma rebarbadora angular de 7 polegadas com uma roda de copo turbo é normalmente suficiente. Mas é preciso ter cuidado. Se lixar demasiado fundo, cria um novo ponto baixo. No caso dos soalhos de madeira, o problema é muitas vezes a sua queda. Se o contraplacado ou subcamada por baixo do pavimento de borracha do ginásio é "esponjoso", não há lixagem que o resolva. Tem de substituir a camada de base.
Técnicas de correção de pontos altos
- Retificação de betão: Ideal para remover marcas de espátula ou de betão fino antigo.
- Cinzelamento a frio: Útil para saliências pequenas e afiadas que são demasiado pequenas para uma rebarbadora.
- Lixagem com cinta: Ideal para juntas de madeira que incharam devido à humidade.
Depois de os pontos altos terem desaparecido, tem uma folha de papel em branco para preencher as restantes depressões.
Como escolher e aplicar o composto de nivelamento correto?
Escolha um subpavimento autonivelante (SLU) para grandes áreas irregulares e um composto de remendo cimentício para pequenas falhas. Deve limpar o pavimento, aplicar um primário de aderência, misturar o composto até obter uma consistência de panqueca e espalhá-lo com um ancinho ou uma espátula plana.
A mistura do nivelador é onde a maioria das pessoas falha. Nos meus 20 anos de produção, vi que a proporção de água para pó não é negociável. Se adicionar demasiada água, o nivelador ficará fraco e com giz. Se adicionar muito pouca, não fluirá. Também é necessário utilizar um primário. O betão é poroso e sugará instantaneamente a água do nivelador, provocando fissuras. O primário actua como uma ponte, assegurando que o novo material adere à laje antiga.
Processo de nivelamento passo a passo
| Etapa | Ação | Sugestão crítica |
|---|---|---|
| 1. Preparação | Aplicar o agente de ligação acrílico | Não deixar que o primário se acumule |
| 2. Mistura | Utilizar uma pá misturadora de alta velocidade | Misturar durante exatamente o tempo indicado no saco |
| 3. Derrame | Começar pelo canto mais afastado | Trabalhe em pequenas secções para manter uma "borda molhada" |
| 4. Cura | Esperar 24 a 48 horas | Evitar o tráfego pedonal até estar completamente endurecido |
O preenchimento das partes baixas é o último passo importante antes de poder pensar em colocar a borracha.
Deve-se nivelar um pavimento de garagem inclinado antes da instalação?
Não, geralmente não é necessário nivelar um pavimento de garagem inclinado porque a inclinação foi concebida para a drenagem. Apenas é necessário garantir que o pavimento é "plano" para que os tapetes de borracha não tenham espaços ou bolsas de ar por baixo.
Esta é uma pergunta comum dos nossos clientes B2B. Existe uma grande diferença entre "nivelado" (paralelo ao horizonte) e "plano" (um plano liso). O chão de uma garagem é construído de forma a inclinar-se em direção à porta para evitar danos causados pela água. Se o fizer perfeitamente nivelado, pode prender a água no interior das paredes. No caso dos pavimentos de borracha para ginásios, o foco é a planura. Se o pavimento for plano, a borracha adaptar-se-á perfeitamente à inclinação sem qualquer problema.
Abordagem de outros pontos problemáticos comuns
- Fissuras em betão: Utilize um enchimento de fissuras de epóxi rígido para fissuras estruturais. Se a fenda estiver a mover-se, a borracha pode deformar-se com o tempo.
- Juntas de dilatação: Não as preencha com nivelador rígido. Utilize um vedante de poliuretano flexível para que a laje possa continuar a mover-se.
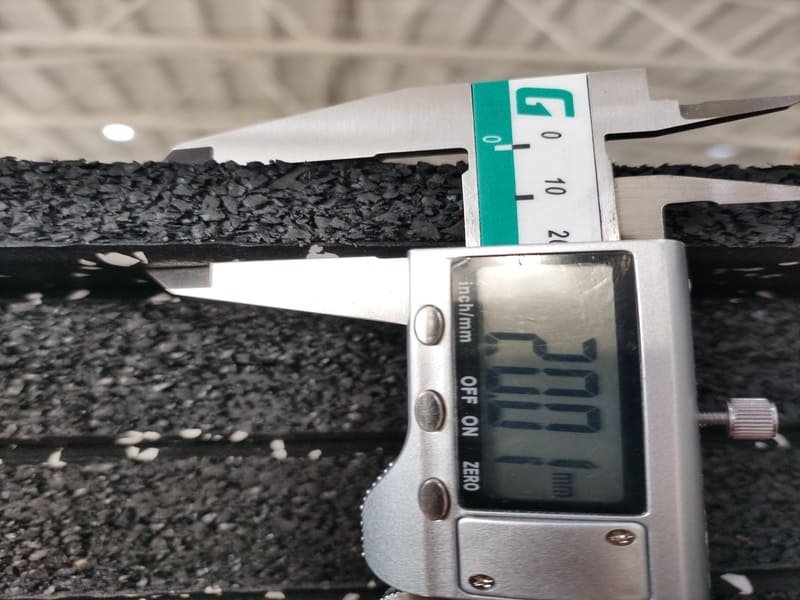
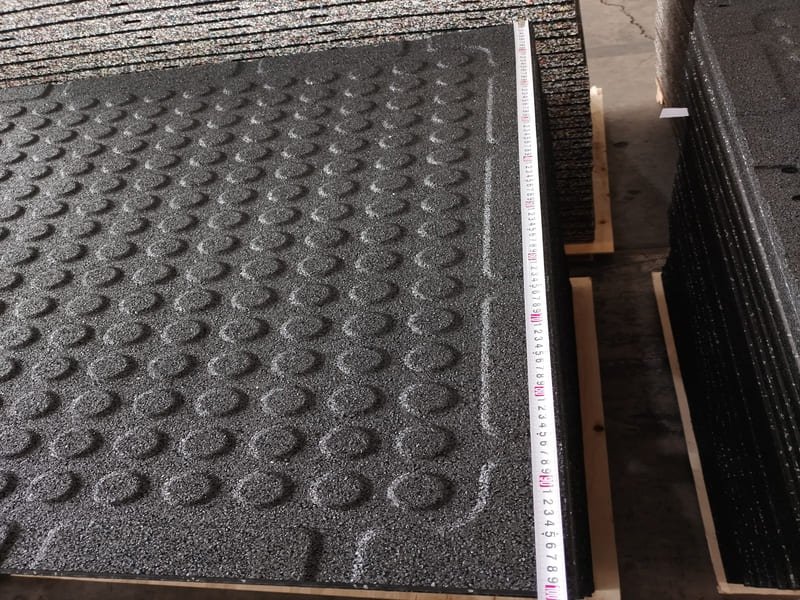
- Inspeção final: Passe a mão pelo chão. Qualquer pedrinha deixada para trás parecerá uma montanha sob a borracha de 8 mm.
Dedicar algum tempo a tratar destes pormenores garante que a sua instalação tem o aspeto de um trabalho profissional.
Conclusão
Uma sub-base plana é a base de um ginásio de alto desempenho. Se o preparar corretamente, o seu pavimento de borracha durará décadas.
Se é um importador ou proprietário de um ginásio que procura um pavimento de borracha de alta densidade e necessita de aconselhamento técnico sobre a situação específica do seu subpavimento, não hesite em mensagem direta para uma consulta profissional.