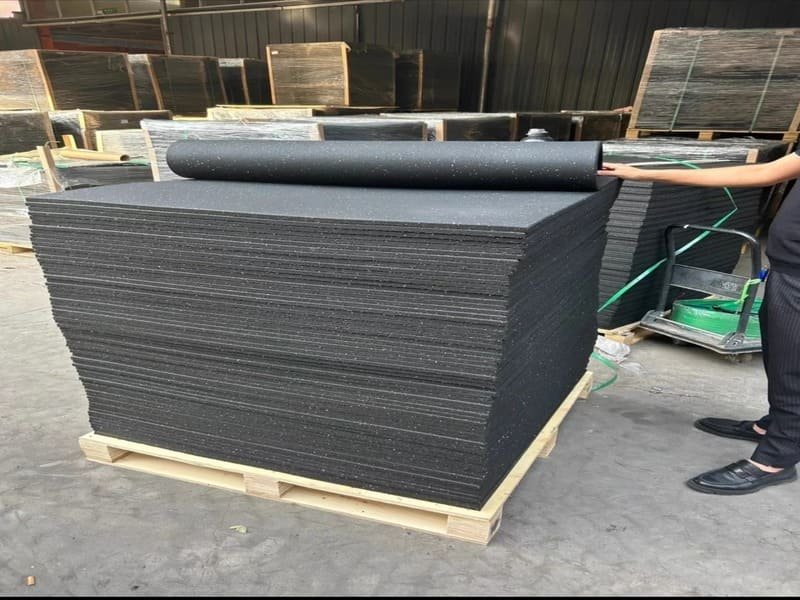
O melhor pavimento de ginásio depende do seu orçamento e do nível de impacto: para trabalhos pesados, os tapetes de borracha de 3/4" (19 mm) ou os ladrilhos de 15 mm são essenciais; para a condição física geral, os rolos de borracha de 8 mm-10 mm oferecem o melhor valor. Os preços variam entre $1.50/pés quadrados para borracha reciclada económica e $8.00/pés quadrados para ladrilhos de borracha virgem de qualidade superior e com pouco odor.
A escolha de um pavimento é o erro mais dispendioso que pode cometer num ginásio em casa se o fizer mal. Nos meus 15 anos de experiência em instalações, já vi proprietários de casas partirem as lajes das suas garagens com uma única sessão de levantamento terra porque escolheram espuma de 1/2" em vez de borracha de alta densidade. O pavimento é um sistema concebido para gerir a energia. Não é apenas um tapete; é uma camada estrutural que protege as suas articulações, o seu equipamento e o valor de revenda da sua casa. Este guia descreve os produtos exactos que recomendo aos meus clientes, categorizados por orçamento, estilo de treino e localização, para que possa parar de pesquisar e começar a construir.

Digo sempre aos meus clientes para olharem primeiro para o seu orçamento, uma vez que este dita a densidade e a espessura do material que podem pagar pelo seu espaço.
Quais são as melhores recomendações de pavimentos de acordo com o orçamento?
Para um orçamento de $1-$2/pés quadrados, a espuma de alta densidade ou a borracha reciclada fina é a norma; os orçamentos médios ($3-$5/pés quadrados) permitem rolos de borracha profissionais de 8 mm-10 mm ou tapetes de bancas; os orçamentos premium ($6+/pés quadrados) fornecem borracha virgem de baixo odor ou PVC especializado para garagem.
| Nível | Custo estimado | Produto recomendado | Melhor para |
|---|---|---|---|
| Orçamento | $1.50 - $2.50/pés quadrados | Rolos de borracha reciclada de 8 mm | Ginástica geral e HIIT |
| Gama média | $3.00 - $5.00/pés quadrados | Tapetes de 3/4" (19 mm) | Levantamento de pesos e Powerlifting |
| Prémio | $6.00 - $9.00/pés quadrados | Ladrilhos de borracha virgem (10 mm+) | Ginásios de luxo interiores (sem cheiro) |
A minha opinião profissional sobre a seleção de produtos
Se tiver um orçamento apertado, não compre espuma fina para levantar pesos; compre tapetes de 3/4". São a "arma secreta" dos proprietários de ginásios de garagem. São incrivelmente resistentes e baratos, apesar de terem um forte cheiro a borracha e bordos ligeiramente irregulares. Se estiver a construir um ginásio dentro de um quarto de hóspedes, o cheiro a borracha reciclada será um problema. Nesse caso, recomendo que gaste o dinheiro extra em placas de borracha virgem. Estas são vulcanizadas, o que significa que não são porosas e são praticamente inodoras. Para quem pratica HIIT ou ioga, um rolo de borracha de 10 mm proporciona uma superfície sem juntas que não o fará tropeçar durante os movimentos laterais.
Para além do preço, é necessário garantir que as propriedades do material correspondem à "resistência" específica do ambiente do seu ginásio.
Porque é que os ginásios de garagem necessitam de PVC ou borracha especializados?
Os ginásios de garagem necessitam de mais de 15 mm de borracha para proteção contra impactos. Aprendizagem como escolher tapetes de ginástica para garagem para espaços partilhados é essencial, especialmente se o pavimento for exposto a óleo ou gás de veículos. A borracha é superior para amortecer as vibrações, mas o PVC é necessário se o pavimento for exposto a óleo, gás ou ácido de bateria de um automóvel.
Resolver o problema do betão da garagem
As lajes de betão são frias e propensas à humidade. Se utilizar espuma barata, esta irá reter a humidade e criar bolor. Instalo sempre um pavimento "flutuante" nas garagens. Os ladrilhos de PVC interbloqueados são excelentes neste caso, porque têm canais na parte inferior que permitem a circulação do ar. Se é um levantador de pesos sério, precisa de massa. Um tapete padrão de 3/4" pesa cerca de 40 kg (90 lbs). Esse peso é o que impede que o chão se mova quando se deixa cair 300 lbs. Se a sua garagem for inclinada para drenagem, evite rolos grandes. Eles irão ondular. Em vez disso, utilize ladrilhos entrelaçados; estes seguem muito melhor os contornos do pavimento.
Quando se desloca o ginásio para o interior da casa, o desafio técnico passa da humidade para a proteção da base.
Como é que se protege a madeira e a alcatifa interiores?
É necessário utilizar uma camada de borracha com mais de 10 mm para proteger a madeira dura. Identificar o o melhor pavimento para ginásio em casa é fundamental para evitar o "deslizamento" da superfície, garantindo ao mesmo tempo a segurança das suas juntas e da sub-base. Nunca coloque borracha reciclada diretamente sobre madeira dura; os plastificantes migrarão e causarão manchas amarelas permanentes no acabamento da madeira.
Engenharia de uma instalação interna segura
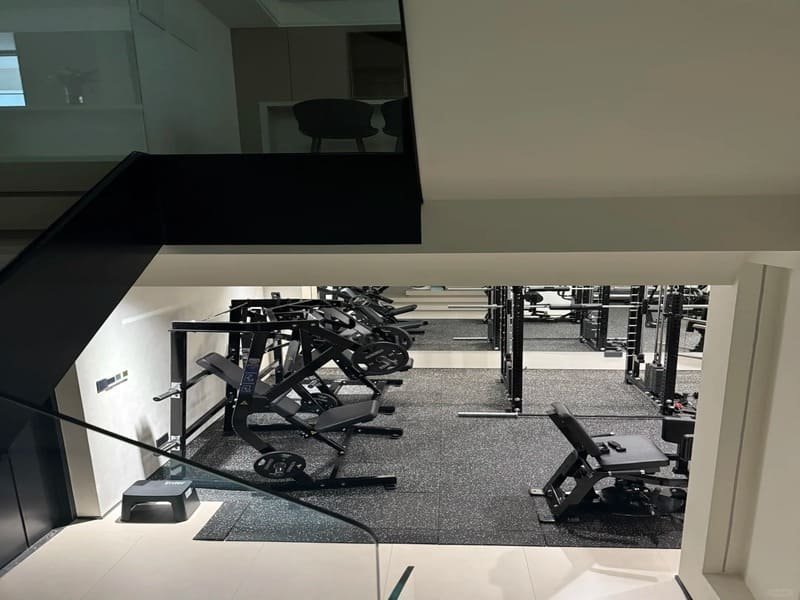
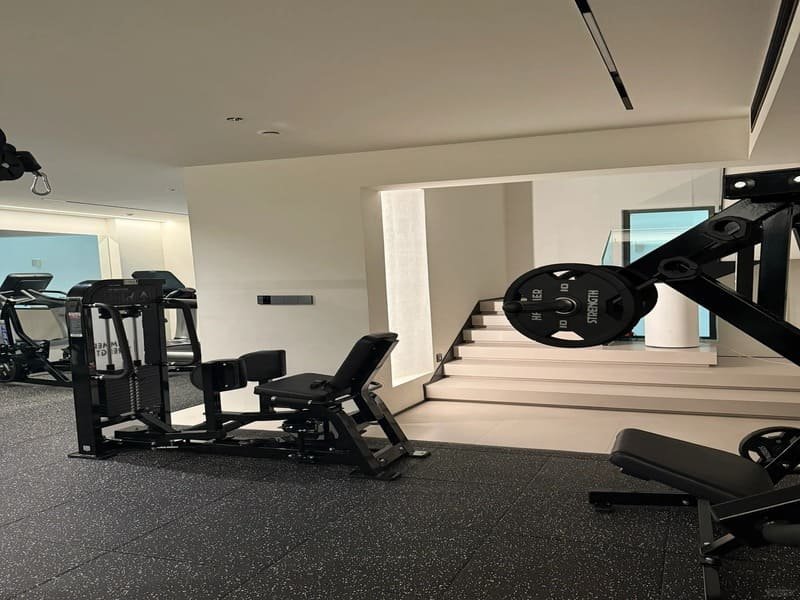
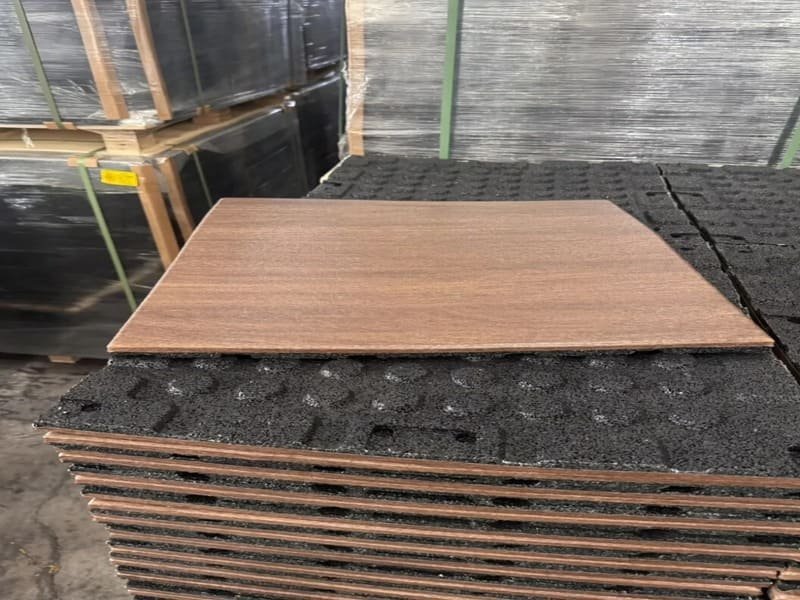
Já vi belos soalhos de carvalho serem arruinados por tapetes de borracha $50. Coloque sempre uma base "à prova de vapor" ou uma simples película de plástico entre a madeira e a borracha. Isto evita a reação química que mancha a madeira. Na alcatifa, o problema é o "esmagamento". Se o pavimento for demasiado macio, o seu porta-bagagens irá oscilar. Eu recomendo ladrilhos de borracha de 10 mm ou 12 mm. Os "dentes" do sistema de encaixe criam uma plataforma unificada que distribui melhor o peso do que um único tapete plano. Isto mantém a superfície de elevação nivelada, mesmo em alcatifas macias.
Para garantir que está a adquirir um produto de qualidade profissional, é necessário verificar as especificações de engenharia na caixa.
Que métricas profissionais deve verificar antes de comprar?
Verificar se a dureza Shore A é de 60-70 e a espessura é de, pelo menos, 8 mm para equipamento ou 15 mm para pesos livres. É necessário um coeficiente de fricção superior a 0,6 para evitar escorregadelas durante o treino de alta intensidade.
| Especificação | Valor-alvo | Porque é que é importante |
|---|---|---|
| Espessura (elevação) | 15mm - 20mm | Absorve quedas de mais de 500 lb |
| Dureza Shore A | 65 (padrão) | Suficientemente firme para agachamentos pesados |
| Densidade | > 900 kg/m³ | Evita amolgadelas permanentes no equipamento |
O teste "Denting
Um problema comum que vejo são as "reentrâncias do equipamento". Se colocar uma passadeira pesada sobre espuma barata de 1/2", a espuma comprime-se permanentemente no espaço de uma semana. É necessário um produto de elevada densidade (mais de 900 kg/m³). Quando testo um novo material para os nossos projectos, utilizo a escala Shore A. Uma classificação de 65 significa que o pavimento tem "elasticidade" suficiente para ser confortável, mas é suficientemente firme para que os seus pés não se afundem durante um agachamento pesado. Em termos de segurança, procure certificações de "Resistência ao deslizamento". Num ginásio doméstico suado, um pavimento com um baixo coeficiente de fricção é um risco.
Mesmo o melhor material pode falhar se a instalação for mal feita ou se a manutenção for incorrecta.
Como é que se pode garantir uma instalação profissional?
Utilize uma faca afiada e uma régua metálica para todos os cortes e faça a manutenção do pavimento utilizando apenas produtos de limpeza com pH neutro. Evite a todo o custo produtos de limpeza à base de petróleo, uma vez que estes dissolvem os aglutinantes de borracha e deixam o pavimento permanentemente escorregadio.
Segredos da instalação
O maior erro da bricolage é não deixar o material aclimatar-se. A borracha expande-se e contrai-se com a temperatura. Digo aos meus clientes para deixarem os rolos ou ladrilhos repousar na divisão durante 48 horas antes de os cortarem. Para obter as costuras mais apertadas, utilize o método de "corte duplo", em que sobrepõe duas peças e corta ambas de uma só vez. Para a limpeza, evite os produtos químicos sofisticados. Uma simples esfregona com água morna e uma gota de detergente da loiça é o melhor. Se o "cheiro a borracha" for demasiado forte, deixe as janelas abertas e utilize uma ventoinha durante a primeira semana. O cheiro é apenas uma libertação de gases e desaparecerá mais rapidamente com um bom fluxo de ar.
Conclusão
Compre borracha com mais de 15 mm para elevações, utilize PVC para garagens e, em termos de qualidade, faça um orçamento de $3-$5/pé quadrado.
Obtenha o pavimento certo para a sua construção
Sei que escolher entre rolos, ladrilhos e espessuras diferentes pode ser confuso quando se está a olhar para uma laje de betão em branco ou para uma sala de madeira acabada. Se precisar de uma recomendação específica com base nas dimensões do seu ginásio ou se quiser verificar a qualidade da nossa borracha de alta densidade, a minha equipa está aqui para ajudar.
Gostaria de solicitar um orçamento personalizado para o seu espaço ou receber um pacote de amostras grátis para testar a nossa dureza Shore A? Contacte-nos hoje mesmo.