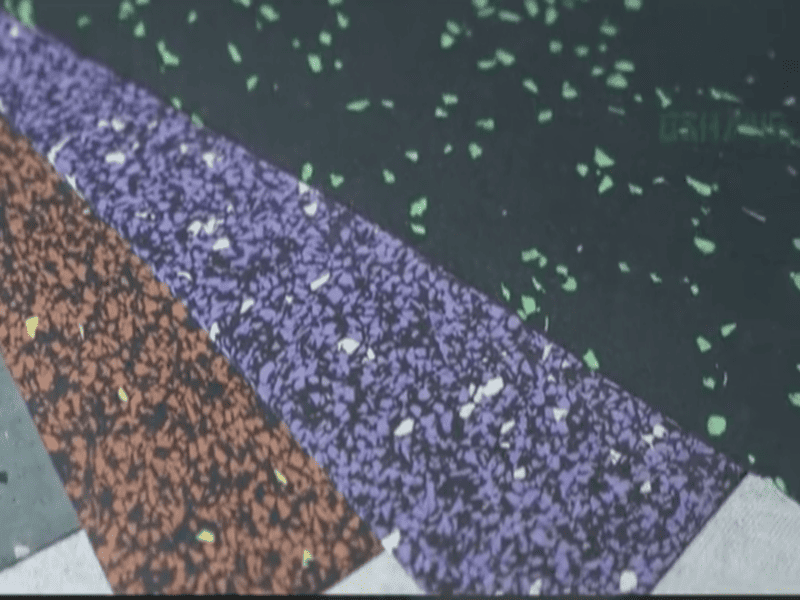
I punti vuoti sotto i pavimenti in gomma incollati si verificano quando il legame adesivo viene meno, lasciando uno spazio tra il materiale e il sottofondo. Questa separazione è solitamente causata dall'umidità del sottofondo, da un'inadeguata preparazione della superficie o da un'errata applicazione dell'adesivo, creando un punto debole che richiede un'ispezione tempestiva.
Quando si cammina sulla pavimentazione in gomma e si sente quel distinto suono vuoto o si avverte l'abbassamento del pavimento, si ha a che fare con una perdita di aderenza. Questa fessura non è solo un rumore fastidioso, ma è il segnale che la pavimentazione non è più completamente supportata. Se si lasciano questi punti da soli, il movimento può sollecitare le aree circostanti, causando potenzialmente lo strappo della gomma o l'arricciamento dei bordi. Nel tempo, questi vuoti possono intrappolare l'umidità, provocando la formazione di muffa e il cedimento totale dell'adesivo. Per proteggere il vostro investimento e garantire una superficie piana e sicura per le vostre attività, è necessario identificare se si tratta di un problema localizzato di lieve entità o di un segno di fallimento sistematico dell'installazione.
Per risolvere questo problema è necessaria una valutazione adeguata del vuoto. Comprendendo la causa scatenante, si può decidere se una soluzione rapida o una riparazione più ampia è la strada giusta per il pavimento.
Quali sono le cause principali del fallimento degli adesivi?
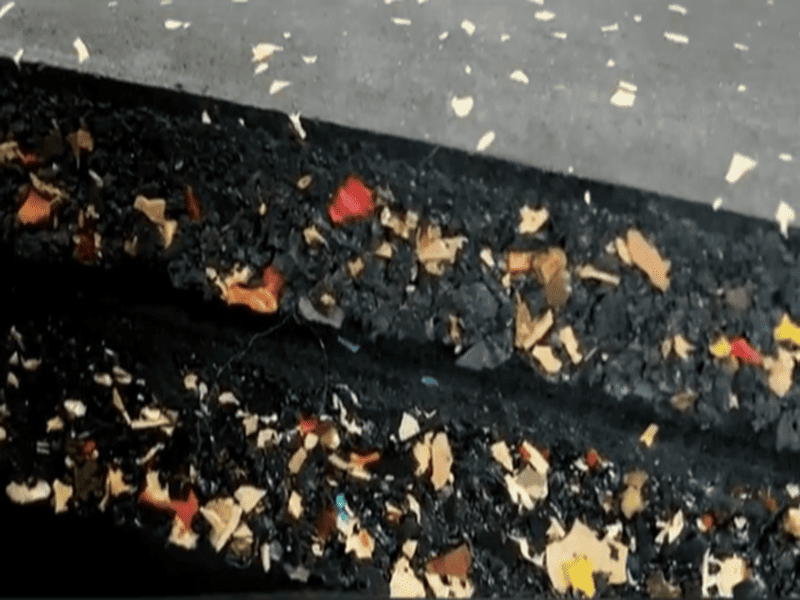
Il fallimento dell'adesivo deriva solitamente da una preparazione inadeguata del sottofondo, da una scelta sbagliata della colla o da uno stress ambientale. Questi problemi rompono il legame chimico tra la gomma e il sottofondo in cemento o in legno, provocando sacche d'aria e aree vuote che compromettono l'integrità del pavimento.
| Causa potenziale | Impatto sull'adesione |
|---|---|
| Elevata umidità del sottofondo | Impedisce alla colla di indurire e rompe il legame. |
| Contaminanti di superficie | La polvere e gli oli creano una barriera che impedisce il contatto con la colla. |
| Dimensioni errate della cazzuola | Si formano giunzioni "affamate" con adesivo insufficiente. |
| Scarsa acclimatazione | Provoca lo spostamento della gomma dopo che è già stata incollata. |
La ragione più frequente di questi fallimenti è la mancata gestione dell'ambiente del sottofondo. Prima che la colla tocchi il pavimento, il calcestruzzo deve essere pulito, asciutto e in piano. Se il sottofondo ha un alto tasso di emissione di vapore acqueo, l'umidità spingerà contro la colla e alla fine la costringerà a staccarsi. Allo stesso modo, se la gomma non è stata lasciata riposare nella stanza per 24-48 ore, si espanderà o si contrarrà dopo essere stata fissata in posizione, esercitando una forte tensione sulla colla. Nella mia pratica ingegneristica, sottolineo sempre che la colla è buona solo quanto la superficie su cui si appoggia. Se si saltano questi passaggi, anche l'adesivo più resistente si guasterà entro pochi mesi dall'installazione.
Una volta compreso il motivo del fallimento dell'incollaggio, è possibile scegliere il modo giusto per ripararlo. Se si ignorano questi segnali, è probabile che il piccolo punto vuoto si trasformi in una riparazione molto più grande e costosa.
Come si possono diagnosticare e riparare le macchie cave?
È possibile diagnosticare un punto vuoto utilizzando il test di spinta per verificare il movimento del pavimento. Le riparazioni vanno dalla semplice iniezione di adesivo per le piccole bolle al taglio e alla reincollatura di aree più ampie, a seconda della gravità della separazione.
| Metodo di riparazione | Utilizzato al meglio per |
|---|---|
| Iniezione di adesivo | Piccole bolle o lievi punti deboli localizzati. |
| Tagliare e reincollare | Aree grandi e ostinate o bordi allentati. |
| Sostituzione totale | Marciume diffuso del sottofondo o cedimento massiccio dell'adesivo. |
Per i punti più piccoli, consiglio la tecnica dell'iniezione. Si pratica un piccolo foro nella gomma, si inietta un adesivo compatibile e si applica un peso fino all'indurimento. È un modo molto pulito per ripristinare l'adesione senza rovinare l'aspetto del pavimento. Per le sezioni più grandi, potrebbe essere necessario effettuare un taglio preciso, rimuovere la vecchia colla fallita e riapplicare un nuovo strato di adesivo. È fondamentale utilizzare la colla esatta indicata nella scheda tecnica del pavimento, poiché la gomma è sensibile alle reazioni chimiche. Se il sottofondo è friabile o marcescente, nessuna di queste riparazioni funzionerà e sarà necessario sostituire la sezione del sottofondo prima di reinstallare la gomma. In qualità di esperto del settore, guardo sempre alla radice del problema, poiché una toppa è valida solo quanto le fondamenta sottostanti.
Conoscere i passi giusti vi farà risparmiare tempo e vi aiuterà a evitare gli errori più comuni che causano il ritorno di questi problemi. Se non siete ancora sicuri dello stato del vostro sottofondo o della compatibilità dell'adesivo, non tirate a indovinare. Un'assistenza tecnica adeguata è il modo migliore per garantire la solidità del vostro pavimento per gli anni a venire.
Conclusione
I punti vuoti indicano cedimenti dell'incollaggio causati dall'umidità o da una preparazione inadeguata; affrontateli tempestivamente con metodi di riparazione adeguati per evitare danni a lungo termine.
Avete bisogno di una consulenza professionale per il vostro progetto di pavimentazione?
In qualità di ingegnere del controllo qualità specializzato in pavimenti in gomma, aiuto i clienti a ottimizzare le loro installazioni e a risolvere sfide tecniche complesse. Se avete problemi di pavimentazione persistenti o avete bisogno di una guida sulla selezione dei materiali e sulle migliori pratiche di installazione, non esitate a inviarmi un messaggio privato. Assicuriamoci che il vostro progetto soddisfi gli standard più elevati.