Yes, you can install rubber flooring over plywood, provided the wood is structurally rigid, sanded, and has a moisture content below 12%. Success requires a minimum 3/4" subfloor thickness to prevent flexing and a vapor barrier if installed over unconditioned spaces to avoid wood rot.
As a rubber flooring R&D engineer, I often see failures not because of the rubber, but because the plywood subfloor was treated as an afterthought. Plywood is a "living" material—it expands with humidity and deflects under heavy loads. Rubber, being a non-porous vapor barrier, traps whatever is underneath it. If you trap moisture against an organic material like plywood, you create a breeding ground for mold. In our testing labs, we’ve found that the "bond" is only half the battle; the real challenge is "system stability." You must match the density of your rubber to the stiffness of your plywood. If the wood "bounces" when you drop a weight, the kinetic energy will eventually shear the adhesive bond or pop the interlocking tabs of your tiles.
To ensure your installation doesn’t fail within the first year, you must follow these specific engineering parameters.
1. The "Red Flags": When You Should NOT Install
Do not install rubber flooring if the plywood is OSB (Oriented Strand Board), if it shows signs of delamination, or if the moisture level exceeds 12%. You must also avoid installation over "springy" or thin subfloors (less than 5/8") as the constant movement will cause the rubber seams to fail.
From a manufacturing standpoint, OSB is problematic because the wax coatings used in its production often reject polyurethane adhesives. Furthermore, certain environments are high-risk for plywood-based systems.
Do NOT Proceed If:
- The Subfloor is OSB or CDX: The surface is too irregular, leading to "telegraphing" where every wood flake shows through the rubber.
- High Humidity Environments: If the area (like a damp basement or unsealed garage) lacks climate control, the plywood will warp.
- Structural Deflection: If you walk on the plywood and feel it "give," the rubber seams will eventually separate.
- Existing Water Damage: Any black spots or "soft" areas in the wood must be replaced, not covered.
| Type de sous-plancher | Statut | Ingénierie Raison |
|---|---|---|
| Sanded ACX Plywood | Recommandé | Smooth surface; superior adhesive bite. |
| Standard OSB | Éviter | Wax coatings cause adhesive failure. |
| Luan / Underlayment | Conditional | Only as a top layer; too thin for structural loads. |
| Pressure Treated | Caution | High chemical/moisture content can react with rubber. |
Identifying your specific usage scenario is the next step in choosing the right installation method.
2. Scenario-Based Solutions: Home vs. Commercial
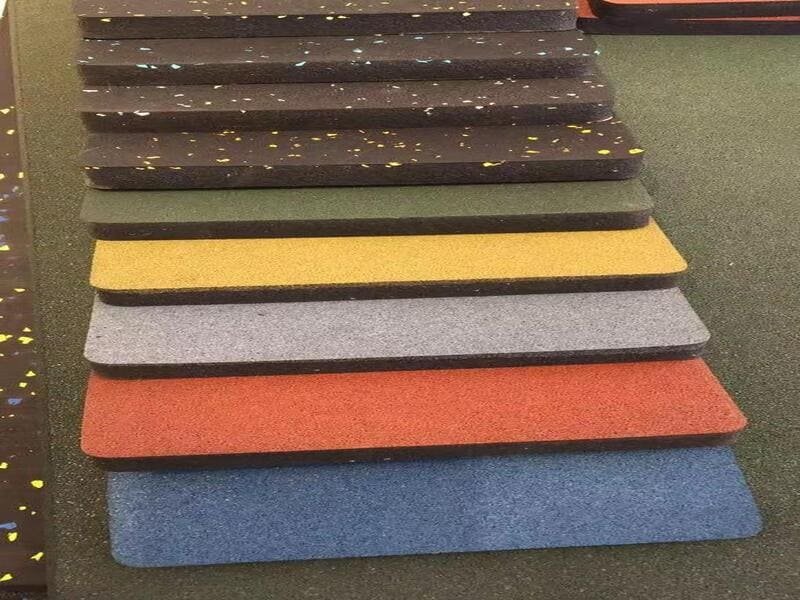
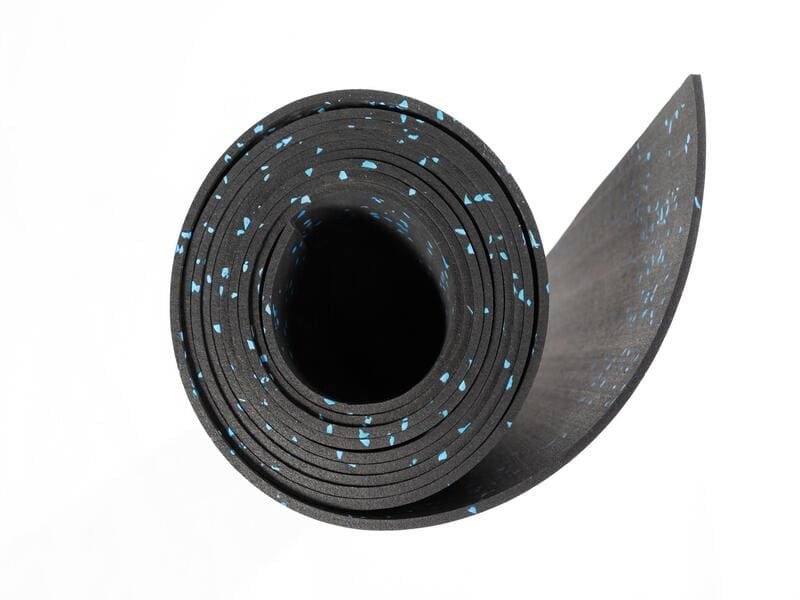
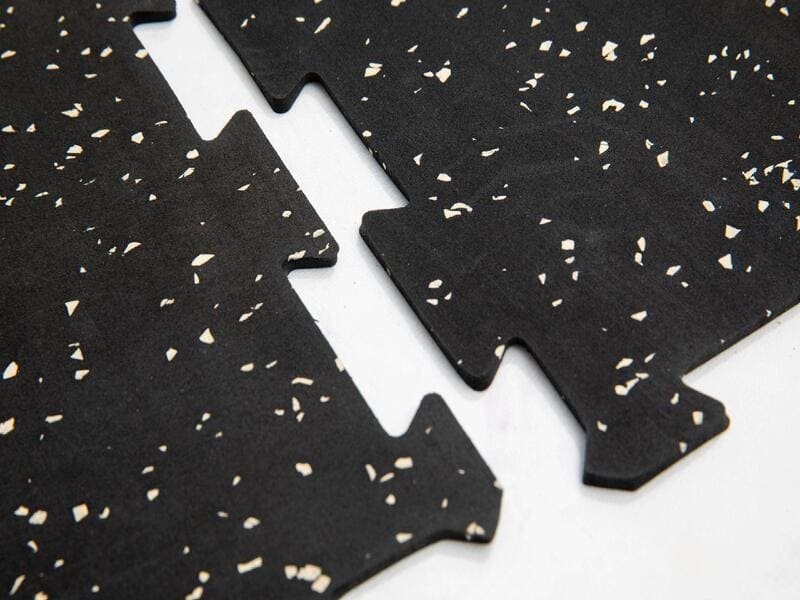
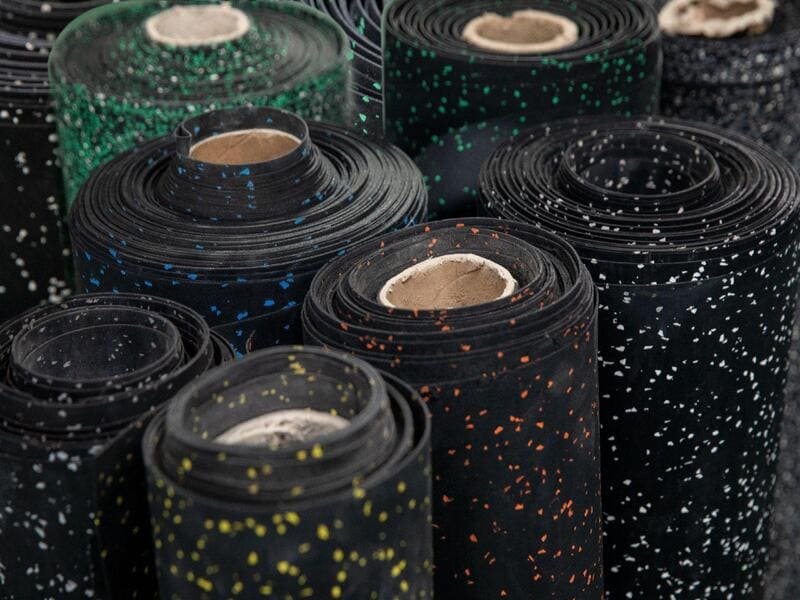
For home gyms on plywood, 8mm–10mm interlocking tiles are usually sufficient without glue. For commercial facilities or heavy-lifting zones, you must use 1/2" (12.7mm) or thicker rubber rolls with a full-spread, moisture-cure polyurethane adhesive to manage high shear forces.
In the R&D lab, we categorize installations by "Shear Load." A person walking creates vertical load, but a person doing a 40-yard dash or a heavy sled push creates horizontal shear. Plywood handles vertical load well but requires help with horizontal stability.
Which Setup Fits Your Goal?
- The Home Gym (Upstairs/Bedroom): Utilisation tuiles à emboîtement. These "float" over the plywood, allowing the wood to breathe slightly. The weight of the equipment usually keeps the floor in place.
- The Commercial Facility: Utilisation rouleaux de caoutchouc. Rolls have fewer seams. You must glue these down entirely to prevent the rubber from "creeping" or stretching over the wood surface.
- The Garage (Plywood over Concrete): This is high risk. You must use a vapor barrier (6-mil poly) between the concrete and the plywood. Without it, the wood will rot from the bottom up.
Understanding the risks allows you to implement the correct engineering controls during installation.
3. Risk Mitigation: How to Prevent Common Failures
The most common failures are mold growth, seam gaps, and "telegraphing." You can prevent these by using a moisture meter, allowing a 48-hour acclimatization period, and choosing a rubber thickness that masks the plywood’s natural imperfections.
I have designed a Risk-Prevention Matrix based on years of field data. If you follow these "Engineering Controls," your floor will last as long as the building.
| Risque | Why It Happens | How to Prevent It |
|---|---|---|
| Mold / Rot | Moisture trapped under non-porous rubber. | Test moisture (<12%); use vapor control. |
| Lacunes dans les coutures | Plywood deflection or poor acclimatization. | Use 3/4" rigid plywood; acclimate for 48h. |
| Telegraphing | Thin rubber over rough joints/screws. | Use sanded plywood + 8mm or thicker rubber. |
| Défaillance de l'adhésif | Dusty/waxy surface or water-based glue. | Sand, prime, and use PU-based adhesive only. |
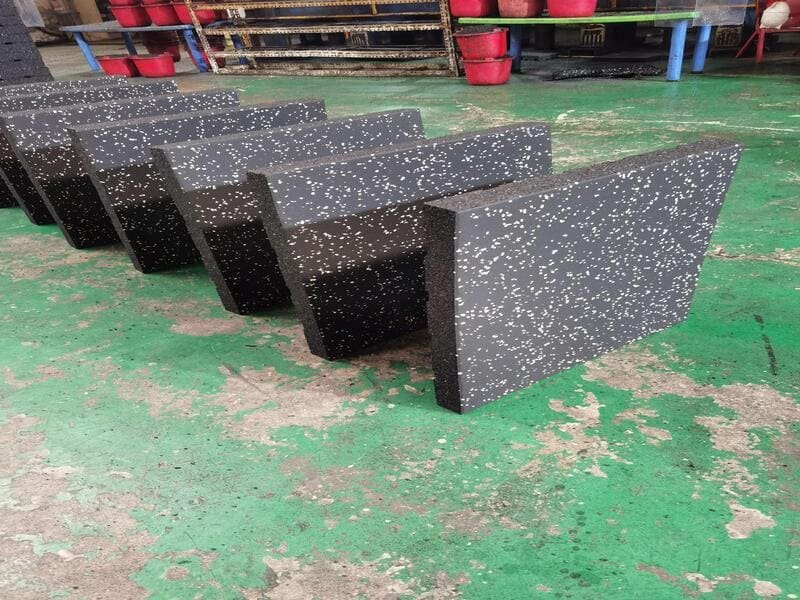
| Plywood Damage | Dropping heavy weights on thin rubber. | Use 15mm+ rubber in "drop zones" to protect wood. |
I once consulted on a gym where the owner used 1/4" rubber. Every single screw head in the plywood was visible through the floor within two weeks. We solved this in the next project by using a 1/8" feathering compound over the plywood seams before laying 10mm rubber.
Now, let us walk through the technical steps for a "Zero-Failure" installation.
4. The Engineering Best Practices for Installation
Start with a clean, sanded surface and prime the plywood if you plan to use adhesive. Always leave a 1/4-inch expansion gap at the perimeter to allow both the wood and the rubber to move independently with seasonal changes.
In my experience, the "Dry Lay" phase is where most people get lazy. You should lay the entire floor and wait 24 hours before applying glue or tape. This allows the internal stresses of the rubber rolls to relax.
The Professional Checklist:
- Sanding: Use a floor sander to remove high spots at plywood joins.
- Priming: Use a high-quality wood primer. This stops the wood from "sucking" the moisture out of the glue too fast.
- Découpage : Use a straight edge and a fresh blade for every three cuts. Dull blades cause "jagged" seams that will never close perfectly.
- Rolling: If gluing, use a 75lb or 100lb roller. This is the only way to ensure the "ribs" of the glue trowel are flattened and fully bonded to the wood.
Once installed, your maintenance routine must respect the fact that there is wood underneath your "waterproof" rubber.
5. Maintenance: Protecting the Organic Subfloor
Never flood-mop a rubber floor over plywood. Use a micro-fiber damp mop with a pH-neutral cleaner. If water reaches the plywood through the seams, it can cause the wood to swell, which will ruin the level surface of your rubber.
As an engineer, I look at the "capillary action" of water. Even tight seams can let water through. For high-traffic areas, I recommend a liquid seam sealer. This turns your floor into a monolithic, waterproof membrane that protects the expensive plywood subfloor from cleaning solutions and sweat.
Conclusion
Yes, rubber flooring works excellently over plywood if the subfloor is 3/4" thick, sanded, and kept dry (under 12% moisture). For home gyms, 8-10mm interlocking tiles are the gold standard. For commercial use, choose thicker rolls and full-spread polyurethane adhesive. Avoid OSB and flexing subfloors at all costs.