Thickness, squareness, and linear dimensions are the big three. If these aren’t tight, your floor will have "lips" that trip people or ugly gaps that swallow dirt. In my experience on the production line, getting these right at the factory saves you from a nightmare installation where nothing lines up.
I’ve spent enough time around molding presses to know that rubber isn’t like steel—it’s a "living" material that moves with heat and pressure. If a manufacturer tells you "it’s close enough," run the other way. In this business, "close enough" means the installer is going to spend hours trimming edges and fighting with gaps. I always tell my team: a $1 mistake in the factory becomes a $100 problem on the job site. We track tolerances like hawks because we know that if a tile is even 1mm off, it’s not just a measurement error; it’s a safety hazard. We focus on keeping variations so small that when you lay these tiles down, they look and feel like one solid, continuous piece of floor.
The real secret to a perfect floor isn’t the glue you use, but the precision of the tiles you start with.
What are the "Big Three" critical tolerances you cannot ignore?
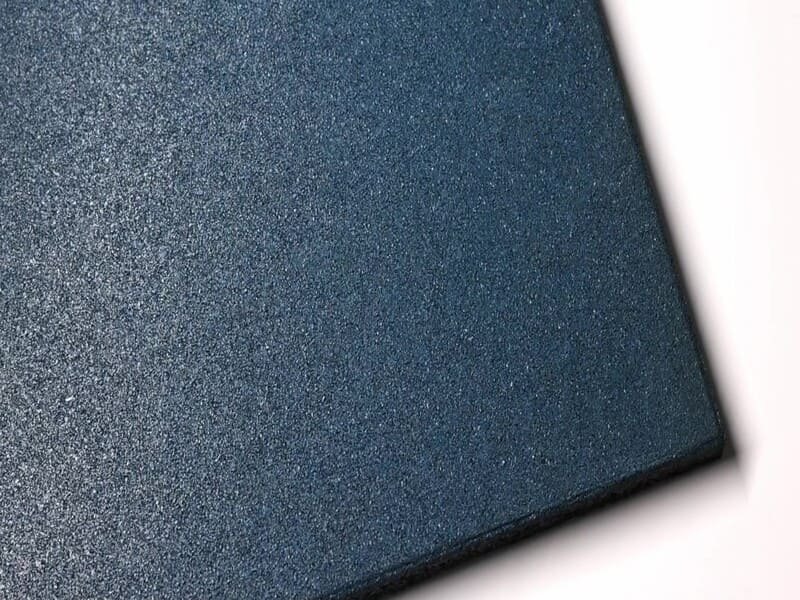
Thickness, squareness, and length/width are the foundation. Thickness variance causes "lippage" (uneven edges), while bad squareness makes your floor lines drift and creates gaps. We use high-pressure molding and water-jet cutting to make sure every tile is a perfect match, ensuring a flush finish without the trip hazards.
Why Thickness, Squareness, and Size Are Non-Negotiable
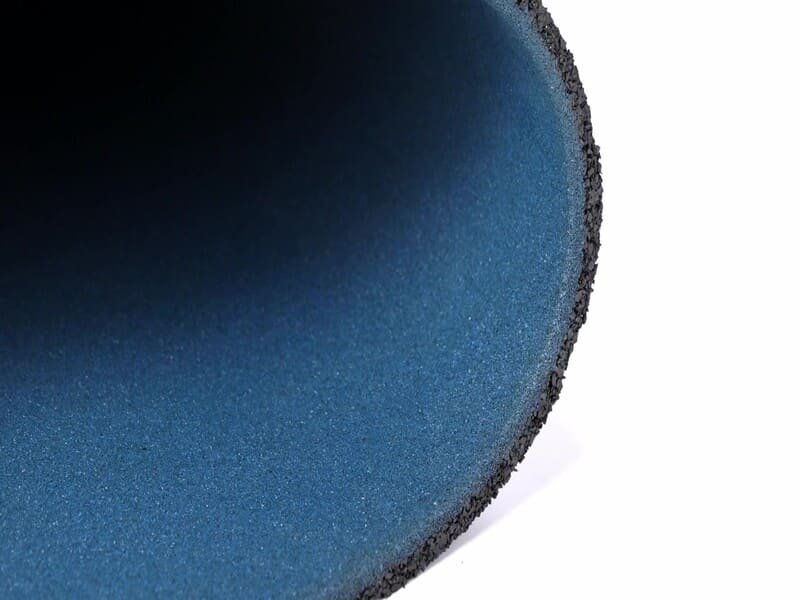
Thickness is the one that gets people hurt. If one tile is 10mm and the next is 11mm, you’ve created a tiny ledge. In a gym, that’s where someone catches their toe during a sprint. I use digital calipers on every batch because I’ve seen how even a half-millimeter difference makes a weight bench wobble. Then there’s the squareness—the "corner" of the problem. If a tile isn’t a perfect 90 degrees, your rows will start to curve like a banana. By the time you’re halfway across the room, you’ll have gaps you can fit a coin through. These gaps aren’t just ugly; they trap sweat and bacteria, eventually rotting the floor from the inside out. Consistent length and width mean you aren’t wasting time at the end of the day trimming every single perimeter tile to make them fit.
| Tolerance Type | The Real Trouble | What We Aim For |
|---|---|---|
| Épaisseur | Tripping and unstable gear | $\pm$ 0.5mm |
| Squareness | Gaps and "wandering" rows | < 0.5% deviation |
| Linear (L/W) | Material waste and bad fit | $\pm$ 1.0mm |
If you get these right, the floor basically installs itself. If not, you’re in for a long, expensive week.
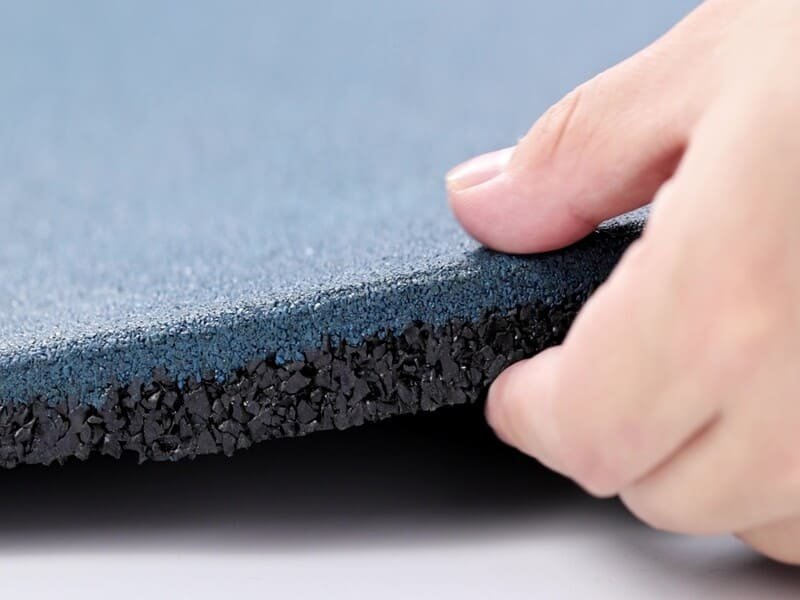
Density, weight, and durometer (hardness) are the invisible stats that matter most. If density varies, the floor feels "mushy" in some spots and hard in others. Consistent weight is my way of knowing the factory press did its job. Durometer consistency is key to making sure athletes don’t lose their balance on soft spots.
The Engineering Truth About Density and Hardness
I tell my clients: weight is the ultimate truth-teller. If tiles from the same box have different weights, it means the factory’s pressure or heat was all over the place. That leads to "soft spots." Imagine a lifter with 200kg on their back—if one foot is on a firm tile and the other is on a soft one, that’s a recipe for a blown-out ankle. We use a Shore A Durometer to test the hardness. For a pro-level gym, you need that density hit (usually 900-950 kg/m³). If it’s too low, the rubber will crumble under a heavy rack. If it’s too high, it’s like standing on concrete, and your knees will feel it. We don’t just guess; we weigh and test every run to make sure the "bounce back" is the same across the whole floor.
| Facteur de performance | Why You Should Care | How I Measure It |
|---|---|---|
| Durometer | Stability for heavy lifts | Shore A Tester |
| Tile Weight | Proof of a solid press run | Industrial Scale |
| Densité | Long-term wear and tear | Mass/Volume Math |
These technical specs are what keep a floor looking new five years down the road instead of five months.
Why does the size of rubber tiles change after they are made?
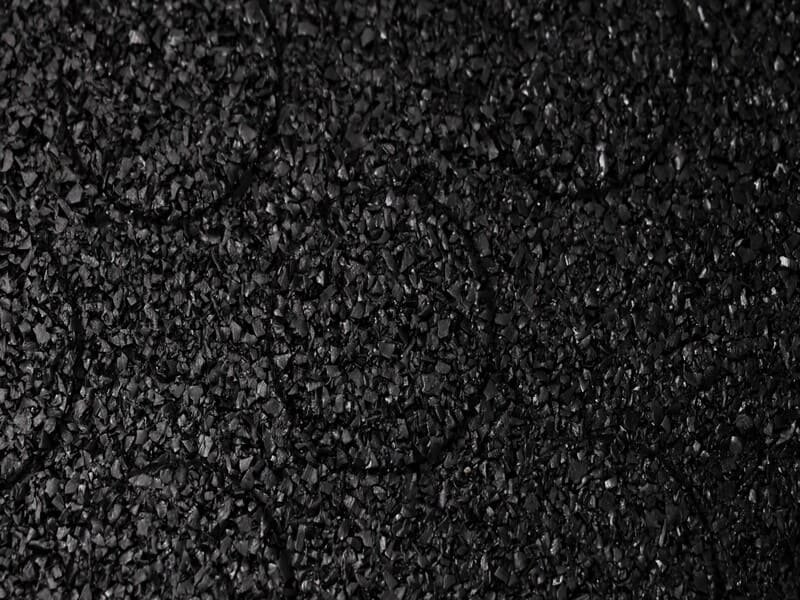
Temperature and "curing" time are why rubber moves. Rubber expands in the hot mold and shrinks as it cools. If a factory cuts tiles while they’re still warm, they’ll shrink more in the box. Whether you use recycled tire rubber or virgin EPDM also changes how much the tile reacts to your room’s climate.
The Science of Shrinkage and Why Resting Matters
Rubber has a memory. When we pull a tile out of a 150°C press, it’s at its biggest. As it cools down to warehouse temps, it shrinks. The biggest mistake a factory can make is trimming that tile too early. We have a strict "48-hour rest" rule. We let the tiles sit and stabilize before they ever see a cutting blade. If we don’t, they’ll keep shrinking on your floor, and you’ll end up with gaps a week after you thought the job was done. Recycled SBR (from tires) is pretty stable, but virgin EPDM is more sensitive to the weather. We aim for the "1% Rule"—no tile should ever be more than 1% off its mark, no matter how hot or cold the warehouse gets.
| Facteur | Le résultat | The Engineer’s Fix |
|---|---|---|
| Chaleur | Expansion and contraction | Climate-controlled storage |
| Temps de séchage | Post-cut shrinkage | 48-hour stabilization |
| Material Mix | Different movement rates | Precision chemical recipes |
Respect the material’s need to rest, or it will bite you during the installation.
How can you check your tiles and fix issues on-site?
Don’t touch the glue until you’ve done a "dry lay" test. Lay out a 3×3 section to check the seams. Ask your supplier for water-jet cut tiles—they’re much cleaner than die-cut ones. Always let the tiles sit in the room for 48 hours to acclimatize, and use a "brick pattern" to hide any tiny natural variances.
Practical Hacks for a Better Floor
I’ve seen too many guys pull tiles off a cold truck and start gluing them down in a warm room. The rubber will expand, and your seams will buckle. You have to let them "acclimatize" to the local temp for at least 48 hours. When you’re inspecting the batch, look for clean edges. If they look frayed or "cooked," the factory’s blades were dull. A water-jet cut is the gold standard—it’s clean, sharp, and fits together like a glove. Another pro tip: use a "Brick Pattern" (offsetting the joints). It breaks up the long lines, so even if a tile is a tiny bit off, no one will ever see it. If you hit a spot with a bit of lippage, a little extra adhesive can level things out, but with high-precision tiles, you shouldn’t have to fight it.
| Étape | Ce qu'il faut rechercher | Mes conseils |
|---|---|---|
| Dry Lay Test | Seams that don’t stay tight | Check the corner angles |
| Caliper Check | Consistent thickness | Reject if > 1.0mm off |
| Edge Scan | Smooth, vertical cuts | Demand water-jet quality |
A little bit of pickiness during the inspection saves you a massive headache on the final walkthrough.
Conclusion
Precision in the factory means a faster install, a safer floor, and a result that lasts.