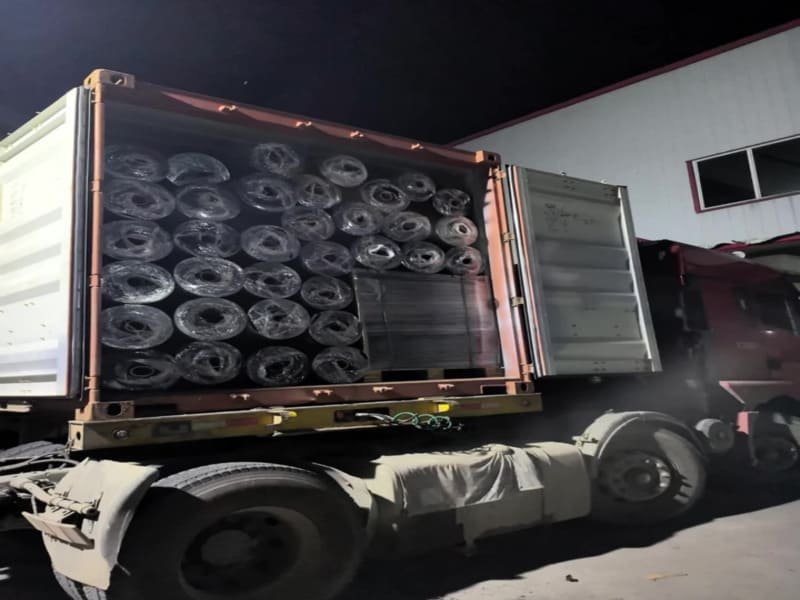
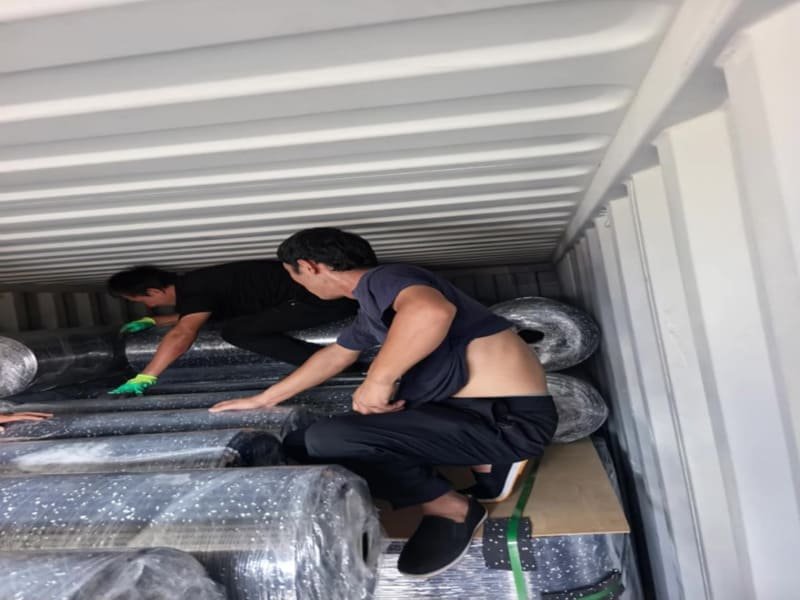
Pour charger des rouleaux de caoutchouc dans un conteneur, vous devez utiliser un chariot élévateur à fourche muni d'une perche à tapis pour placer les rouleaux soit verticalement afin d'éviter les zones plates, soit horizontalement en pyramide décalée. Sécurisez la charge avec des sangles à cliquet robustes, utilisez des déshydratants pour lutter contre l'humidité et veillez à ce que le poids soit réparti uniformément afin de respecter les normes de sécurité maritime.
Le chargement des rouleaux de caoutchouc est une tâche technique complexe en raison de la densité élevée du matériau. En tant qu'ingénieur en recherche et développement, je constate souvent que le caoutchouc est certes résistant, mais qu'il est susceptible de se déformer sous l'effet de son propre poids. Un conteneur standard de 20 pieds a une limite de poids d'environ 28 000 kg, mais vous atteindrez cette limite de poids bien avant de remplir l'espace physique, car le caoutchouc est si lourd. Ce rapport poids-volume élevé signifie que chaque placement doit être calculé. Un mauvais empilage et une stockage des rouleaux de caoutchouc avant l'installation peut entraîner la déformation des rouleaux inférieurs en des formes ovales difficiles à installer correctement. Je me concentre sur les limites de la "charge statique" des noyaux internes en PVC ou en carton. Nous testons ces noyaux pour nous assurer qu'ils peuvent résister à la pression verticale pendant un voyage maritime de 30 jours où les températures dans le conteneur peuvent atteindre 60°C, ce qui ramollit le caoutchouc et augmente le risque de déformation.
La stratégie de chargement que vous choisissez déterminera si votre produit arrivera prêt à l'emploi ou sous la forme d'un tas de ferraille endommagé.
Pourquoi la stratégie de chargement des conteneurs est-elle importante pour la qualité des produits ?
Une stratégie de chargement appropriée protège les rouleaux de caoutchouc contre les déformations physiques permanentes et les dommages dus à l'humidité, tout en garantissant que le conteneur passe les inspections internationales strictes en matière de sécurité. L'utilisation de la bonne méthode permet d'éviter les pertes financières dues aux "méplats" et les frais supplémentaires imposés par les autorités portuaires en cas de chargement déséquilibré ou d'infraction à la réglementation sur le poids.
Les enjeux de la logistique du caoutchouc sont très importants. J'ai vu de nombreux cas où des revêtements de sol de gymnase de haute qualité ont été détruits non pas par un défaut de fabrication, mais par un mauvais chargement. Le caoutchouc a une "mémoire" ; si un rouleau lourd repose sur une arête vive ou subit un poids excessif pendant des semaines, il reste déformé. Il en résulte des "méplats" qui rendent le sol inégal après la pose. En outre, les frais de rejet des conteneurs sont une véritable plaie. Si un conteneur est "trop lourd" ou "trop lourd", le camion peut se retourner lors d'un virage serré sur le chemin du port. D'un point de vue technique, nous devons également nous préoccuper de la "pluie de conteneurs". Lorsque l'air chaud à l'intérieur du conteneur rencontre les parois d'acier froides pendant la nuit, il se transforme en eau. Si cette eau pénètre dans les rouleaux, elle peut provoquer des moisissures ou dégrader les agents de liaison du caoutchouc recyclé.
| Facteur de risque | Impact sur les rouleaux de caoutchouc | Solution d'ingénierie |
|---|---|---|
| Pression excessive | Ovalisation/Déformation | Renforcement de la solidité du tronc |
| Poids non équilibré | Bennage de conteneurs | Cartographie de la répartition des charges au sol |
| Humidité | Moisissures et odeurs | Paquets de gel de silice de grande capacité |
| Friction/mouvement | Déchirure ou "télescopage | Film rétractable industriel (20+ microns) |
Ce processus commence bien avant que le camion n'arrive sur le quai de chargement, grâce à une préparation minutieuse.
Quel équipement et quelle préparation sont nécessaires avant le chargement ?
Vous devez vérifier les limites de charge utile du conteneur et inspecter l'unité à la recherche de fuites légères ou de clous pointus. Utilisez un chariot élévateur à fourche équipé d'une "perche à tapis" plutôt que des fourches standard afin d'éviter de déchirer le caoutchouc. Vous avez également besoin d'un film rétractable de qualité industrielle, de palettes robustes et d'un cerclage en polyester très résistant pour fixer les rouleaux.
En tant que personne qui améliore les processus de fabrication, je dis toujours que le chariot élévateur est l'outil le plus dangereux pour un rouleau de caoutchouc. Les fourches standard perforent souvent les couches extérieures du rouleau. Je recommande vivement l'utilisation d'une "perche à tapis" ou d'un bélier. Cette perche traverse le noyau central du rouleau, répartissant le poids de manière uniforme et empêchant tout contact avec la surface finie du caoutchouc. Avant de commencer, je fais toujours un "test de lumière" à l'intérieur du conteneur. Je me tiens à l'intérieur avec les portes fermées ; si je vois de la lumière, c'est que l'eau peut entrer. Nous recherchons également des clous saillants dans le plancher en bois du conteneur. Un seul clou peut endommager la surface d'un long rouleau et créer des dégâts inutiles. déchets de matériaux lors de la coupe des rouleaux de revêtement de sol en caoutchouc pendant l'installation. Pour les conteneurs de 20 pieds, nous visons généralement une limite de 26-27 tonnes, tandis que les conteneurs de 40 pieds atteignent souvent leur limite de poids avant même d'être à moitié remplis de caoutchouc.
| Type d'équipement | Objectif technique | Pourquoi c'est essentiel |
|---|---|---|
| Perche à moquette | Levage de la carotte intérieure | Prévient les perforations et les déchirures de la surface |
| Sacs déshydratants | Contrôle de l'humidité | Empêche la "pluie de conteneurs" d'abîmer le caoutchouc |
| Sangles à cliquet | Stabilité latérale | Empêche le déplacement en cas de houle |
| Protecteurs de bords | Distribution des contraintes | Empêche les sangles de couper le caoutchouc |
Une fois que l'équipement est prêt, vous devez décider de la configuration qui correspond à votre type de produit spécifique.
Faut-il charger les rouleaux de caoutchouc verticalement ou horizontalement ?
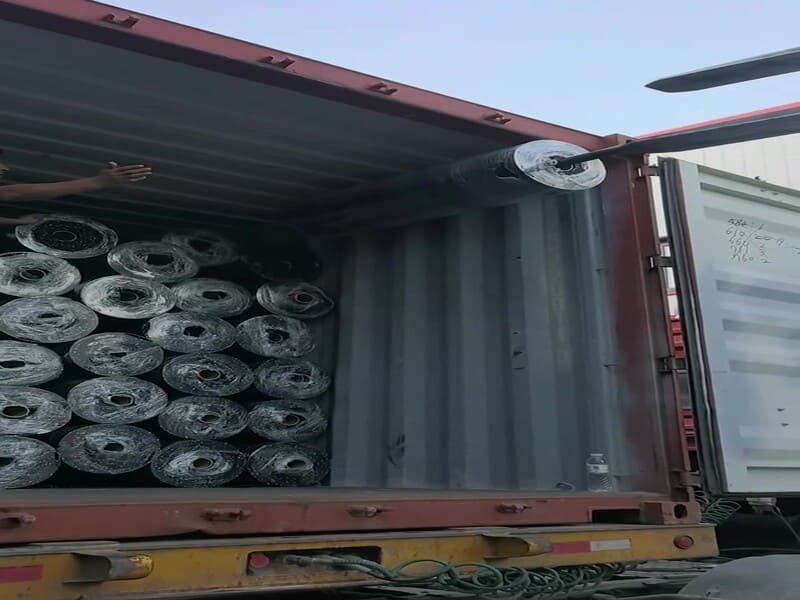
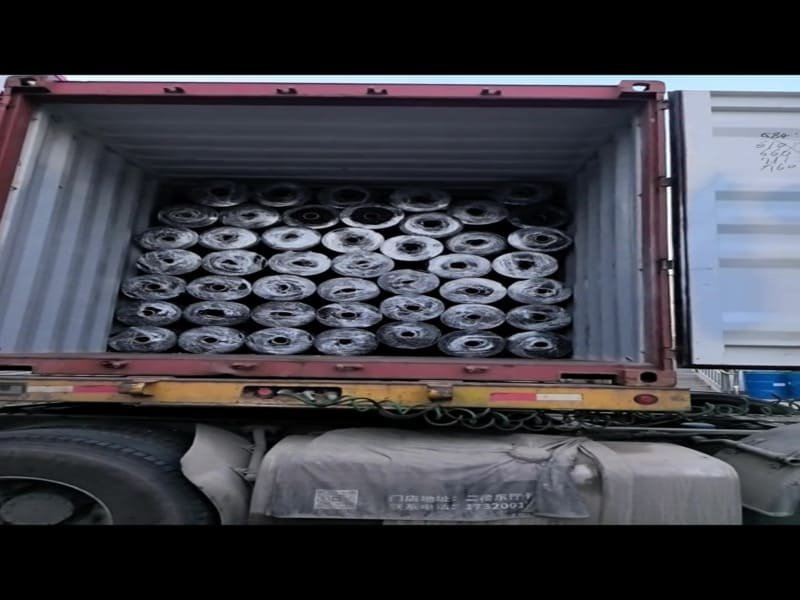
Le chargement vertical évite les méplats et est plus facile à décharger, mais il nécessite un cerclage très stable pour éviter le basculement. Le chargement horizontal est plus stable et optimise l'espace, mais présente un risque élevé de déformation du rouleau inférieur si la pile est trop lourde ou si les noyaux internes sont faibles.
La règle "Core-Support" est la partie la plus importante de mon travail. Si nous utilisons un noyau en PVC de 4 pouces avec une épaisseur de paroi de 3 mm, il peut supporter plus de poids qu'un noyau en carton standard. Le chargement vertical est la méthode que je préfère pour les rouleaux de gymnastique à haute densité, car il n'exerce aucune pression sur la face circulaire du caoutchouc. Cependant, le centre de gravité est élevé. Si le navire traverse une tempête, ces rouleaux peuvent tomber comme des dominos. Pour résoudre ce problème, nous utilisons la méthode "block and brace". Si nous optons pour un chargement horizontal, nous utilisons une pyramide en quinconce. Cela permet de répartir le poids des rouleaux supérieurs sur deux rouleaux inférieurs au lieu d'un seul. Je calcule toujours le "jeu de compression" du caoutchouc. Si la pression sur le rouleau inférieur dépasse 0,5 MPa pendant plus de deux semaines, le caoutchouc ne reprendra pas sa forme initiale. Nous utilisons du bois de calage entre les couches pour aider à gérer cette pression.
| Configuration | Meilleur pour | Limitation technique |
|---|---|---|
| Vertical | Rouleaux haute densité | Nécessite une tension de cerclage de 50 mm ou plus |
| Horizontal | Tapis plus fins/plus légers | Hauteur maximale d'empilage de 3 à 4 couches |
| Palettisé | LCL (Less than Container) | Réduit le volume total de 15% |
Le choix de la disposition n'est qu'un début ; l'acte physique de sécuriser la charge suit un chemin strict.
Comment sécuriser le chargement pour éviter les dommages et les déplacements ?
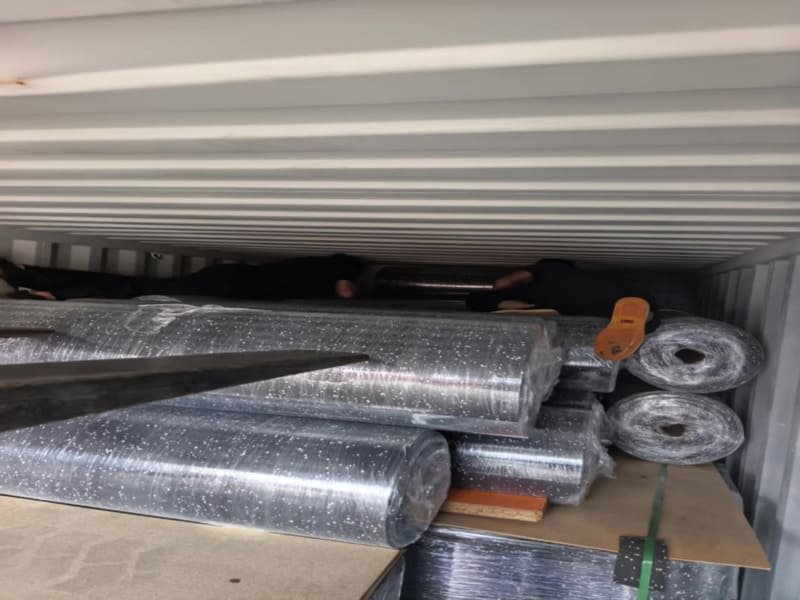
Commencez par placer la couche de base uniformément sur le sol, puis utilisez du bois de calage ou des coussins d'air pour combler tous les vides. Appliquez une pellicule rétractable industrielle pour empêcher le "télescopage" et utilisez des sangles à cliquet robustes pour attacher les rouleaux aux points d'ancrage du conteneur. Enfin, ajoutez des sachets déshydratants pour gérer l'humidité.
Le télescopage est un problème courant : les couches internes du rouleau glissent comme un télescope pendant le transport. Pour éviter cela, j'insiste pour que les extrémités des rouleaux soient enveloppées d'une pellicule rétractable. Lorsque nous plaçons les rouleaux, nous devons éviter l'erreur du "poids du nez". Si tout le poids se trouve à l'avant du conteneur, le camion est difficile à diriger. Nous plaçons les rouleaux les plus lourds sur les essieux de la remorque. J'utilise également le "calage", qui consiste à clouer des blocs de bois dans le plancher du conteneur pour empêcher les rouleaux de rouler d'un côté à l'autre. Pour l'humidité, nous n'utilisons pas seulement de petits sachets de silice, mais aussi des sacs de chlorure de calcium de 2 kg suspendus aux crochets du plafond. Ces sacs peuvent absorber jusqu'à 200% de leur poids en eau. C'est essentiel, car une humidité élevée peut entraîner une légère dilatation du caoutchouc, ce qui fait "grossir" les rouleaux et les coince contre les parois du conteneur.
| Étape de chargement | Action | Bénéfice |
|---|---|---|
| Couche de base | Une répartition homogène | Conforme à la législation sur le poids des véhicules |
| Calage | Blocs de bois sur le sol | Empêche le roulement latéral |
| Cerclage | Sangle en polyester | Maintient les rouleaux verticaux en position verticale |
| Contrôle des photos | Set de photos en 5 points | Indispensable pour les demandes d'indemnisation |
La dernière étape consiste à s'assurer que vous disposez de la bonne documentation avant de fermer les portes.
Conclusion
Pour que le chargement soit sûr, il faut un équipement adéquat, un bon équilibre des poids et un bon contrôle de l'humidité.