Las costuras del césped fallan primero porque son el único punto en el que la integridad estructural del suelo depende de la unión externa más que del tejido interno. En zonas de trineo con mucho tráfico, las costuras mal instaladas suelen fallar en un plazo de 3 a 12 meses, mientras que las costuras diseñadas por profesionales pueden durar más de 5 años.
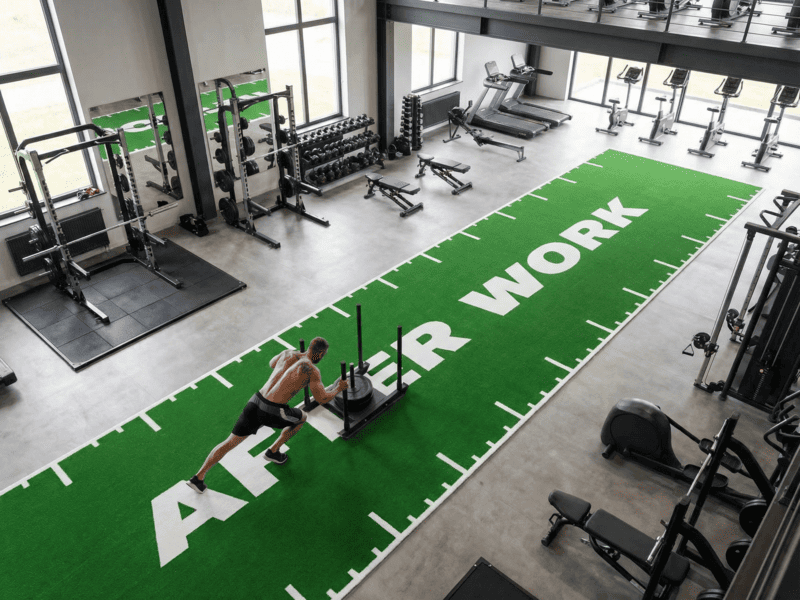
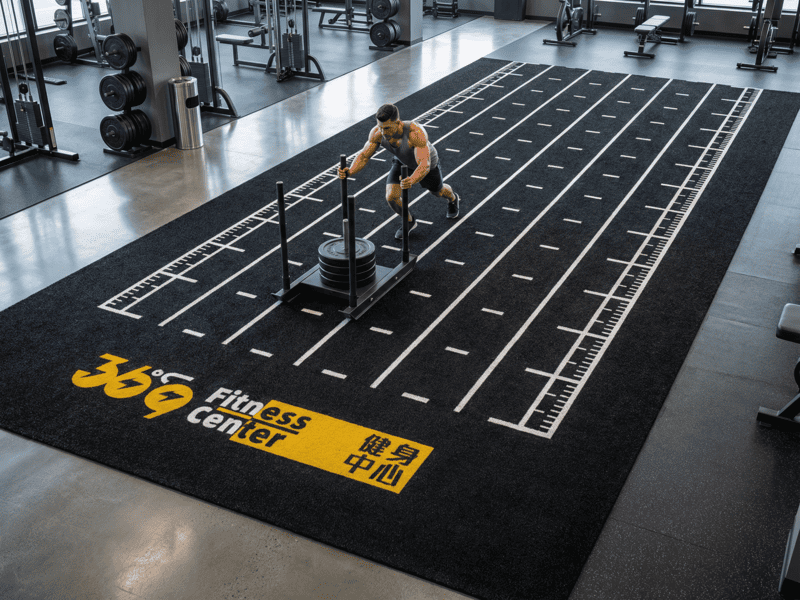
La mayoría de los propietarios de gimnasios ven el césped como una superficie única y sólida, pero en realidad se trata de una serie de grandes rollos unidos por las articulaciones. En un entorno comercial, el volumen de fuerza lateral es inmenso. Cuando un trineo de 200 kg empuja el césped, esa energía viaja a través de las fibras y golpea la junta. Si la unión entre el soporte y la cinta de costura no es perfecta, la energía separa la junta. He visto muchas instalaciones en las que el césped en sí está bien, pero el "puente" que une los rollos nunca se diseñó para una fricción de nivel industrial. Debemos tratar la junta como un reto de ingeniería especializado. Comprender que la junta es un lugar de energía cinética constante nos ayuda a diseñar mejores protocolos de instalación. Este enfoque proactivo evita el habitual ciclo de averías de 6 meses y prolonga considerablemente la vida útil del suelo.
Las siguientes secciones le guiarán a través de las razones técnicas de estos fallos y le proporcionarán comparaciones basadas en datos para ayudarle a elegir la estrategia de instalación adecuada.
¿Es la costura estructuralmente el eslabón más débil?
Sí, la costura es el eslabón más débil porque depende de la adhesión química para unir dos rollos independientes. A diferencia del soporte de mechón continuo de la zona principal del césped, la costura carece de resistencia inherente a la tracción, lo que la hace vulnerable a la dilatación térmica, la humedad y los tirones mecánicos.
La "anatomía de una costura" es una batalla entre la fijación mecánica y la unión química. La mayoría de los fallos se deben a un malentendido de esta conexión. Hay dos componentes principales: el adhesivo y la cinta de costura. Si éstos no forman una unidad fusionada con el soporte de césped, el sistema fallará. Un factor crítico es la "holgura". Incluso una desalineación de 1 mm durante la colocación inicial crea un valle donde se acumulan la suciedad y el sudor. Esto debilita el pegamento con el tiempo. Además, los bordes de los rollos son donde las uniones de los mechones están más expuestas. Si el corte no es limpio, comienza el deshilachado de los bordes. Una vez que esas fibras pierden su agarre al soporte, toda la costura empieza a "descoserse". Este fallo estructural suele reflejar causas de la delaminación del césped en zonas de alto impacto, lo que reduce drásticamente la vida útil comercial del suelo.
Comparación de la durabilidad y el ciclo de vida de la costura
| Método de costura | Vida útil prevista (tráfico intenso) | Durabilidad | El mejor caso de uso |
|---|---|---|---|
| Corte recto + Cinta | 6-18 meses | Bajo | Zonas de yoga poco transitadas |
| S-Cut + Adhesivo PU | 3-5 años | Alta | Pistas de trineo y zonas de agilidad |
| Costuras cosidas | Más de 5 años | Ultra Alta | Instalaciones deportivas profesionales |
| Cinta adhesiva de doble cara | 3-6 meses | Muy bajo | Suelos temporales para eventos |
Es mucho lo que está en juego, porque una costura defectuosa no sólo es fea, sino que supone un riesgo para la seguridad que acaba con la garantía.
¿Por qué la elección del adhesivo determina su ciclo de fallos?
La elección del adhesivo determina el ciclo de fallo. Decidir cómo elegir pegamento o cinta adhesiva para su subsuelo específico es fundamental, ya que los distintos productos químicos reaccionan de forma diferente al "esfuerzo cortante". Los adhesivos de poliuretano (PU) ofrecen 40% una mayor resistencia al pelado que las opciones acrílicas, evitando el efecto de "despellejamiento" que hace que las juntas se abran bajo el peso de trineos pesados.
En el laboratorio probamos meticulosamente los "tiempos abiertos" de los adhesivos, porque la ventana para una unión perfecta es pequeña. Un error común es el efecto "Skinning". Esto ocurre cuando el instalador extiende el pegamento pero espera demasiado para colocar el césped. La cola forma una capa superior seca que impide que penetre en el soporte del césped. Se podría pensar que la unión es sólida, pero sólo se trata de una fijación superficial. Otro problema importante es la incompatibilidad del subsuelo. Si su hormigón tiene altos índices de emisión de vapor de humedad (MVER), la humedad alcalina romperá los enlaces químicos del adhesivo. Siempre recomiendo realizar una prueba de humedad antes de que el pegamento entre en contacto con el suelo. Sin una base estable, incluso un adhesivo caro de calidad comercial se convertirá en un lodo inútil. El resultado son bordes curvados que requieren costosas reparaciones mucho antes de que las fibras del césped se desgasten realmente.
Comparación química de adhesivos
| Tipo de adhesivo | Resistencia al cizallamiento | Tolerancia a la humedad | Coste vs. Valor |
|---|---|---|---|
| Poliuretano (PU) | Excepcional | Alta | Lo mejor para la rentabilidad a largo plazo |
| Acrílico al agua | Moderado | Bajo | Económico, menor vida útil |
| Epoxi (dos componentes) | Extremo | Moderado | Alto rendimiento, difícil de aplicar |
A menudo, este fallo técnico se ve acelerado por la forma específica en que la gente se mueve y entrena en su gimnasio.
¿Cómo influyen los empujes del trineo y el esfuerzo cortante en las costuras?
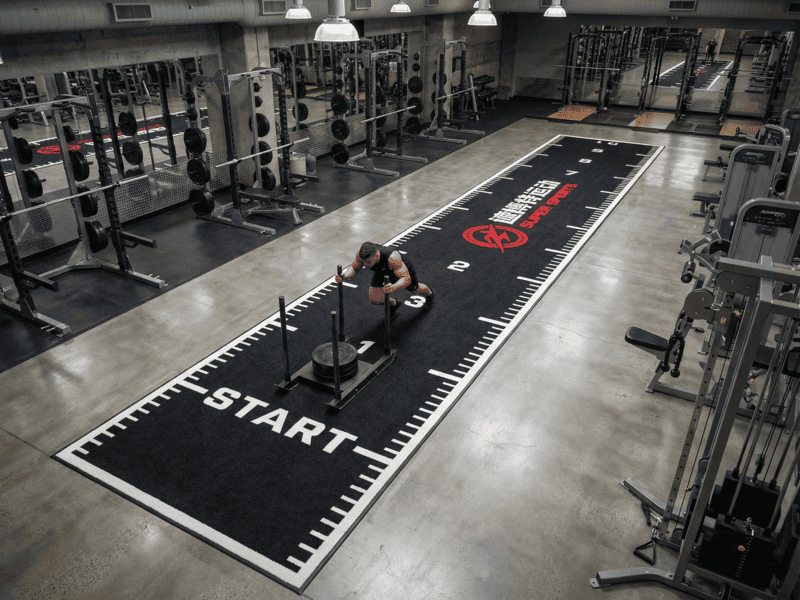
Los empujes del trineo crean un "esfuerzo cortante" que tira de los rollos de césped en direcciones opuestas. Esta fuerza actúa como una palanca en la junta, concentrando todo el peso del equipo directamente en la junta pegada, lo que a menudo provoca que las juntas rectas estándar se partan durante el primer año.
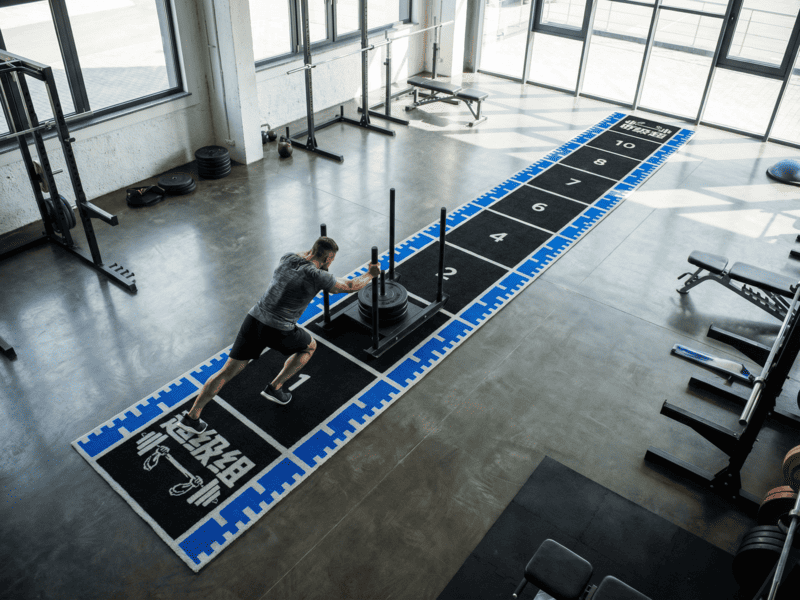
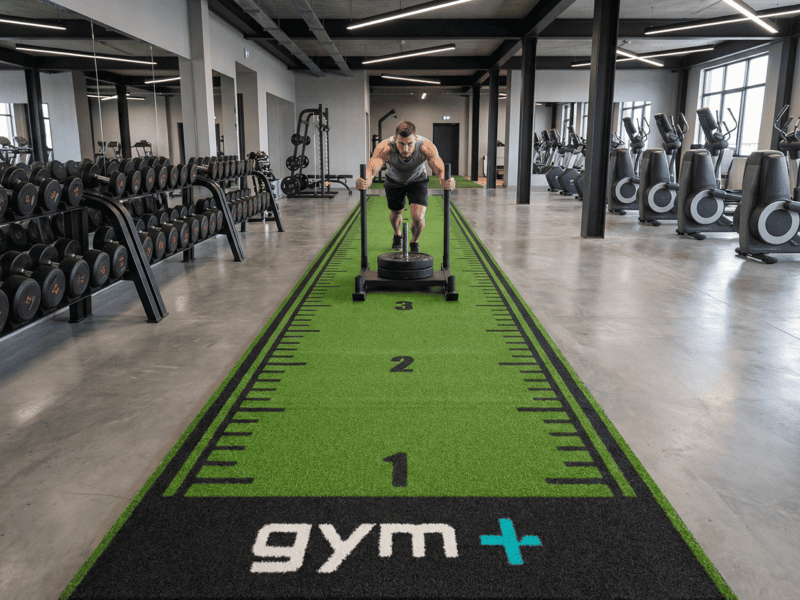
Cuando un atleta realiza un empuje de trineo, aplica una fuerza horizontal muy superior a la vertical del pie. Piensa en esto como una prueba de estabilidad lateral. Si la costura es paralela a la pista de trineo, la fricción de los corredores del trineo puede atrapar el borde del césped. Si la costura es perpendicular, la acción "pivotante" de los ejercicios de agilidad crea un movimiento de torsión. A menudo veo "bombeos" en el suelo, donde un subsuelo ligeramente irregular permite que el césped rebote. Este pequeño movimiento, repetido miles de veces, actúa como una prueba de fatiga del pegamento. Rompe lentamente los hilos adhesivos. Para combatirlo, utilizamos diseños de soporte de alta densidad. Si el césped se estira demasiado bajo el trineo, la costura es el primer lugar que mostrará la tensión abriéndose.
Análisis del impacto de los desplazamientos
- Empujones de trineo: Alta tensión lateral; separa las costuras.
- Burpees/Planks: Presión localizada; puede causar "divots" si el pegamento es blando.
- Ejercicios de agilidad: Cizalla rotacional; retuerce los bordes de la costura.
Si no tiene en cuenta estas fuerzas durante la fase de planificación, los factores ambientales de su gimnasio acabarán con el trabajo.
¿Pueden la temperatura y la humedad acabar con las juntas del césped?
Sí, la temperatura y la humedad hacen que las fibras sintéticas se expandan y contraigan. Estos micromovimientos ejercen una tensión constante sobre el adhesivo de las costuras, lo que puede provocar grietas o deslaminación si el material no se ha aclimatado correctamente al clima del gimnasio.
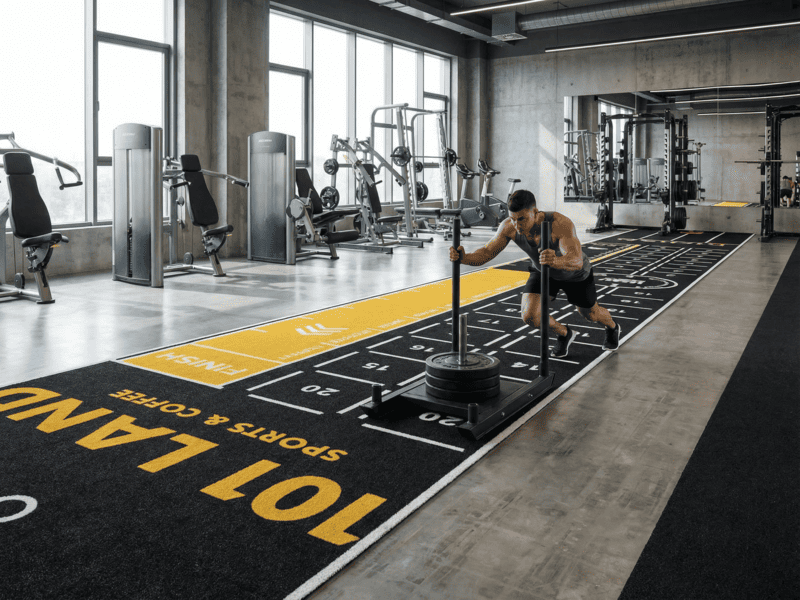
El césped sintético es principalmente plástico, y los plásticos son sensibles a los cambios térmicos. En un gimnasio con un control deficiente de la climatización o calefacción por suelo radiante, el césped se "moverá". Si instala los rollos mientras están fríos y el gimnasio se calienta más tarde, el césped se expandirá, haciendo que las costuras "hagan pico". Por el contrario, si se encoge, las costuras se separarán. Hago hincapié en la "aclimatación climática" a todos los socios. Debe dejar que los rollos de césped se asienten en el entorno real del gimnasio entre 24 y 48 horas antes de cortarlos o pegarlos. Esto permite que las tensiones internas de la fabricación se relajen. He visto tiradas de 40 metros de césped encogerse varios centímetros porque se instalaron "estresadas". No se trata de un defecto del producto, sino de no respetar la ciencia material de los polímeros.
Cuando se detectan las deficiencias, las "víctimas ocultas" -la seguridad y la higiene- ya están en peligro.
¿Cómo "blindar" las costuras durante la instalación?
Para conseguir uniones "a prueba de balas", debe utilizar el método "S-Cut" para aumentar la superficie en 30%, aplicar la técnica "Double-Glue" tanto a la cinta como al soporte, y utilizar un rodillo de 100lb inmediatamente después de la instalación para garantizar una unión mecánica permanente.
El "corte en S" u ondulado es un arma secreta. En lugar de una línea recta, que es fácil de separar, una costura ondulada crea una geometría entrelazada que resiste mucho mejor la fuerza lateral. Una vez aplicada la cola, la herramienta más importante es el rodillo lastrado. Hay que aplastar el soporte de césped contra el adhesivo para evacuar las bolsas de aire y garantizar que el pegamento "muerda" el tejido. También soy partidario de la técnica del doble encolado. Al aplicar una fina capa de adhesivo en la parte posterior del rollo de césped y en la cinta de costura, se crea una unión "húmedo sobre húmedo" mucho más fuerte que la aplicación por una sola cara. Estos pasos llevan más tiempo, pero convierten una instalación estándar en un suelo de calidad industrial que puede soportar años de abuso de trineos sin un solo milímetro de movimiento.
Lista de comprobación de la instalación profesional
- Aclimátese: 48 horas en el gimnasio.
- Prep: Aspire el subsuelo para eliminar todo el polvo y los aceites.
- Corta: Utilice una plantilla de corte en S para las zonas de mucho tráfico.
- Pegamento: Utilice adhesivo PU con una llana dentada.
- Rueda: Rodillo de 100 libras en múltiples direcciones.
El mantenimiento de estas costuras es el último paso para garantizar que su inversión siga siendo segura y funcional.
Conclusión
Las costuras fallan debido a la física, pero se salvan gracias a la ingeniería y la precisión.
Sobre el autor:
Soy ingeniero de I+D de planchas de vinilo y césped para gimnasios. Estoy especializado en la fabricación de suelos deportivos de alta durabilidad y he ayudado a muchas instalaciones a optimizar el rendimiento de sus suelos mediante una mejor selección de materiales y técnicas de instalación.
¿Necesita asesoramiento profesional para su próximo proyecto de gimnasio?
Si está cansado de que se abran las costuras o necesita un césped con dibujos personalizados que realmente dure, puedo ayudarle.