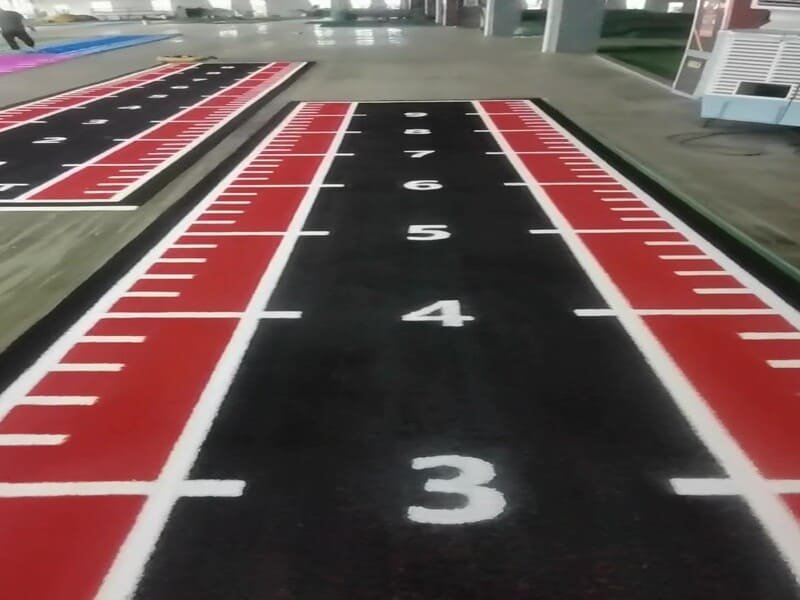
To compare turf accurately, you must normalize the specifications: only compare the stitch rate between products with the same gauge, and verify that the tuft bind meets a minimum commercial threshold of 8 lbs (35.6 N) to ensure the fibers won’t pull out during sled work.
When looking at two green plastic samples, it is easy to get distracted by how "lush" one feels compared to the other. However, the performance of gym turf is purely a matter of geometry and mechanical bonding. The stitch rate (how many fiber clusters per inch of a row) and the tuft bind (how much force it takes to rip those clusters out) are the two most critical numbers on a spec sheet. If you look at stitch rate without checking the gauge, or if you ignore the tuft bind because the "face weight" is high, you are likely to buy a product that looks great on day one but "balds" or ripples after a few months of heavy training.
To get a 100% accurate comparison, you need to follow a standardized testing logic rather than relying on a hand-feel.
Step 1: Normalize the Density (The Gauge vs. Stitch Rate Rule)
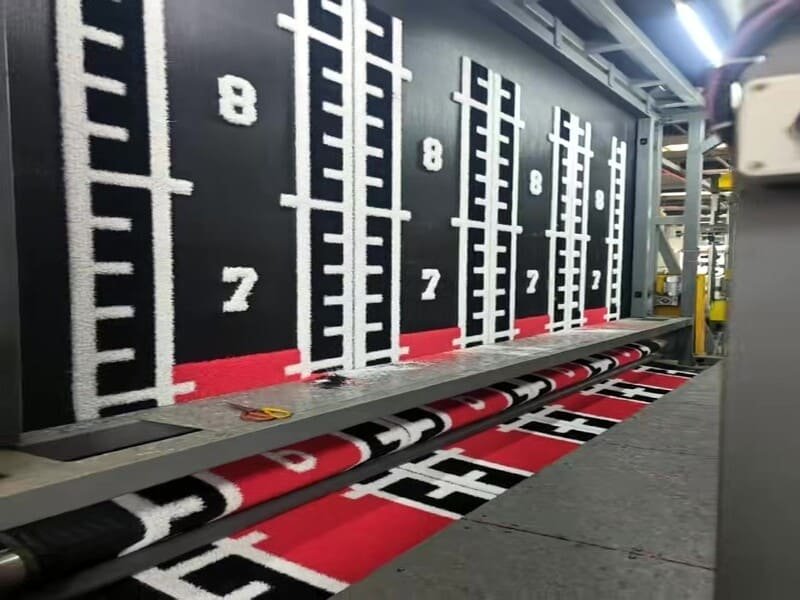
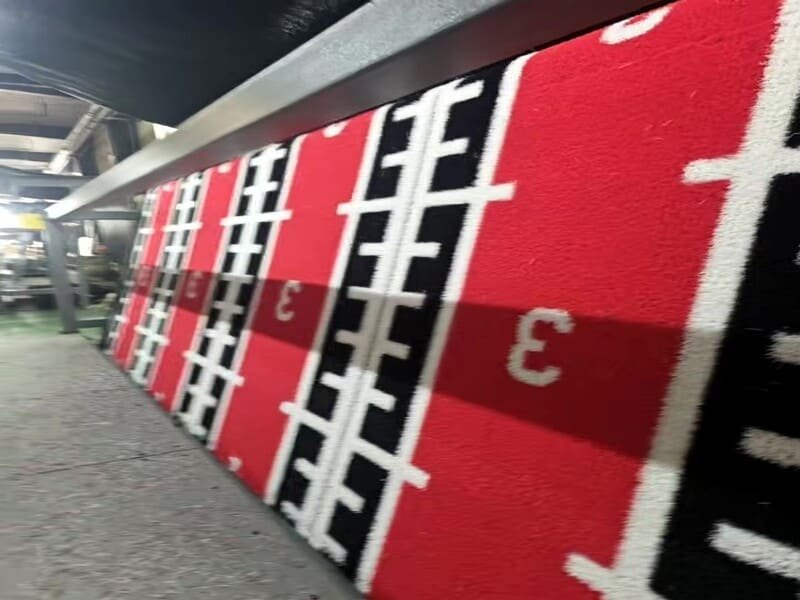
A high stitch rate is meaningless unless you are comparing it against a similar gauge. Gauge is the horizontal distance between rows, and stitch rate is the vertical density within those rows; you need both to calculate true turf density.
| Componente específico | Option A (Wide Rows) | Option B (Tight Rows) |
|---|---|---|
| Indicador | 3/4 inch | 3/8 inch |
| Tasa de puntadas (per 10cm) | 24 | 16 |
| Total Tufts per sqm | ~12,600 | ~16,800 |
| Visual Result | Dense rows, but "valleys" in between | Uniform, supportive surface |
Think of it like a grid. If the rows (gauge) are too far apart, even a very high stitch rate won’t stop a heavy weight sled from "sinking" into the gaps. When comparing two samples, first check if they are both 3/8" or 3/16" gauge. If one is 1/2" and the other is 3/8", you aren’t comparing apples to apples. Additionally, do not assume a higher "Face Weight" always means more density. A taller pile height or a thicker yarn (Dtex) will increase the weight without adding a single extra stitch. For a gym floor, you want the highest stitch density possible on the tightest gauge to ensure a smooth, low-friction surface for equipment.
Once the density is normalized, you have to look at the "security" of the fiber, which is where many products fail.
Step 2: Set a "Hard Floor" for Tuft Bind Strength
Tuft bind is the "insurance policy" for your turf. For any area where athletes perform sprints, lunges, or sled pushes, the tuft bind must meet or exceed 8 lbs (ASTM D1335 standard) to prevent premature shedding and balding.
| Usage Area | Min. Tuft Bind (Standard) | Recommended Backing |
|---|---|---|
| Extreme Sled/HIIT | > 8.0 lbs | Poliuretano (PU) |
| Functional/Bodyweight | 6.5 – 8.0 lbs | PU or High-End Latex |
| Yoga/Estiramientos | < 6.5 lbs | Latex |
In the lab, we use the ASTM D1335 test to pull a single loop of fiber until it snaps or releases from the backing. If a supplier tells you their turf is "strong" but cannot provide a test report with a numerical value, be cautious. A high stitch rate actually creates more "points of failure" if the backing isn’t strong enough to hold them. When a 200lb sled is pushed across the floor, it creates a massive shearing force. If your tuft bind is low, those expensive green fibers will end up in your vacuum cleaner. Always prioritize a robust, reinforced Polyurethane (PU) backing over traditional Latex for gym environments, as PU offers a much tighter "lock" on the stitches.
By establishing this minimum threshold, you can then move to the final comparison matrix to decide which trade-offs fit your budget.
Step 3: The Comparison Matrix for Final Decision Making
Compare your samples by plotting them against this performance matrix. This helps you identify which product is a "marketing trap" (looks dense but falls apart) and which is a "workhorse" (built for durability).
| Parameter Combination | Resultado en el mundo real | Gym Suitability |
|---|---|---|
| High Stitch + Low Bind | Looks plush; sheds under sleds | Evite for heavy use |
| Low Stitch + High Bind | Sparse feel; durable but rough | Budget outdoor paths |
| Mid-High Stitch + High Bind | Optimal Balance | Standard Sled Tracks |
| High Stitch + High Bind | Maximum ROI; smoothest glide | Pro Athlete Facilities |
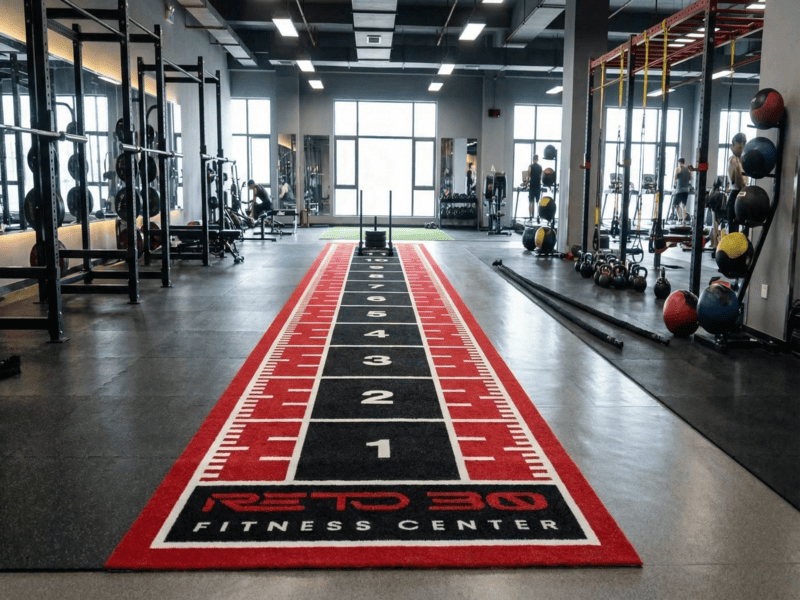
Most "retail-grade" turf falls into the first category: it looks very dense because of a high stitch rate, but the backing is cheap, leading to a low tuft bind. If you use this in a sled area, the friction will rip the fibers out in months. For a high-performance facility, the goal is the third or fourth category. A "workhorse" turf usually features a moderate-to-high stitch rate (around 18-22 per 10cm) combined with a high-grade PU backing that guarantees an 8lb+ tuft bind. This combination ensures the sled glides smoothly without catching, and the floor remains intact even after thousands of training sessions.
Comparing turf is a technical process of checking the gauge, confirming the ASTM tuft bind score, and ensuring the backing material supports the density.
Conclusión
To choose the best turf, normalize your density comparison by gauge, ensure the tuft bind exceeds 8 lbs for durability, and prioritize Polyurethane backing for high-traffic zones.