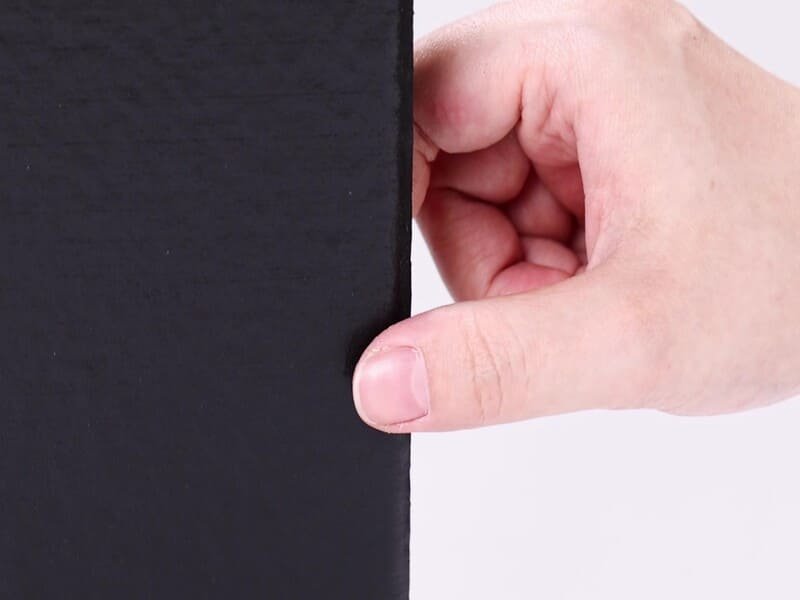
Cuando la capa base de caucho acústico se comprime en exceso, deja de actuar como desacoplador y empieza a actuar como puente acústico. Las bolsas de aire del caucho se colapsan, lo que elimina la capacidad del material para absorber las vibraciones. Esto provoca una caída masiva en la clasificación de la Clase de Aislamiento contra Impactos (IIC), haciendo que el suelo sea casi tan ruidoso como si no se hubiera instalado ninguna capa base.
Sobre el terreno, el exceso de compresión suele ser el "asesino silencioso" del rendimiento acústico de un proyecto. La mayoría de la gente asume que apretar una almohadilla de caucho entre el subsuelo y el suelo acabado crea una superficie más estable, pero lo cierto es lo contrario para el sonido. Un subsuelo de goma está diseñado para funcionar como un muelle mecánico. Para que este muelle funcione, necesita "espacio de deflexión", es decir, espacio para comprimirse y rebotar cuando alguien camina sobre él. Cuando se supera el límite de carga, el caucho alcanza un estado de densidad máxima. En ese momento, la energía cinética de una pisada no se convierte en calor a través de las cadenas de polímeros del caucho, sino que se transmite instantáneamente a las viguetas y al techo. Se trata de una transición física de un sistema amortiguado a uno rígido. Si el caucho se aplasta antes de que la primera persona pise el suelo, la ingeniería acústica queda neutralizada.
Comprender cómo reaccionan estos materiales bajo peso y por qué es esencial un subsuelo acústico para proyectos de pavimentación es la única manera de evitar una queja por ruido una vez terminado el trabajo.
¿Cómo funciona la ciencia de la capa base de caucho?
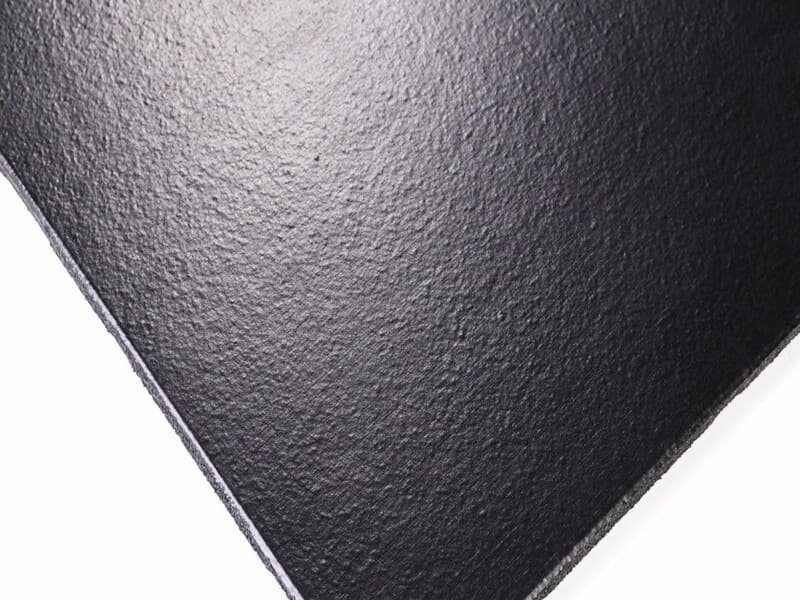
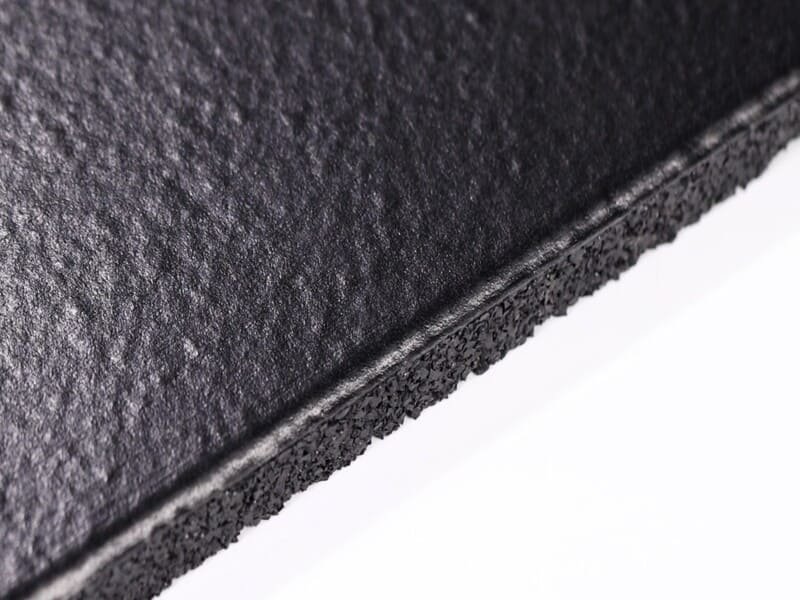
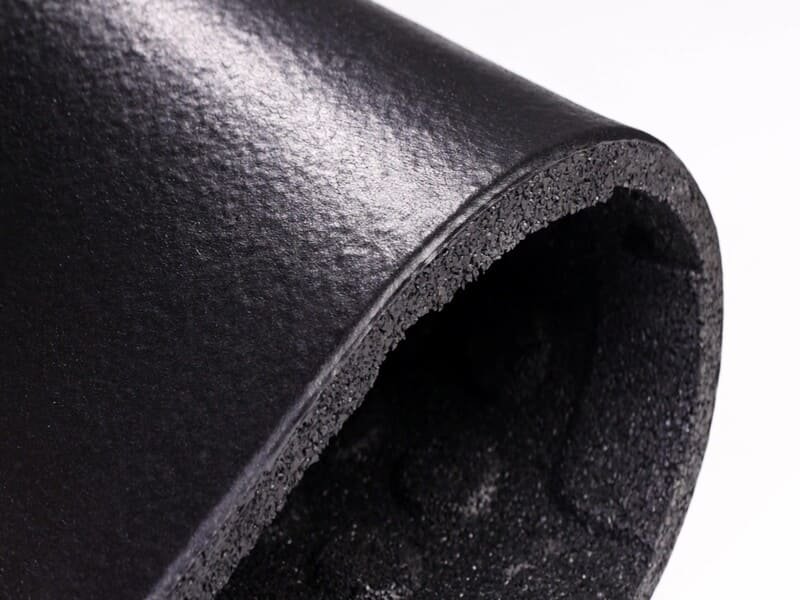
La base de goma funciona separando dos masas duras con una capa elástica. Atrapa las vibraciones dentro de su densidad y convierte esa energía en pequeñas cantidades de calor. Este proceso evita que el ruido de impacto convierta toda la estructura del suelo en un altavoz gigante para la habitación de abajo.
| Propiedad | Función científica | Resultado en el mundo real |
|---|---|---|
| Desacoplamiento mecánico | Rompe la conexión física | Detiene el recorrido de las vibraciones |
| Viscoelasticidad | Absorbe y amortigua la energía | Amortigua los impactos bruscos |
| Dureza Shore | Define la capacidad de carga | Evita "tocar fondo" |
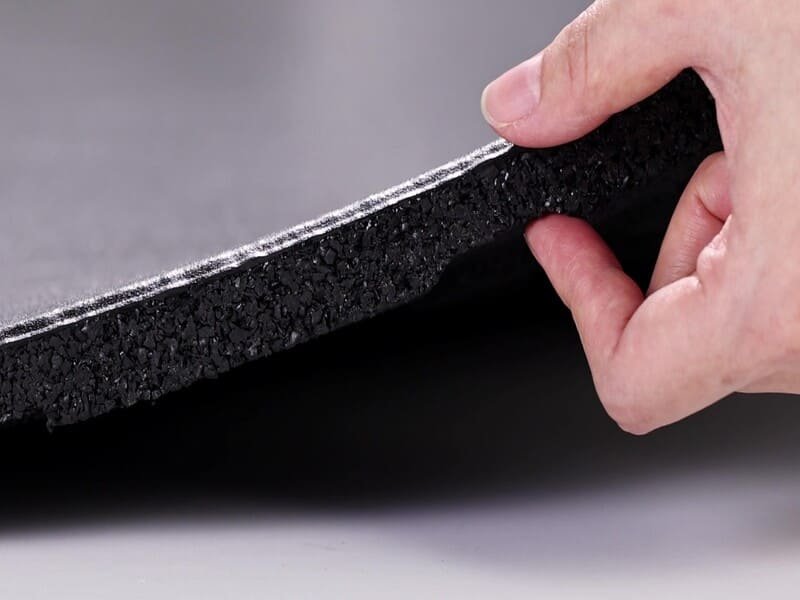
El sistema estándar "masa-resorte-masa" depende por completo de que esa capa intermedia se mantenga flexible. En una instalación típica, el subsuelo es una masa, el suelo acabado es la segunda masa y la almohadilla de caucho es el muelle. Si el muelle es demasiado blando para el peso del suelo, queda permanentemente aplastado. Si es demasiado duro, no se mueve en absoluto. He visto a muchos instaladores elegir una goma blanda y barata para un suelo de madera pesada, pensando que se sentirá "cómodo". Al cabo de un mes, el peso de la madera y de los muebles aplana las células. El suelo se vuelve duro y los niveles de ruido se disparan. El objetivo es seleccionar una densidad de caucho que sólo se comprima entre 10% y 15% bajo la carga estática del suelo. Esto deja suficiente "recorrido" en el material para soportar la carga dinámica de las personas que caminan o mueven los muebles sin llegar al límite estructural del suelo.
Esta falta de equilibrio entre peso y densidad es lo que conduce al estado técnico de sobrecompresión.
¿Qué es exactamente la "sobrecompresión" en términos acústicos?
La sobrecompresión es el punto en el que un material se carga más allá de su límite elástico, provocando el fallo de las células de aire internas. La causa es el peso estático excesivo de los suelos pesados, la carga puntual de los electrodomésticos o los puentes mecánicos en los que tornillos y clavos eluden las propiedades amortiguadoras de la capa base.
Causas comunes de fallo del material
| Causa | Impacto técnico | Sonido resultante |
|---|---|---|
| Densidad incorrecta | El material supera el límite elástico | Golpes huecos y fuertes |
| Fijación mecánica | Puente de vibración directa | Chasquidos agudos y metálicos |
| Carga por puntos | Colapso celular localizado | Fugas de sonido irregulares |
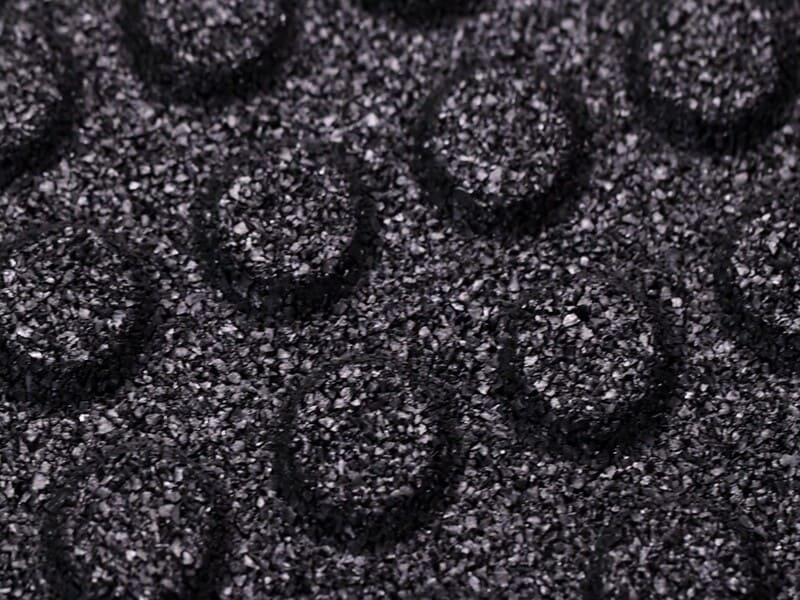
Una vez inspeccioné una obra en la que el contratista utilizaba caucho reciclado de 2 mm bajo una pesada loseta de pizarra. El peso de la pizarra era suficiente para empujar el caucho más allá de su límite elástico. Cuando el caucho alcanza este punto, experimenta "fluencia", una deformación permanente que no desaparece aunque se retire el peso. Otro gran error es "atornillar demasiado". Si un instalador introduce un tornillo a través de la madera dura, a través del caucho, y profundamente en el subsuelo de madera contrachapada, ese tornillo se convierte en una autopista para el sonido. No importa lo bueno que sea el caucho si se han construido 500 pequeños puentes metálicos sobre él. A esto lo llamamos "cortocircuito". También hay que tener cuidado con los objetos pesados, como islas de cocina o pianos. Sin una placa de distribución de la carga, estos elementos crean "zonas muertas" en el caucho por las que el sonido se filtra como el agua por la grieta de una presa.
Los signos físicos de este fracaso suelen aparecer en el primer año de ocupación.
¿Cuáles son las consecuencias directas de la compresión excesiva?
La consecuencia más directa es la pérdida de aislamiento acústico al impacto, que a menudo reduce un suelo de alto rendimiento IIC 70 a IIC 40. Desde el punto de vista estructural, la compresión excesiva provoca el "rebote" del suelo, el agrietamiento de las líneas de lechada de las baldosas y la anulación total de las garantías de los materiales.
Fallos acústicos y estructurales
| Riesgo | Efecto físico | Impacto |
|---|---|---|
| Fallo acústico | Pérdida de más de 20 puntos CII | Pasos fuertes abajo |
| Deformación estructural | Flexión o movimiento del suelo | Juntas y lechada agrietadas |
| Pérdida de garantía | Incumplimiento de las especificaciones | Costes de reparación elevados |
Cuando la goma se aplasta, se pierde el "colchón de aire" que bloquea los ruidos de alta frecuencia. Por eso se empieza a oír el "clac" agudo de los tacones altos o las llaves caídas del piso de arriba. Pero no se trata sólo de un problema de ruido, sino también estructural. Si el subsuelo está sobrecomprimido en algunas zonas pero no en otras, el suelo se vuelve irregular. Para un suelo de baldosas, esto es una sentencia de muerte. Las baldosas necesitan una base estable y plana. Si el caucho que hay debajo falla y se desplaza, las líneas de lechada se agrietarán y las baldosas acabarán delaminándose. En muchos casos, el suelo se siente "blando" en zonas de mucho tránsito donde el caucho se ha fatigado. La mayoría de los fabricantes no aceptan reclamaciones si comprueban que la capa base no está preparada para soportar el peso del suelo superior. Es un error costoso que suele requerir un desmontaje completo para solucionarlo correctamente.
La detección precoz de estos síntomas puede ayudarle a decidir si necesita una intervención importante o un simple parche.
¿Cómo identificar los síntomas de una capa base defectuosa?
Un subsuelo defectuoso suena como un ruido de impacto "agudo" en lugar de golpes amortiguados. Visualmente, puede notar que el suelo se hunde en los zócalos o que aparecen "zonas blandas". Tácticamente, el suelo se sentirá rígido y carecerá de la sutil elasticidad típica de una instalación de caucho de alta calidad.
Lista de diagnóstico
| Síntoma | Observación | Significado |
|---|---|---|
| Acústica | "Clics" agudos | Amortiguación cero |
| Visual | Huecos en el perímetro del suelo | Hundimiento permanente |
| Físico | El suelo parece "muerto" o duro | El material ha tocado fondo |
Si está de pie en la habitación de abajo y puede oír a alguien que sube las escaleras como si estuviera en la habitación con usted, el ruido de fondo está hecho. Un sistema sano filtra el "borde" del sonido, dejando sólo un rumor de baja frecuencia. Otra señal es el "hundimiento perimetral". Si ves que se abre un hueco de 2 o 3 mm entre el suelo y los zócalos, la goma está perdiendo grosor. También le digo a la gente que preste atención a cómo siente las piernas. Un suelo con una capa inferior de caucho que funcione es mucho más cómodo para las articulaciones durante largos periodos de tiempo. Si el suelo parece tan implacable como el hormigón, es probable que el caucho haya alcanzado su máxima compresión y ya no ofrezca ninguna "elasticidad". Estos síntomas suelen significar que el caucho ha pasado de un estado elástico a uno plástico, en el que el daño es permanente.
Para evitarlo, hay que hacer los cálculos antes de que los materiales lleguen a la obra.
¿Cómo elegir la capa base de caucho adecuada para la carga?
La elección de la capa base adecuada requiere adecuar la dureza Shore y la densidad de la goma a la "carga muerta" del material del suelo. Utilice caucho de alta densidad y bajo grosor para LVP para proteger las juntas, y esteras más gruesas y de densidad media para madera dura o baldosas para permitir la deflexión adecuada.
Tabla de selección de materiales
| Acabado del suelo | Base recomendada | Razón clave |
|---|---|---|
| Vinilo de lujo (LVP) | Goma de alta densidad de 2 mm | Evita la rotura de las articulaciones |
| Madera dura / laminado | Goma de 3 mm - 5 mm | Equilibra el sonido y la estabilidad |
| Azulejos / Piedra | Alfombrilla resistente de 6 mm | Soporta un peso estático elevado |
El mayor error es el enfoque de "talla única". No se puede utilizar la misma almohadilla de goma para un suelo laminado flotante que para un suelo de roble macizo de 3/4 de pulgada. El suelo de roble pesa mucho más y aplastará instantáneamente una almohadilla de baja densidad. Debe consultar la "Curva de carga-deformación" de la ficha técnica. Este gráfico muestra cuántas libras por pulgada cuadrada (PSI) puede soportar la goma antes de perder su elasticidad. Para baldosas pesadas, se necesita un valor PSI alto y una dureza Shore más alta (normalmente 50-60). Para suelos más ligeros, es mejor una dureza Shore más baja (40-45) porque permite que el suelo más ligero mueva realmente el "muelle". Si la goma es demasiado dura para un suelo ligero, no se comprimirá en absoluto y se producirá un efecto "tambor" en el que el ruido resonará. Esta calibración es aún más crítica cuando se selecciona base para estudios de grabacióndonde la precisión en el control de las vibraciones es la máxima prioridad.
Si el suelo ya está bajado y el ruido es un problema, por desgracia tus opciones son limitadas.
¿Cuáles son las mejores soluciones a los problemas y los reequipamientos?
No hay forma de "descomprimir" la goma una vez que ha fallado; la única solución real es sustituirla. Sin embargo, puedes mitigar el problema utilizando alfombras con almohadillas de fieltro grueso o colocando soportes de aislamiento localizados debajo de aparatos pesados para evitar que la vibración se propague.
Mitigación frente a prevención
| Estrategia | Eficacia | Mejor aplicación |
|---|---|---|
| Sustitución completa | 100% | Única forma de restaurar la CII |
| Alfombras de fieltro | 40% | Amortiguación de los chasquidos superficiales |
| Almohadillas aislantes | 60% | Debajo de altavoces o muebles pesados |
Cuando un sistema falla, la gente suele querer una solución rápida. La realidad es que una vez que la goma se aplasta, se queda aplastada. No se le puede volver a inyectar aire. Si un cliente no quiere romper el suelo, le sugiero que añada masa a la parte superior. Las alfombras gruesas con capas de fieltro grueso pueden hacer aproximadamente 30% del trabajo que se supone que debe hacer la almohadilla de goma. Para "puntos calientes" específicos, como un frigorífico pesado o una lavadora, puede recortar el suelo e instalar soportes de aislamiento de vibraciones específicos que se asienten directamente sobre el subsuelo. Para futuras instalaciones, utilice siempre que sea posible un sistema "flotante". Encolar o clavar el suelo aumenta considerablemente el riesgo de sobrecompresión, ya que se añade una presión vertical que el caucho no está diseñado para soportar 24 horas al día, 7 días a la semana.
Conclusión
La selección adecuada de la densidad es la única forma de evitar el fallo permanente de la capa base y las fugas de ruido.