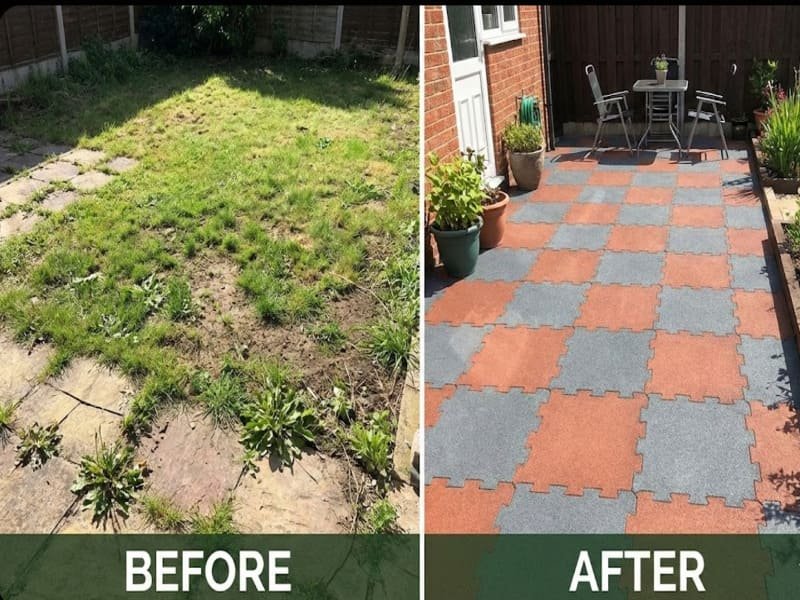
Transforming a backyard requires more than just materials; it demands a tactical plan. Whether you are building a safe playground or a durable pathway, this guide provides the engineering specifications, cost estimates, and a 10-step quality control checklist to ensure your DIY project rivals professional installation. (46 words)
The Engineering Approach to DIY Success
I have signed off on safety surfaces for commercial parks and private residences alike, and the difference between success and failure is always in the details. Most guides gloss over the "boring" numbers, but numbers are what keep water from pooling and tiles from buckling. In this enhanced guide, I am moving beyond general advice. I will give you the specific slope gradients for drainage (1-2%), the compaction standards for gravel bases, and a realistic breakdown of costs and labor hours. We will also utilize a "Quality Control Checklist" that mimics the one my team uses on job sites. This ensures that every tile you lay is backed by data, giving you a surface that handles freezing winters and scorching summers without compromising safety or aesthetics.
Before we grab the tools, we must analyze the project scope—specifically the budget and time commitment required.
What Are the Real Costs and Time Commitments for Your Project?
Budgeting accurately prevents mid-project panic. The table below breaks down the estimated costs per square foot and labor time for tiles versus pavers, helping you decide between a quick weekend DIY or a more intensive landscaping project based on your available resources. (42 words)
Project Estimation Data
As an engineer, I never start a project without a "Bill of Quantities." You need to know that while interlocking tiles are more expensive upfront, they save drastically on labor costs compared to pavers or wet-pour systems. Pavers require significant groundwork (excavation and compaction), which adds hidden costs in tool rentals (like plate compactors) and aggregate materials. Below is a comparative analysis based on current market averages and standard labor productivity rates.
Cost & Time Estimation Table (Per 500 sq. ft.)
| Bodenbelag Typ | Material Cost (Approx.) | Add-on Costs (Glue/Base) | Est. DIY Time (2 People) | Difficulty Level | Am besten für |
|---|---|---|---|---|---|
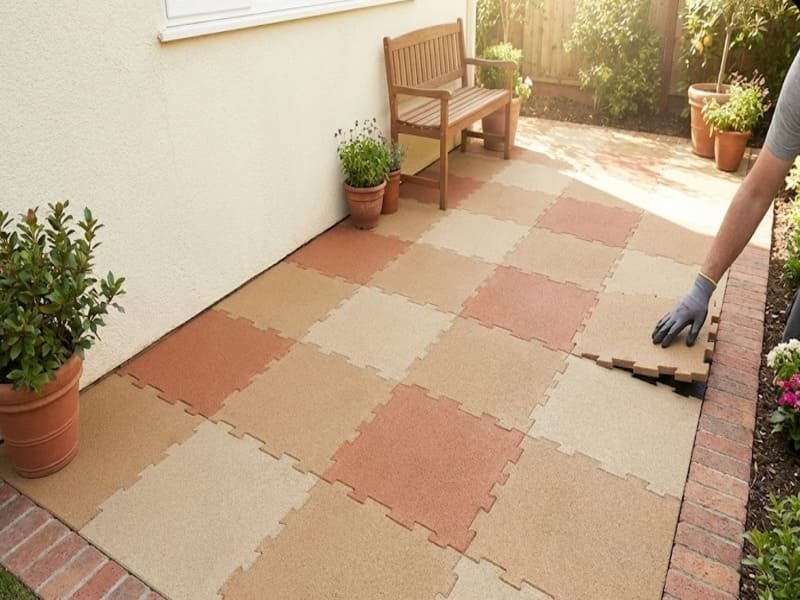
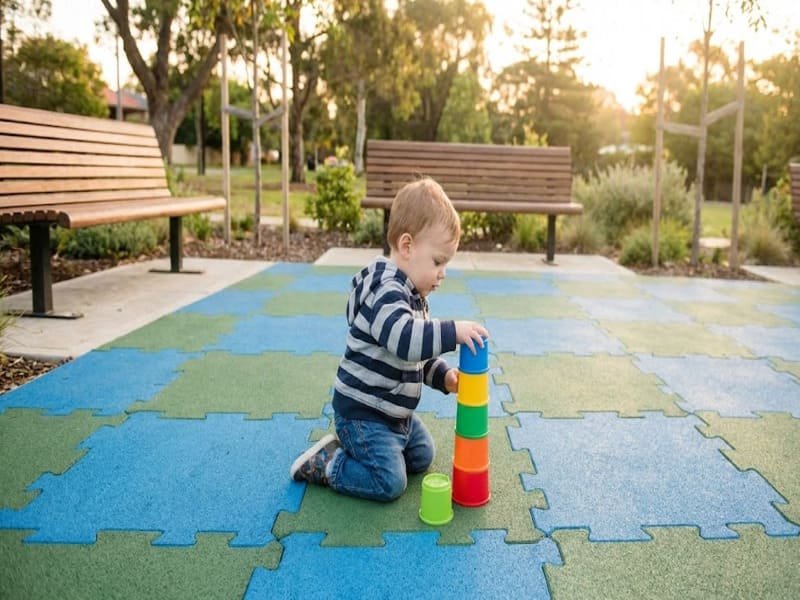
| Falzziegel | $4 – $8 / sq. ft. | Low (Pins/Minimal Glue) | 6 – 8 Hours | Anfänger | Playgrounds, Patios |
| Gummi-Pflastersteine | $3 – $6 / sq. ft. | Medium (Gravel/Edging) | 12 – 16 Hours | Zwischenbericht | Walkways, Driveways |
| Eingegossen | $10 – $18 / sq. ft. | High (Professional Binder) | N/A (Hire Pros) | Expert | Complex Designs |
Note: "Add-on Costs" for Pavers include gravel and sand for the sub-base, which are cheap but labor-intensive to install.
With your budget set, we move to the foundation, where we apply specific engineering standards to ensure stability.
How Do You Engineer a Subfloor to Prevent Sinking and Pooling?
A rubber surface is only as good as the ground beneath it. You must achieve a 95% compaction rate for aggregate bases and maintain a 1% minimum slope for drainage. Ignoring these metrics guarantees water pooling, mold growth, and uneven surfaces within a year. (43 words)
Technical Subfloor Specifications
In my field, we don’t just "flatten" the dirt; we compact it. For Gummi-Pflastersteine, you need a "compacted aggregate base." This involves excavating 4-6 inches of soil, laying a geotextile membrane (to stop weeds and soil migration), and filling it with crushed stone (3/4" minus gravel). You must use a plate compactor (vibratory plate) to compress this layer. We look for "95% Standard Proctor Density"—in layman’s terms, when you walk on it, you should leave absolutely no footprint. It should feel like concrete.
Für Falzziegel over concrete, the critical metric is Slope. You need a 1% to 2% pitch (roughly 1/4 inch drop per foot). Use a long spirit level or a laser level to verify this. If the concrete is flat but has depressions ("birdbaths"), use a cementitious patch to level them. If you skip this, water will stagnate under the tiles, creating a breeding ground for mosquitoes and degrading the adhesive bond.
Now that the base is rock-solid, we proceed to the installation, focusing on precision cutting and tight seams.
What Is the 10-Step Installation Protocol for a Flawless Finish?
Follow this execution checklist to ensure every tile is locked, leveled, and secure. From acclimatizing materials to the final tamper check, these ten steps cover the specific actions required to meet professional quality standards and avoid common DIY errors like gaps or loose edges. (43 words)
The QC Manager’s Execution Guide
This is the exact workflow I expect professional crews to follow. Print this out and check off each item as you go.
The 10-Step Installation Checklist:
- [ ] Acclimation: Unpack all tiles/pavers and spread them out for 24 Stunden to adjust to ambient temperature (prevents shrinking later).
- [ ] Subfloor Inspection: Verify base is dry, clean, and meets the 1% slope requirement.
- [ ] Layout Centerline: Snap a chalk line down the center of the area to ensure the installation is symmetrical.
- [ ] Staging: Place stacks of tiles around the perimeter to minimize carrying distance.
- [ ] The "Dry Lay": Place the first row without glue/pins to verify fit against borders.
- [ ] Pin/Glue Application: Insert alignment pins fully (use a mallet) or apply polyurethane adhesive with a 1/8" notched trowel.
- [ ] Compression: Push tiles/pavers tightly together. Gaps should be < 1mm.
- [ ] Cutting: Use a heavy-duty utility knife dipped in soapy water to cut edge pieces. Measure twice, cut once.
- [ ] Edge Installation: Install ramped edges to eliminate tripping hazards (ADA compliance check).
- [ ] Final Tamper: Walk the entire floor or use a weighted roller to ensure the adhesive bond is set.
Pro Tip on Cutting: When cutting thick rubber, do not try to slice through in one pass. Score it 3-4 times with medium pressure. The soapy water prevents the blade from binding and heating up.
With the floor installed, let’s address the environmental factors that will test your work over time.
How Do You Manage Drainage and Thermal Expansion?
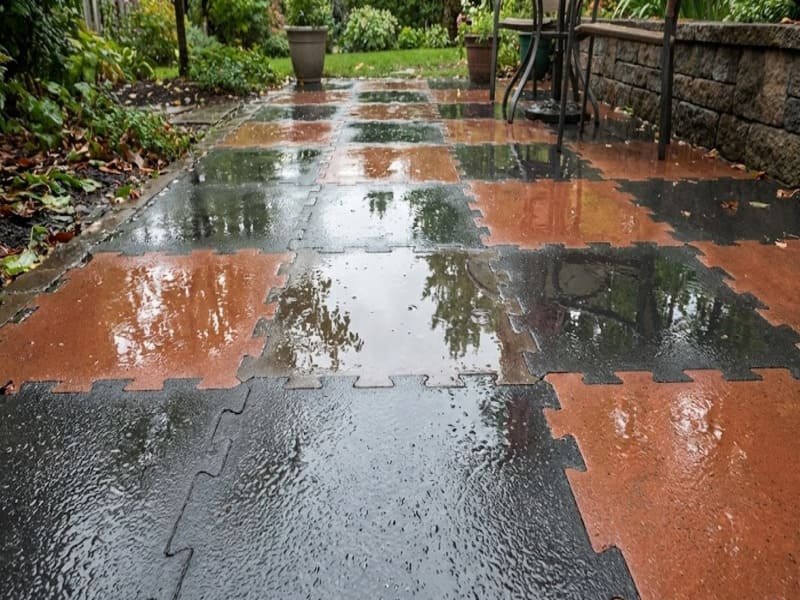
Rubber flooring is permeable, but water management relies on the subsurface slope we prepared earlier. Additionally, you must account for thermal expansion by leaving a small perimeter gap, preventing the floor from buckling during heatwaves. Proper drainage prevents mold; proper spacing prevents warping. (42 words)
Handling the Elements
Even the best rubber expands when hot. On a 90°F (32°C) day, a 20-foot run of rubber flooring can expand by nearly half an inch. If you have wedged the tiles tightly against a concrete wall without a gap, the pressure will force the tiles to pop up in the middle (buckling). We always recommend leaving a 1/4 inch gap at fixed vertical obstacles (walls, posts), which can be hidden with a trim board or baseboard.
Regarding drainage: The rubber itself is porous. Water flows through the "pores" between the rubber granules. However, if you see white stains appearing later, that is "efflorescence" from salts wicking up from the concrete, or mold from trapped moisture. This confirms why the 1% slope mentioned in the subfloor section is non-negotiable. Sunlight is the best disinfectant, but for shaded areas, a periodic wash with a pH-neutral cleaner keeps the pores open and draining freely.
We have covered the heavy lifting; now let’s wrap up with the final verdict on why this effort is worth it.
Schlussfolgerung
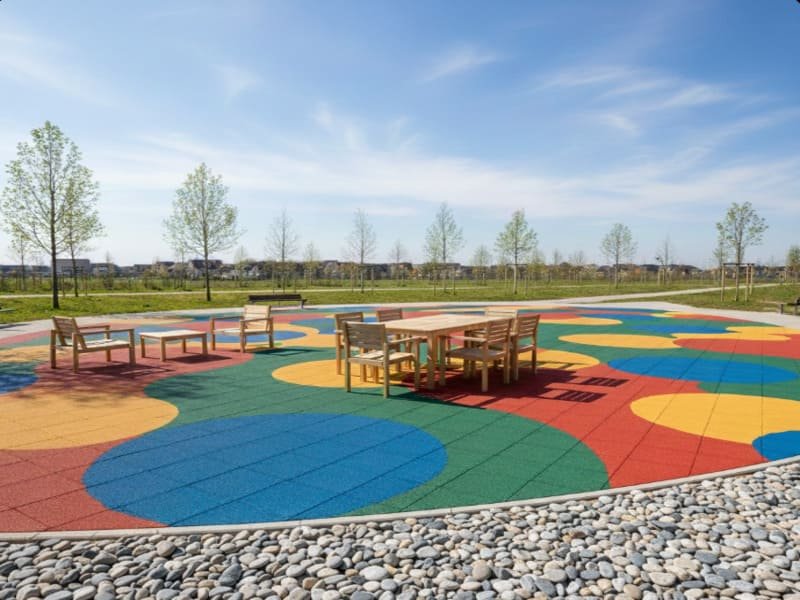
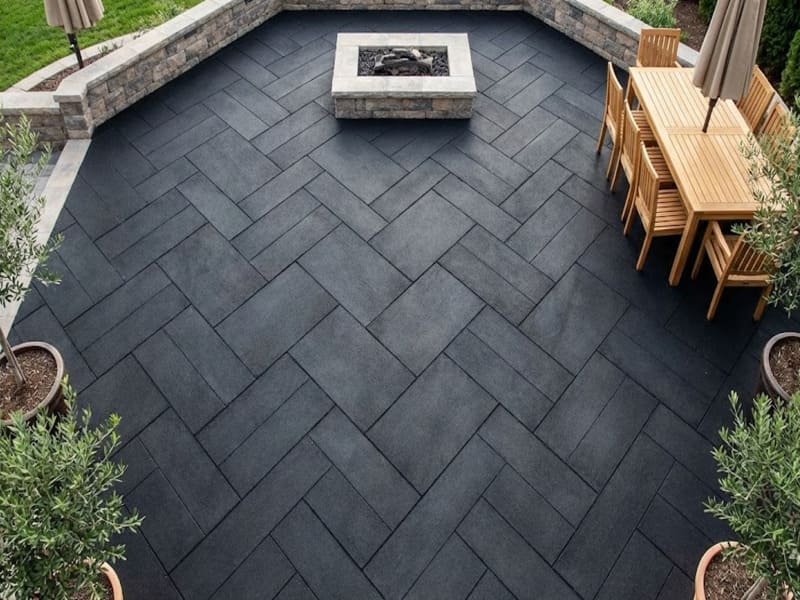
By adhering to these engineering standards—checking your Critical Fall Heights, compacting your subbase to 95% density, and following the 10-step protocol—you are not just "laying a mat"; you are building a professional-grade facility. The result is a safe, durable surface that adds value to your property and protection for your family.
Häufig gestellte Fragen
Can I install rubber flooring directly over grass?
No. Grass creates an organic, unstable base. It will rot, causing the floor to sink and become uneven. You must excavate and install a compacted gravel base or concrete.
How much does a 500 sq. ft. DIY project cost?
For interlocking tiles, expect to spend between $2,000 and $4,000 on materials. Doing it yourself saves approximately $1,000 to $1,500 in professional labor costs.
What is the "Critical Fall Height" for my 6-foot slide?
For a 6-foot fall height, you typically need rubber tiles that are 3.0 to 3.5 inches thick. Always check the manufacturer’s ASTM F1292 certification to confirm the specific rating.
Why are my tiles separating after winter?
This is usually due to thermal contraction. If the tiles were not acclimated before installation or if debris got into the seams, gaps can appear. They often close in summer, but gluing the interlocks can prevent this.
Is it difficult to cut rubber tiles?
It requires effort but is not technically difficult. The secret is using a fresh blade for every 5-10 cuts and lubricating the blade with soapy water to reduce friction.
Do you need a custom quote for a large playground or a sample of our high-density pavers? Click here to contact our engineering team for a free project consultation and material estimate.
Meine Rolle
Outdoor Rubber Flooring Quality Control Manager & Technical Specialist
I specialize in the manufacturing and application of rubber surfacing materials. My background involves rigorous testing of shock absorption properties (HIC testing), durability analysis of EPDM and SBR rubber, and overseeing quality assurance for both custom and mass-produced flooring solutions. I work directly with product developers to optimize material density for specific safety and performance requirements.