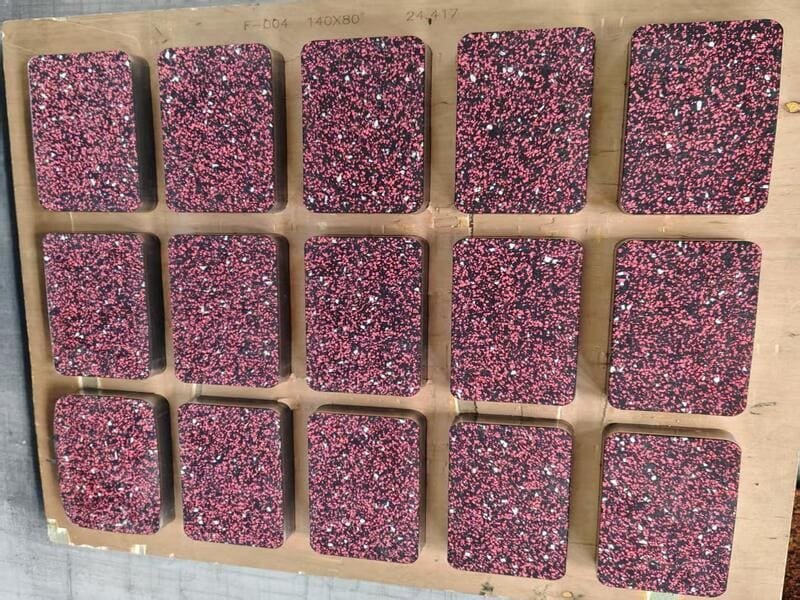
To check rubber flooring batch consistency, verify that all products share the same batch number, perform a "dry lay" under final lighting to spot color shifts, and use calipers to confirm thickness tolerances of within $+/- 0.5mm$. These steps prevent visible seams and ensure a uniform professional finish.
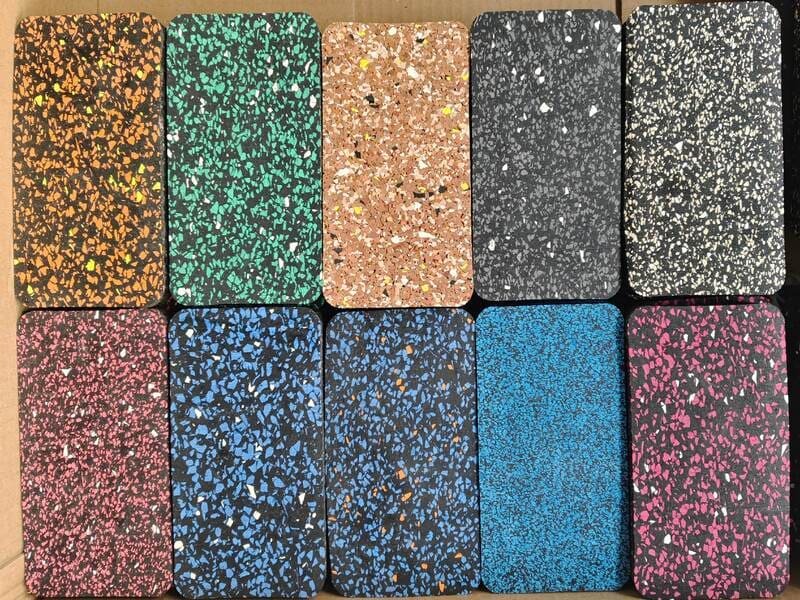
Large projects often face the "checkerboard effect" where different tiles or rolls look like different colors once installed. This happens because rubber is a natural and recycled material that reacts to tiny changes in heat or pressure during the making process. As a technical director, I have seen many sites where the floor looks perfect in the box but looks terrible on the ground. You must check consistency before the glue hits the floor because once it is stuck, the cost to fix it doubles. We look for color shading, texture changes, and physical size differences. My goal is to show you the exact steps to take so your gym or office floor looks like one solid piece.
The following sections will guide you through the technical reasons for these variations and the professional ways to manage them on your job site.
Why Do Rubber Flooring Batches Vary in Production?
Batch variation happens due to shifts in raw material quality, pigment reactions to heat, and cooling time differences during the curing process. Since recycled crumb rubber and EPDM granules come from various sources, their base color and density can change slightly between different production runs.
I often explain to engineers that making rubber is like baking. If the factory humidity changes or if the machine runs 5 degrees hotter, the pigment might bond differently. This creates a shift in "sheen" or color depth. Also, the cooling process, or "curing," dictates how the rubber settles. If one batch cools faster than another, the surface texture might feel slightly more porous or dense.
| العامل | Impact on Consistency | التفاصيل الفنية |
|---|---|---|
| المواد الخام | Color Base | Recycled SBR varies in carbon black content. |
| درجة الحرارة | Pigment Bond | High heat can darken EPDM color saturation. |
| وقت المعالجة | Texture/Density | Slower cooling leads to a smoother surface finish. |
Understanding these factory variables helps you realize why getting the right documentation early is the first step in quality control.
How Can You Set the Standard Pre-Delivery?
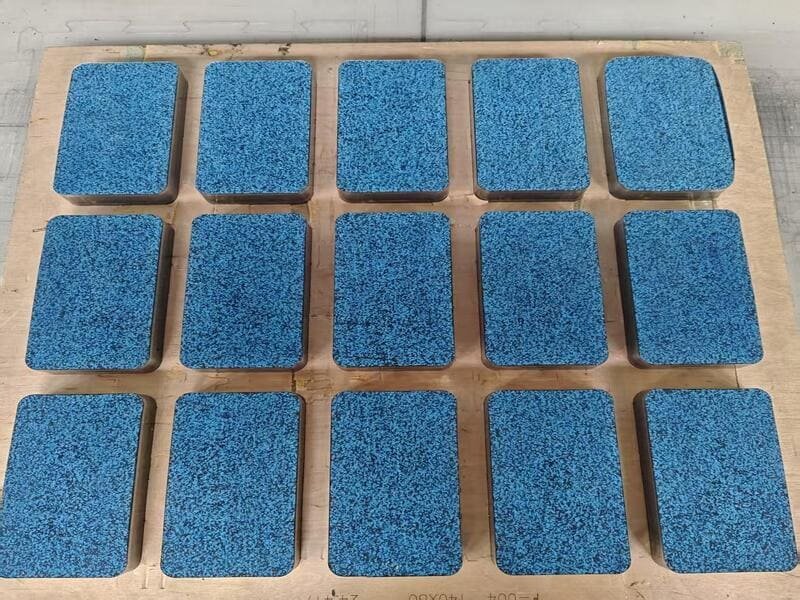
To ensure consistency, you must request a single "Lot Number" for the whole order and keep a physical "Control Sample" from the submittal phase. Ask the factory to label every roll or pallet in the order they came off the production line to simplify installation.
In my experience, the biggest mistake is not asking for a single batch run. If a project needs 5,000 square feet, but the factory sends 4,000 from Monday and 1,000 from Tuesday, you will see a line on the floor. I always tell my team to save the original sample we sent to the client. When the truck arrives, we put the new floor next to that sample. If it does not match, we stop. Sequencing is also a secret tool. If you install tiles in the order they were made, the tiny changes in color flow naturally and become invisible to the eye.
Pre-Delivery Requirement List
- Single Lot Number: Ensure one continuous production run.
- Batch Tags: Every roll must have a visible ID tag.
- Master Sample: Compare bulk goods to the approved laboratory sample.
Once the shipment arrives at your site, the real technical work of physical inspection begins.
What Are the Steps for an On-Site Consistency Check?
A professional on-site check involves a visual "Dry Lay" under final lighting, physical measurement with calipers, and a color sheen evaluation. You must also check for "ghosting" or oil spots and ensure all tiles are perfectly square to avoid gaps.
You must never check the floor under temporary construction lights. These lights are often yellow or dim and hide shading problems. Use 5000K "Daylight" bulbs if possible. For the "T-Test," lay two pieces of flooring so their edges touch at a 90-degree angle. This highlights any edge-to-edge shading. For physical specs, use a digital caliper. If one tile is 8.5mm and the next is 9.5mm, you will have a trip hazard. Also, look for "voids" or small holes in the surface, which show the rubber was not pressed hard enough in the factory.
| Inspection Step | Tool Used | Success Metric |
|---|---|---|
| Visual Check | Final Lighting | No visible "T-Test" shading differences. |
| السُمك | Digital Calipers | Variance within $+/- 0.5mm$ range. |
| التربيع | Framing Square | Zero gap when tiles are pressed together. |
| السطح | Visual/Touch | No oily spots or large air voids. |
If you find small variations that are still within the rules, you can use specific installation tricks to hide them.
Which Installation Strategies Mitigate Batch Issues?
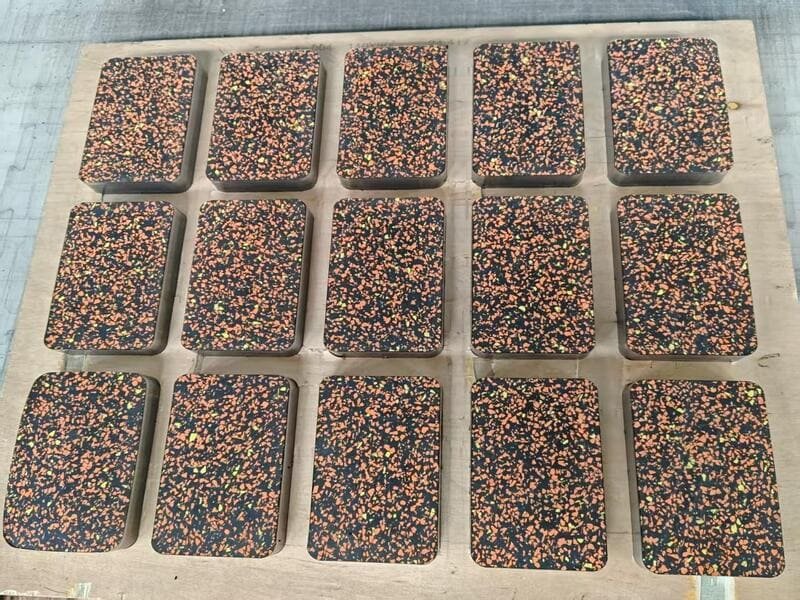
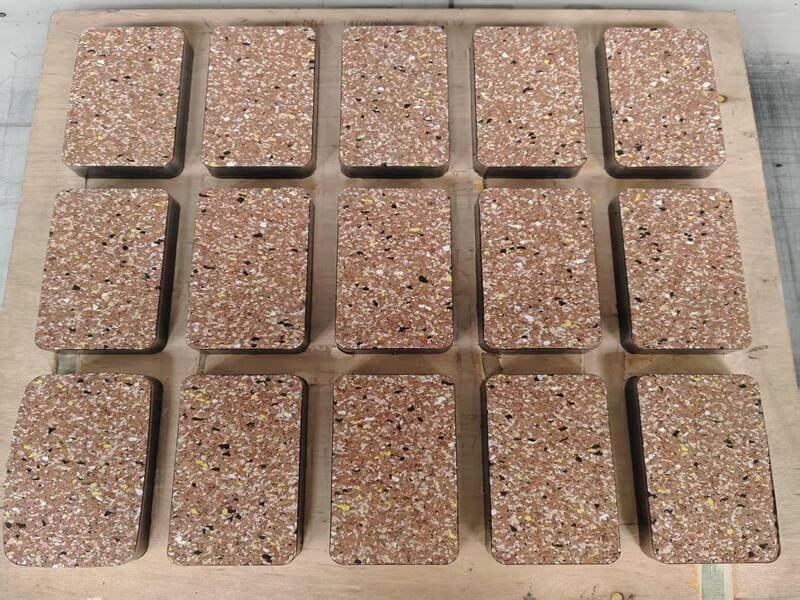
Use the "Shuffling" technique to mix tiles from different boxes and always follow the directional arrows on the back of the flooring. Stop and check the look of the floor after the first 50% is laid to catch any issues early.
I always tell installers to treat rubber like wood flooring. Do not just open one box and finish it. Open four boxes and mix the tiles. This blends the small micro-variations so the eye cannot pick out a pattern. Also, look at the bottom of the tile. Manufacturers put arrows there. If you flip one tile the wrong way, the light hits the grain differently and it looks like a different color. This is not a product defect; it is an installation error. The 50% rule is my personal safety net. If the floor looks off halfway through, it is much easier to fix than at 100%.
Even with the best plans, you might find a batch that is truly wrong, and you need a plan for that.
How Should You Deal with Batch Discrepancies?
If variations exceed industry standards, stop work immediately and document the batch tags and the visual defect with photos. You can often use "off-spec" pieces in hidden areas like closets or under heavy equipment to save the project timeline.
Knowing when to stop is a sign of a pro. If the thickness is off by more than 1mm, the floor is not safe. Take clear photos in high light. Show the batch tag next to the defect. This makes the warranty claim easy for the factory to accept. However, if the color is just slightly off, I suggest "strategic placement." Use the slightly darker rolls in the storage rooms or under the heavy weight racks where they are covered. This keeps the main lobby or entrance area looking perfect while using the material you already paid for.
To keep your project on track, use a simple checklist for every pallet that enters the building.
What is the Consistency Audit Checklist for Managers?
The consistency audit involves verifying every pallet ID, performing a side-by-side light test, and checking the date of manufacture. All data should be recorded before the installation team begins their work to ensure total accountability.
- Verify Pallet IDs: Do all tags match the packing list?
- اختبار الإضاءة: View three random samples under 5000K light.
- Date Check: Are all batches made within the same 30-day window?
- Caliper Test: Measure 5 tiles per pallet for thickness consistency.
- Arrow Alignment: Ensure the crew knows to follow underside directional markings.
Managing these small details is what separates a high-end facility from a cheap one.
الخاتمة
Batch consistency is the most important factor for a professional rubber floor. Measure twice, check the light, and always shuffle your tiles for the best result.
Need expert advice on your next rubber flooring project? If you are looking for high-quality materials with strict batch control for your gym or commercial space, feel free to send me a private message. I can help you with technical specs and bulk ordering to ensure your floor is flawless.