Installing horse stall mats involves a 5-step process: leveling a stone or concrete base, ensuring a 1% drainage slope, acclimating mats to local temperature, laying them from a corner, and using a "score-and-snap" method for precision cutting. Most DIY installs take 2–4 hours with basic tools.
Installing rubber mats is a high-reward DIY project, but as an R&D engineer with 15 years in polymer manufacturing, I’ve seen how small errors lead to buckling. While the steps are simple, the "why" behind the sub-base and material expansion is what ensures your floor lasts 20 years instead of two. This guide combines a quick-start manual with professional engineering insights to help you build a world-class stable floor.
Quick Summary: Installation Overview
- Difficulty: Medium (Requires heavy lifting)
- Время: 2–4 hours per 12×12 stall
- Стоимость: $300–$600 (depending on mat thickness)
- Essential Tools: Utility knife, 2×4 board, soapy water, straight edge.
5 Steps to Install Horse Stall Mats Like a Pro?
To install mats correctly, follow these five steps: 1. Prepare a level sub-base using compacted fines; 2. Acclimate mats for 24 hours; 3. Start layout from the back corner; 4. Leave a 1/4" expansion gap; 5. Use the "score-and-snap" method for custom cuts.
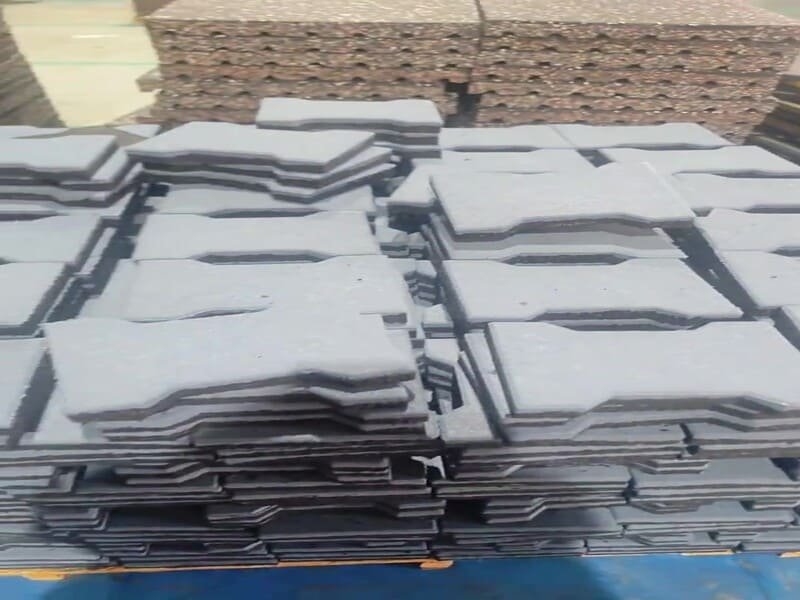
Step 1: Prepare and Level the Base
The sub-base is the most critical layer. Remove any organic material and replace it with 4-5 inches of crushed stone fines (1/8-inch or smaller). Use a power tamper to compact the material until it is rock-hard. An unlevel base is the #1 cause of mats "walking" or shifting over time.
Step 2: Ensure Proper Drainage Slope
From a manufacturing perspective, stagnant urine is the enemy of rubber longevity. Create a 1% to 2% slope toward the stall door or a dedicated drain. This prevents ammonia buildup and protects the structural integrity of your sub-base.
Step 3: Acclimate Your Mats
Rubber is a polymer that expands and contracts. Lay your mats out in the barn for at least 24 hours before cutting. This allows the material to stabilize to the local temperature and humidity, preventing future buckling.
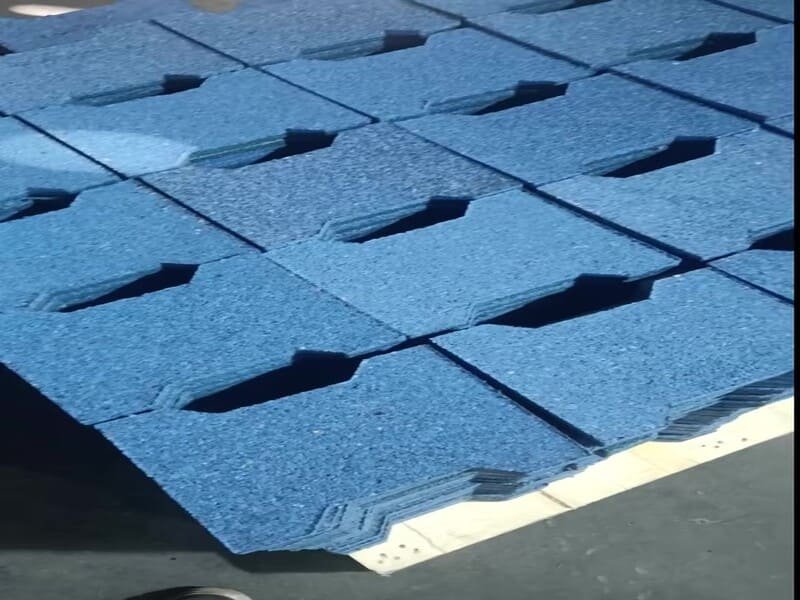
Step 4: Lay and Align from the Corner
Start in the corner furthest from the entrance. If using straight-edge mats, butt them tightly against each other. However, leave a 1/4-inch to 1/2-inch gap around the entire perimeter wall to allow for natural material expansion.
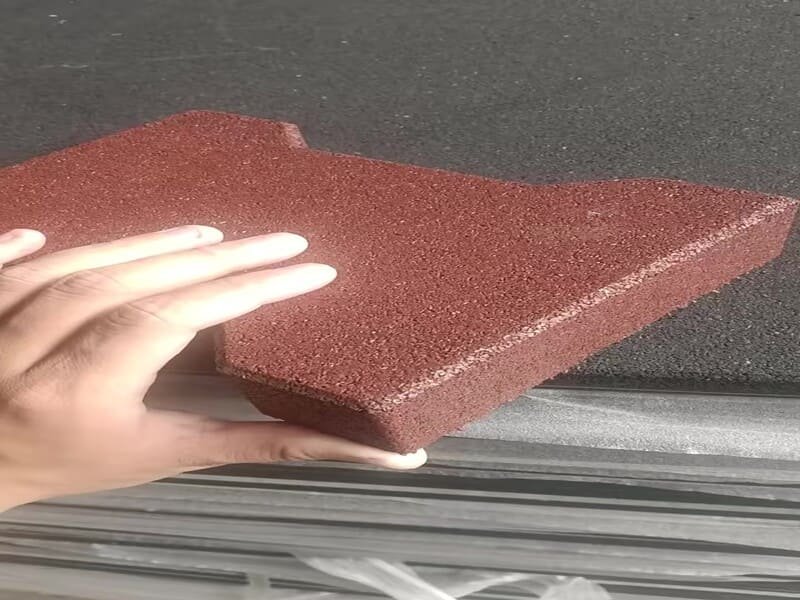
Step 5: Precision Cutting (The Score-and-Snap)
Measure twice, cut once. Use a chalk line to mark your cut. Place a 2×4 board under the cut line to create tension, lubricate your blade with soapy water, and make 3-4 shallow scores until the mat snaps cleanly.
These steps ensure a clean install. For those who want to understand the engineering science behind why these steps work, continue reading below.
Why is Sub-Base Engineering Critical for Mat Performance?
Sub-base engineering is critical because it manages load distribution and fluid dynamics. A properly compacted 1/8-inch stone fine base provides the necessary density to support a 1,200lb horse while remaining porous enough to allow moisture to drain away from the rubber’s wear layer.
In my lab, we test how different substrates affect the "Shore A Hardness" and rebound of rubber mats. If the ground is soft, the mat flexes excessively, which stresses the polymer bonds and leads to premature tearing. By using 4-5 inches of compacted fines, you create a "floating floor" system that protects the horse’s joints (biomechanics) while maintaining a flat surface that prevents waste from seeping into seams.
Sub-Base Material Comparison
| Материал | Дренаж | Долговечность | Installation Effort |
|---|---|---|---|
| Crushed Fines | Превосходно | Высокий | Medium (Needs Tamping) |
| Бетон | Poor (None) | Максимальный | Low (Ready to Lay) |
| Dirt/Soil | Бедный | Низкий | High (Constant Repairs) |
Understanding the physics of your floor is the first step. Next, we must address the specific mechanics of the rubber itself during installation.
How Does Thermal Expansion Affect Your Stall Layout?
Thermal expansion affects layout because rubber polymers have a high coefficient of expansion. Without a 1/4-inch perimeter gap, mats will press against walls as temperatures rise, causing the center seams to buckle upward and create dangerous trip hazards for the horse.
The Physics of the Expansion Gap
I often explain to customers that rubber "breathes." In a typical 12×12 stall, a 3/4-inch mat can expand by nearly 1/8 of an inch during a hot summer day. If you have four mats across, that is a 1/2-inch total expansion. By leaving a gap at the walls, you give the material room to move without lifting off the ground.
Why Acclimation is Non-Negotiable
| Фактор | Выгода | Risk of Ignoring |
|---|---|---|
| 24h Acclimation | Устойчивость размеров | Post-install shrinking/gapping |
| Perimeter Gap | Prevents Buckling | Joint stress and tripping |
| Soapy Water Lubricant | Reduces Blade Friction | Jagged edges and blade breaks |
The "Engineer’s Shortcut" is to always use a 2×4 board under your cut. This creates mechanical tension that pulls the rubber apart as you score it, making the knife work 50% easier.
Even with a perfect install, long-term maintenance is what separates a professional facility from an amateur one.
Часто задаваемые вопросы (FAQ)
Can you install stall mats over dirt?
I do not recommend it. Dirt holds moisture and develops "soft spots" quickly. If you must, you must remove all organic matter and compact the soil heavily, but adding a layer of stone fines is always a better engineering choice for drainage.
Do stall mats need drainage?
Yes. While the rubber itself is waterproof, urine can seep through seams. Without a sloped sub-base or porous fines, moisture pools under the mats, leading to ammonia odors and bacterial growth that can damage the horse’s hooves.
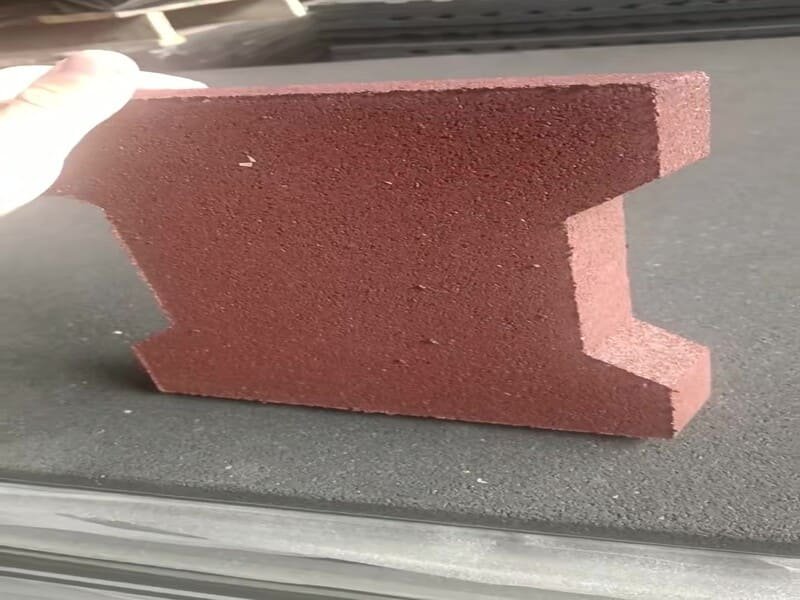
Какой толщины должны быть коврики для конюшен?
For most horses, 3/4-inch (19mm) is the industry standard. It provides the optimal balance between durability, weight for stability, and shock absorption for the horse’s musculoskeletal system.
Заключение
A professional install requires a compacted base, a 1% slope, and a 1/4-inch expansion gap for long-term stability.
Work with a Technical Partner
As a manufacturer, we don’t just sell mats; we provide flooring solutions engineered for performance. Whether you are outfitting a single stall or a professional equestrian center, our team can provide the technical specifications and bulk pricing you need.
Interested in testing our material durability? Contact us today to request a free sample or a custom quote for your facility.