


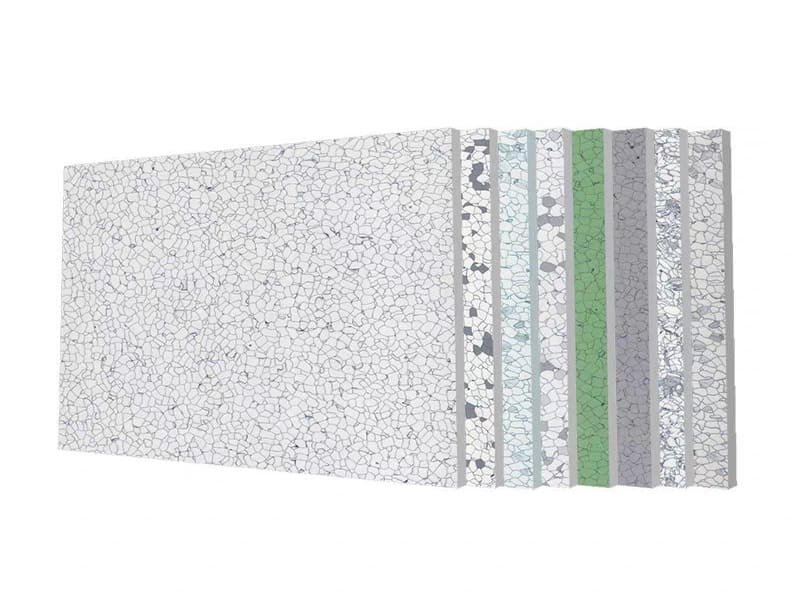
Plan seams around sheet width, traffic paths, doors, columns, and equipment. Then follow the flooring maker’s system for grounding strips, adhesive, and welding. Finish with inspection and resistance tests on a written plan.
A seam is one of the first places a sheet floor can fail. Poorly sealed seams hold dirt and make cleaning harder. A damaged grounding path can weaken ESD control. These are two separate risks, and each one needs its own check.
I split seam work into three parts. Seam planning decides where the joints go. Seam quality decides if each joint is sealed and flush. ESD performance decides if the whole floor system reaches ground. A good plan treats them as three tasks, not one.
This guide is for facility managers, cleanroom designers, flooring installers, and quality control engineers. I work on ESD vinyl flooring manufacturing and installation support, and most seam problems I see start on the drawing, not on site.
Why Do Seams Matter in Cleanroom ESD Vinyl Flooring?
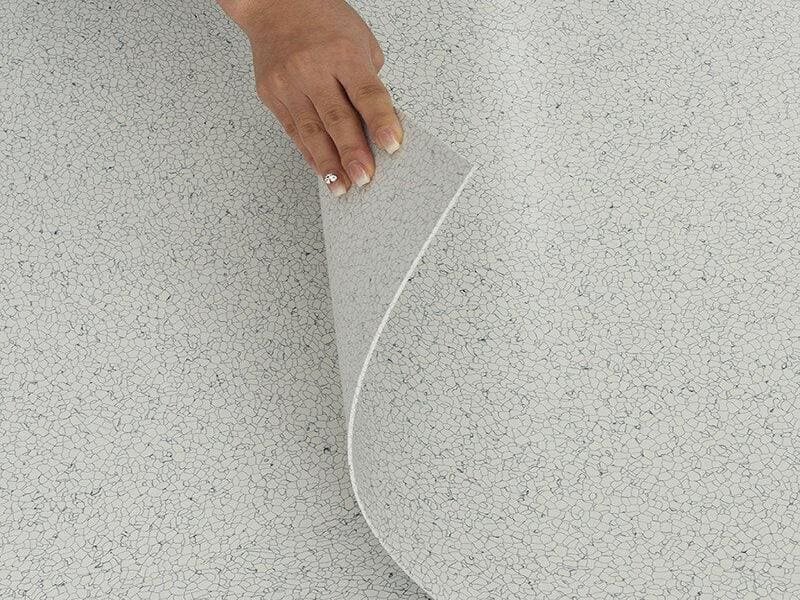
Seams are among the most vulnerable areas of sheet vinyl flooring. Poorly sealed joints can trap contaminants and make cleaning harder, and a damaged grounding path can reduce ESD control.
Cleanrooms for semiconductors, pharmaceuticals, and electronics need clean surfaces and static control. Seams touch both needs.
Three Risks at a Seam
| Риск | What Can Go Wrong | How to Judge It |
|---|---|---|
| Загрязнение | Gaps, pinholes, or raised edges hold dirt and are hard to wipe | Visual and tactile inspection |
| Характеристики защиты от электростатического разряда (ESD) | Damaged or disconnected grounding strips, poor adhesive coverage, or incompatible materials | Resistance tests on the installed floor |
| Chemical and moisture wear | Repeated cleaning agents and scrubbing can open a weak weld | Correct welding and a sealed joint |
Cleanroom cleanliness class and flooring ESD performance are judged by different standards. ISO 14644-1 classifies airborne particles in the room. It is not a seam acceptance test. ESD flooring is checked with ESD test methods and your project acceptance criteria. I keep these apart in every project review.
How Should You Plan Seam Locations and Sheet Direction?
Compare sheet directions to cut unnecessary seams, while considering traffic routes, equipment locations, material waste, and the flooring maker’s installation requirements. Make this choice on the drawings before you order material.
Layout is the cheapest way to cut seam risk. Every unnecessary meter you remove is a meter you never weld, trim, or test. But the lowest seam count is not always the best plan.
Factors That Set Seam Positions
Start with the room size and the roll width. Test two or three sheet directions and count the seam length for each. Then check the result against door positions, equipment, wheel paths, and any sheet direction the maker requires. I often ask clients to send the cleanroom plan so we can compare layouts before they order.
| Фактор | Что проверить |
|---|---|
| Ширина рулона | Match it to the room so you cut as little as possible |
| Seam length | Count total linear meters for each sheet direction |
| Maker’s requirements | Check for required sheet direction and high-traffic area rules |
| Equipment layout | Avoid seams under fixed equipment when you can |
| Cleaning needs | Keep seams easy to reach with cleaning tools |
| Cut waste | Allow for trimming and wall coving |
A finished seam must be smooth, sealed, and flush. That is the goal in every airflow pattern, so I do not plan seams around airflow direction.
Where Should Seams Be Avoided?
Avoid placing seams in heavy rolling-load paths, at door thresholds, under fixed equipment, and in corners where cleaning is hard. Move a seam when you can. Reinforce the plan when you cannot.
Seams fail faster where stress is high. Wheels, impact, and movement all work on a weld.
High-Risk Zones
AGV tracks, heavy carts, and pallet jacks cross the same lines again and again. A seam in that line takes repeated stress, which can crack the weld or lift the edge. I ask the client for the traffic map and mark these lines on the drawing first.
| Зона | Why It Is Risky | Planning Move |
|---|---|---|
| AGV and cart paths | Repeated wheel load on the weld | Shift the seam off the path |
| Door thresholds | Concentrated traffic and wear | Keep seams clear of the opening |
| Under fixed equipment | Hard to inspect and repair later | Place seams outside the footprint |
| Wall-to-floor corners | Dirt collects at sharp angles | Use a cove base for a smooth transition |
How Should Seams Be Planned Around Doors, Columns, and Equipment?
Plan cuts and seams for each obstacle before installation. Avoid small patches and keep seams out of concentrated traffic. Agree with the contractor on the order of work and the finishing details.
Obstacles create odd cuts. Small pieces mean extra seams, and extra seams mean extra risk.
Common Obstacles
For a structural column, plan the cut around it so you do not end up with narrow strips. For fixed equipment, think about the install order and later service work. If a machine will be moved or replaced, a seam under it is hard to fix. For drains and pipes, finish the edges using the method approved for your flooring system.
| Расположение | Planning Method |
|---|---|
| Doors and personnel paths | Avoid seams in concentrated rolling-load positions |
| Structural columns | Plan cuts early and avoid small patch pieces |
| Fixed equipment | Consider the base, install order, and future service |
| Drains and pipes | Seal and finish with the approved product system |
| Wall coving | Coordinate cove profile, inside corners, outside corners, and weld joints |
This is where early engineering input pays off. A layout review before production costs far less than a repair in a live cleanroom.
How Do Grounding Strips and Conductive Adhesives Affect Seam Planning?
Follow the flooring maker’s approved system for copper strips and conductive adhesive. Strips do not have to cross every seam. Every floor area needs an effective path to its grounding point.
ESD performance comes from the full floor system. That includes the vinyl, the adhesive, the grounding strips, and the connection to ground. The weld rod is only one part of the picture.
What to Plan
Copper strips may run under or across sheet joints, but the exact layout depends on the manufacturer’s system and the floor area. Different products set different strip spacing and ground point numbers. Do not copy a layout from one product to another. Use the adhesive the manufacturer approves, and make sure it suits the subfloor and the project conditions.
Conductive weld rods are also not required for every ESD vinyl system. Use the rod the manufacturer specifies or approves. Then confirm continuity by testing the installed floor.
Grounding connections should be made by qualified electrical personnel, not decided by the flooring crew.
| Артикул | Сделайте это | Избегайте этого |
|---|---|---|
| Copper strips | Follow the maker’s approved layout | Assuming strips must cross every seam |
| Клей | Use the approved conductive adhesive, applied fully | Gaps or incompatible products |
| Сварочный стержень | Use the specified or approved rod | Buying special rods without checking the system |
| Ground points | Connect every area to a designated point | Isolated floor sections |
What Subfloor Conditions Must Be Checked?
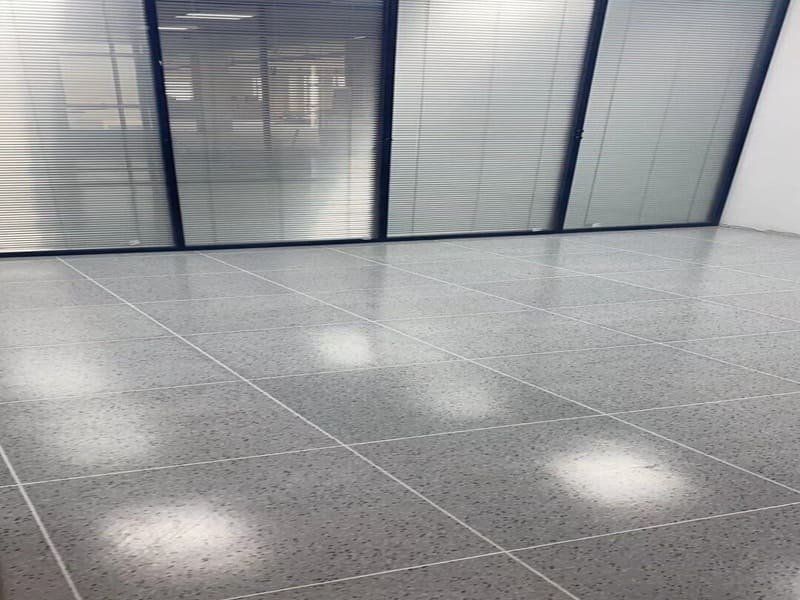
Check moisture, flatness, surface strength, cracks, room temperature, humidity, and adhesive compatibility before installation. Use the limits in the product instructions and the project specification.
A seam is only as stable as the floor under it. A weak or damp subfloor can lift a weld later.
Pre-Installation Checks
I do not quote one set of limits for every product, because each maker sets its own. What I do is make sure each check is on the contractor’s list and signed off before work starts.
| Проверить | Почему это важно |
|---|---|
| Moisture content | Moisture can weaken the adhesive bond and lift edges |
| Плоскость | Uneven areas can show through and stress the seam |
| Surface strength | A weak surface can fail under the adhesive |
| Cracks and joints | Movement can open a seam later |
| Temperature and humidity | These affect adhesive curing and welding |
| Adhesive compatibility | The adhesive must suit both the subfloor and the vinyl |
Material should also acclimatize as the manufacturer instructs before welding begins.
How Should Cleanroom ESD Vinyl Seams Be Heat Welded?
Heat welding is commonly specified for cleanroom sheet vinyl because it makes a sealed, cleanable joint. Cut a clean groove, use the approved rod, control heat and speed, and trim flush.
Heat welding fuses a rod into a groove between two sheets. The method should follow the flooring maker’s instructions and the project requirements, not the ISO class alone.
Welding Steps
| Шаг | Руководство | Почему это важно |
|---|---|---|
| Grooving | Cut to the depth and width the maker gives | Too shallow leaves a crevice. Too deep can damage the material below |
| Rod selection | Use the rod specified or approved by the maker | The weld bonds well and matches the floor system |
| Heat and speed | Use the settings from the rod and welder instructions, and test on scrap | Too hot burns the vinyl. Too cool leaves voids |
| Обрезка | Use a Mozart knife and trim plate and cut flush | A raised lip catches dust and wipers |
Cold (chemical) welding is another option for some products and jobs. Use it only if the vinyl maker allows it for your system and your cleanroom requirements.
How Should Seam Quality and ESD Performance Be Tested?
Inspect every seam for physical defects. Measure floor resistance with ANSI/ESD STM7.1 and the approved test plan, check the grounding connections, and test footwear and floor together where they ground people.
Weld quality and ESD performance are two separate checks. A seam can look perfect and still sit on a floor with a grounding problem. The reverse can also happen.
Two Kinds of Checks
For weld quality, inspect all seams under good light. Look for flushness, pinholes, bubbles, and edge separation. Run a gloved hand along the weld to feel for lips. Verify that seams are fully sealed and free from visible defects. In service, follow the manufacturer’s approved cleaning and maintenance procedures, and investigate any sign of seam deterioration or particle shedding.
For ESD performance, measure the installed floor with ANSI/ESD STM7.1 at representative locations, including selected positions on both sides of seams. STM7.1 does not ask for a test at every centimeter of weld. The test plan should say where to measure, how many points, and what limits apply.
When the floor and footwear work together as the personnel grounding system, test that combined system with ANSI/ESD STM97.1 and STM97.2, where applicable. The limits come from the current edition of ANSI/ESD S20.20 and your project specification, so check those before you test.
| Проверить | Метод | What It Confirms |
|---|---|---|
| Visual and touch | Inspection lights, gloved hand | Flush, sealed weld with no visible defects |
| Floor resistance | ANSI/ESD STM7.1 | Resistance characteristics of the installed flooring system |
| Ground connections | Approved grounding inspection procedure | Grounding connections are properly installed |
| Footwear and flooring system | ANSI/ESD STM97.1 and STM97.2, where applicable | System resistance and body voltage |
What Are the Most Common Seam Failures?
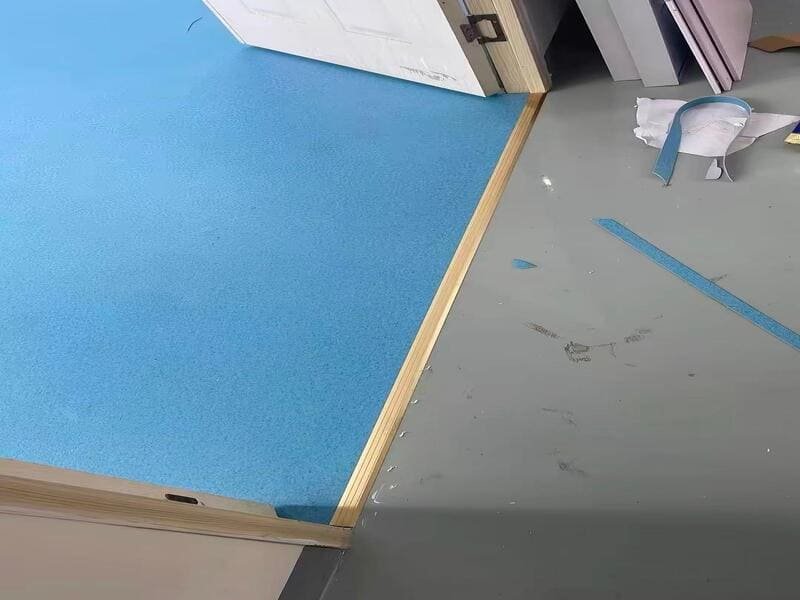
The common failures are seam separation, loss of ESD performance, and contamination in micro-crevices. Prevent them with subfloor checks, approved materials, correct grooving and welding, flush trimming, and post-install tests.
I see the same three failures again and again.
Failure Modes and Fixes
| Сбой | Возможные причины | Профилактика |
|---|---|---|
| Seam separation or edge curling | Subfloor moisture, thermal movement, weak adhesive bond | Test the subfloor, acclimatize the material, and use the approved conductive adhesive that suits the subfloor |
| Loss of ESD performance | Damaged or disconnected grounding strips, poor adhesive application, incompatible materials, weak electrical connections | Follow the approved system, protect strips during grooving, and test after install |
| Contamination in crevices | Shallow grooving, incomplete weld, poor trimming | Groove to the right depth, weld fully, and trim flush |
When ESD performance drops, look at the whole system first: strips, adhesive, connections, and ground. Do not blame the weld rod before you check these.
Example: What Does a Seam Layout for a 6 m × 10 m Cleanroom Look Like?
With 2 m wide sheets, running the sheets along the 10 m length needs three sheets and two 10 m seams, or 20 m in total. Running them across needs five sheets and four 6 m seams, or 24 m.
This simplified example assumes that each sheet can be supplied in a continuous length, with no end joints required. Actual layouts must also account for roll length, trimming allowances, and coved skirting. It also assumes an empty room with no columns, drains, or equipment bases.
Comparing Two Directions
| Вариант | Sheets | Швы | Total Seam Length |
|---|---|---|---|
| Sheets run along the 10 m side | 3 | 2 × 10 m | 20 m |
| Sheets run across the 6 m side | 5 | 4 × 6 m | 24 m |
The first option has less seam length, so it is the starting point. The numbers do not include trim allowance, wall coving, grounding strips, or door positions. In a real room I would now move the seams off any wheel paths, check the door positions, and match the plan to the manufacturer’s strip layout. Fixed equipment, a column, or a rule from the maker about sheet direction can change the answer.
What Should Be on the Pre-Installation Seam Checklist?
Give your contractor a short list before work starts: approved layout, manufacturer’s grounding plan, subfloor sign-off, welding trial, and a written test plan.
Hand this list over before the crew arrives.
Контрольный список из пяти пунктов
- Approved seam layout: Seam positions are checked against traffic paths, doors, columns, equipment, and coving.
- Grounding plan: Strip layout and ground points follow the manufacturer’s system, and qualified electrical staff make the connections.
- Subfloor sign-off: Moisture, flatness, surface strength, cracks, and conditions meet the product instructions.
- Welding trial: Groove, rod, heat, and speed are tested on scrap before the real seams.
- Test plan: Visual checks, STM7.1 test points, grounding inspection, any STM97.1 and STM97.2 tests, limits, and report format are agreed in writing.
Заключение
Plan seams early, follow the maker’s system, weld carefully, and test the finished floor. Treat layout, seal quality, and ESD performance as three separate checks.