


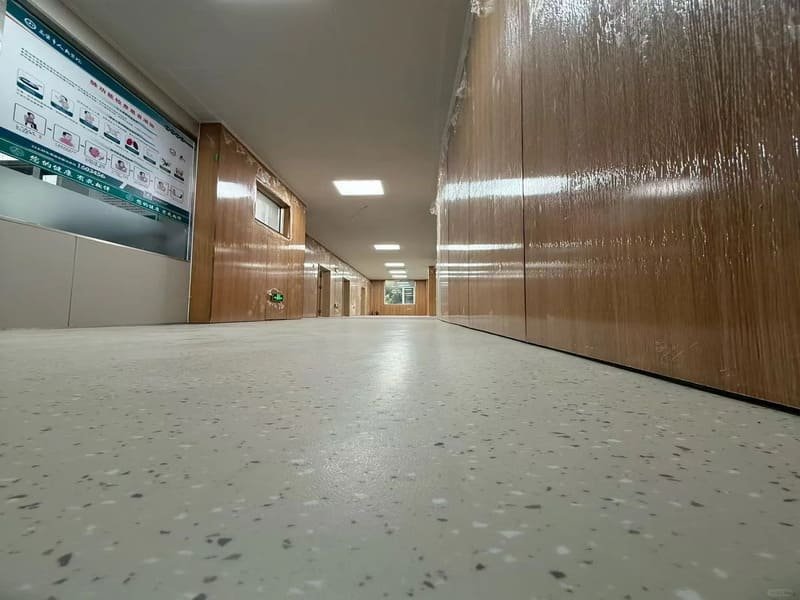
It depends. Primer is often required for porous substrates, peel-and-stick tiles, and certain adhesive systems, but it is not a universal rule. The real answer always comes down to what your flooring, adhesive, and underlayment manufacturers specify for your exact system.
I get this question from contractors and DIYers constantly, and after years working in vinyl flooring manufacturing and installation consulting, I can tell you the honest answer is never a blanket yes or no. Skipping primer when your system requires it can lead to failed adhesive bonds, lifting tiles, and voided warranties. But over-applying primer, or using the wrong type, can cause just as many problems. This guide walks through when primer is genuinely needed, when it isn’t, and why the manufacturer’s specific installation system should always be your final word, not a general rule of thumb.
Getting this decision right up front saves you from tearing out flooring later. Let’s break down how to actually make this call for your project.
When Do You Actually Need Primer for Vinyl Flooring?
Primer is commonly needed for porous or dusty substrates, peel-and-stick LVT, and certain self-leveling or adhesive systems. But the final requirement always depends on what your specific adhesive and flooring manufacturer’s system calls for.
Here’s a reference table I use with clients, but treat it as a starting point for research, not a final answer for every job:
| Тип субстрата | Тип винила | Primer Likely Needed? |
|---|---|---|
| New concrete | Glue-down LVP/Sheet | Depends on adhesive system spec |
| New concrete | Click-lock SPC | Usually not, unless moisture requires treatment |
| Plywood (underlayment-grade) | Peel-and-stick LVT | Often yes |
| OSB/particleboard | Peel-and-stick LVT | Often needs a plywood underlayment layer instead |
| Самовыравнивающаяся смесь | Any glue-down | Often yes, system-specific |
| Clean ceramic tile | Click-lock floating | Usually not |
| Old cutback adhesive residue | Клеящийся | Verify condition first, do not assume |
| High-moisture concrete | Any type | Requires moisture assessment, not just primer |
The One Rule That Overrides All Others
The flooring and adhesive manufacturers’ written installation instructions override any general primer rule. Every manufacturer publishes a compatibility matrix for their specific adhesive, primer, and substrate combinations, and that document is what actually governs your warranty and your bond strength, not a general industry guideline.
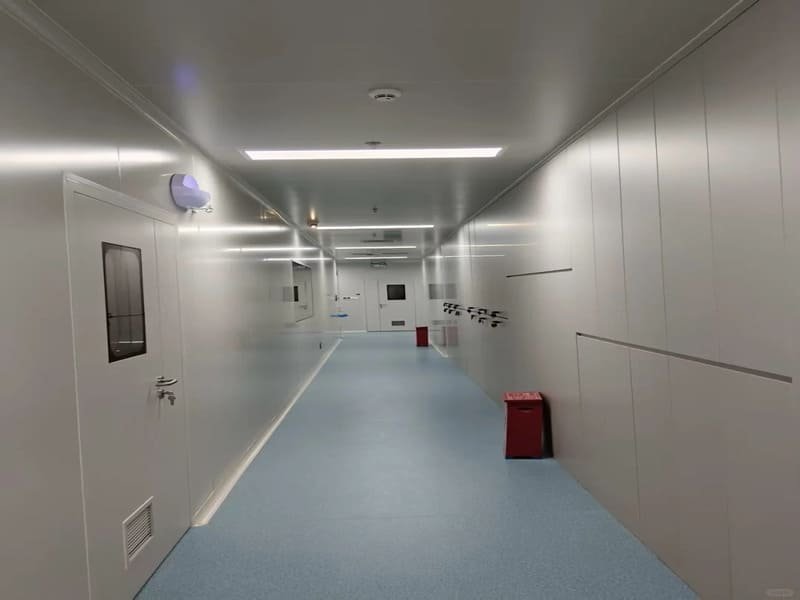
Once you know how to read your specific system’s requirements, the next question is what primer is actually doing on a technical level.
Why Does Primer Matter for Vinyl Flooring Installation?
Primer commonly binds surface dust, manages porosity, and improves adhesion between subfloor and adhesive. It is not the same thing as a moisture mitigation system, and standard primers should not be relied on to solve elevated concrete moisture on their own.
I think of primer as a surface-preparation tool, not a cure-all. Here’s what it typically does.
The Core Functions of Standard Primer
- Surface dust binder: Fine dust between subfloor and adhesive breaks the bond before it forms. Primer locks that dust down.
- Porosity control: Porous subfloors can pull moisture out of water-based adhesives too quickly, weakening the cure. Primer helps regulate that absorption rate.
- Adhesion booster: Primer creates a more uniform surface that adhesive and backing materials can grip consistently.
- Compatibility bridge: Certain adhesive systems are formulated to bond specifically over a primed surface, per the manufacturer’s spec sheet.
What Standard Primer Does Not Do
A standard acrylic or latex primer is not designed to stop elevated moisture vapor transmission from a concrete slab. That distinction matters a lot, and I cover it in detail further down, because conflating the two is one of the most common and costly mistakes I see on jobsites.
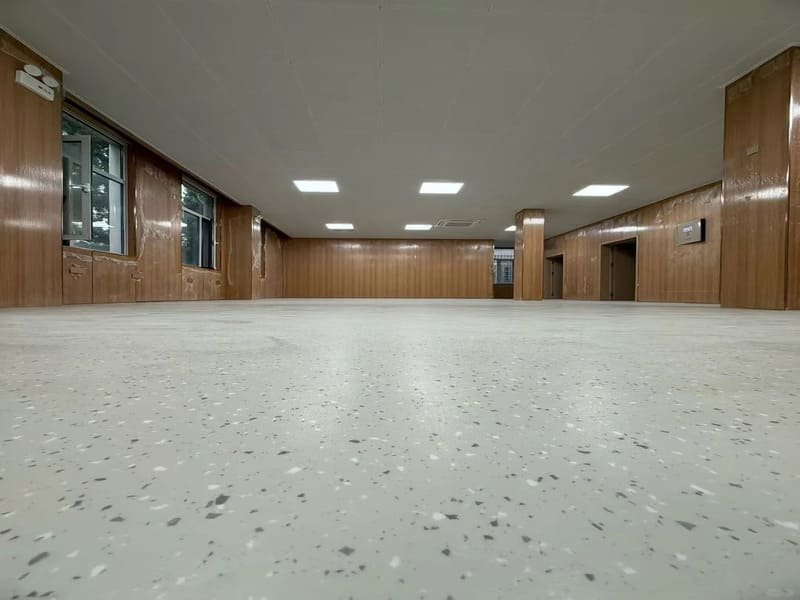
With the function of primer clear, let’s look at what different subfloor materials actually require, since this is where the requirements diverge the most.
What Are the Primer Requirements for Different Subfloor Types?
Concrete requires separate moisture and alkalinity testing before any primer decision. Plywood and OSB are not interchangeable substrates. Self-leveling compounds commonly need a compatible primer, but whether the cured surface needs a second primer step depends on the specific system.
Бетонные плиты
Moisture and alkalinity are two different things, tested two different ways, and neither one should be lumped together as "a moisture test."
- In-situ relative humidity (RH) testing, following ASTM F2170, measures internal slab moisture.
- Moisture vapor emission rate testing, following ASTM F1869, measures vapor moving through the surface.
- pH/alkalinity testing measures surface alkalinity, which is a separate concern from moisture content, though both affect adhesive performance.
Test for moisture using an approved method appropriate to your project, and separately verify surface alkalinity where the flooring or adhesive manufacturer requires it. Don’t treat a pH test as a substitute for a moisture test.
Plywood vs. OSB, Particleboard & Chipboard
This is a distinction I see glossed over constantly, and it matters. Underlayment-grade plywood is commonly an approved substrate for many resilient flooring systems, often with primer as part of the prep. OSB, particleboard, chipboard, and MDF are a different story: many glue-down and peel-and-stick systems don’t approve direct installation over these materials at all, primer or not. The typical fix isn’t more primer, it’s installing an approved underlayment-grade panel over the OSB first, then following the primer requirements for that new surface. Always check your specific flooring manufacturer’s approved substrate list before assuming primer solves an OSB compatibility issue.
Self-Leveling Compounds & Floor Patches
Self-leveling compounds commonly require a compatible primer before placement, this step is fairly standard across most systems. Whether the cured underlayment also needs a second priming step before the vinyl adhesive goes down depends on the specific self-leveler and adhesive manufacturers’ instructions, so check both spec sheets rather than assuming either way.
Existing Flooring (Tile, Terrazzo, Old Vinyl, Adhesive Residue)
If you’re working over old resilient flooring or unknown adhesive residue, particularly older cutback-style black adhesive, stop before sanding, scraping, or mechanically disturbing it. Older flooring materials and adhesives can contain asbestos, and disturbing them without proper testing and precautions is a health and regulatory issue, not just a flooring one. Follow your local regulations and the flooring/adhesive manufacturer’s approved removal or encapsulation procedure, and when in doubt, have the material tested before doing anything to it.
Subfloor type is only half the equation. The vinyl product itself changes what’s actually required too.
Does Your Vinyl Flooring Type Change Primer Requirements?
Peel-and-stick LVT commonly requires primer due to its thin adhesive layer. Glue-down LVP and sheet vinyl follow the adhesive manufacturer’s specific primer requirements. Click-lock floating floors typically don’t need primer at all, since there’s no adhesive bond to protect.
Peel-and-Stick Vinyl Tiles
These have one of the thinnest adhesive layers of any vinyl product, which gives them the least tolerance for a compromised surface. Skipping primer here is where I see the highest failure rates, tiles lifting at seams within the first year being the most common complaint I hear about.
Glue-Down LVP / Sheet Vinyl
Adhesive manufacturers publish specific primer requirements for their own products. Following that spec sheet, not general flooring advice, is what actually keeps your warranty intact.
Click-Lock Floating LVP / SPC
This is where I see the most confusion. Many click-lock products have an attached underlayment pad, but not all of them do, so check your specific product rather than assuming. Either way, attached underlayment is not the same thing as primer. Underlayment adds cushioning and sound dampening; primer prepares a surface for adhesive bonding. Floating floors over a clean, dry, non-porous subfloor generally don’t need primer since there’s no adhesive bond involved, though moisture protection may still be a separate consideration depending on the subfloor.
That underlayment-versus-primer confusion actually points to a bigger gap worth clearing up on its own: how primer relates to moisture and vapor barriers.
Is Primer the Same as a Moisture Barrier or Vapor Barrier?
No. Primer, underlayment, vapor barriers, and moisture mitigation systems each serve a different function, and confusing them is one of the most common and costly mistakes in vinyl flooring installation.
I get versions of this question constantly: does primer stop concrete moisture, do I need both primer and a vapor barrier, does SPC need primer over concrete at all. Here’s the distinction laid out clearly:
| Продукт | Главная цель |
|---|---|
| Грунтовка | Improves substrate-to-adhesive or substrate-to-leveler compatibility |
| Подложка | Provides cushioning, sound dampening, or support function |
| Пароизоляция | Limits moisture vapor movement through the substrate |
| Moisture mitigation system | Treats excessive concrete moisture beyond a standard adhesive’s tolerance |
If your moisture testing shows levels beyond what your standard adhesive allows, the fix isn’t reaching for a stronger primer. It’s using the moisture-control system specifically approved by your flooring and adhesive manufacturer for that condition, which may be an epoxy or polymer-based membrane. Not every product labeled "primer" is designed or rated for moisture mitigation, so check the technical data sheet rather than assuming based on the product name.
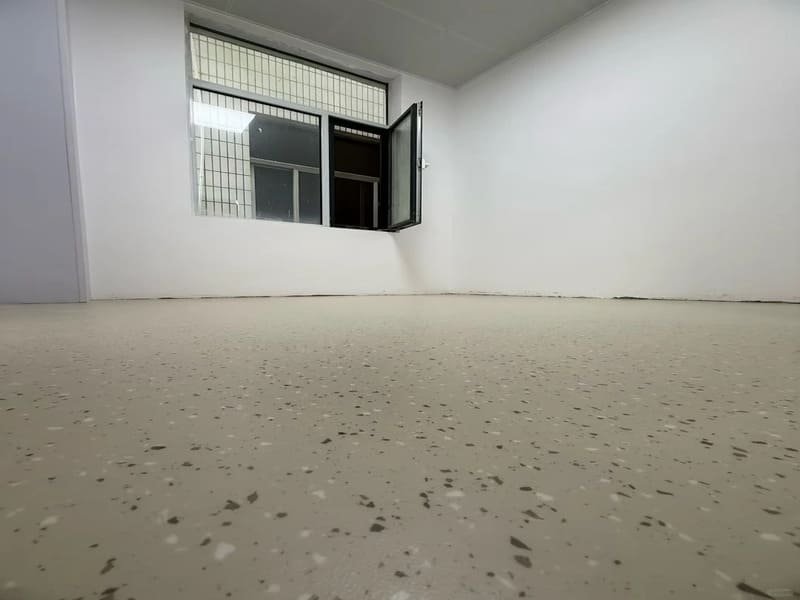
With those distinctions clear, here’s a simple way to walk through the decision for your own project.
A Simple Decision Process for Your Project
Work through five questions in order: installation method, substrate type, substrate condition, adhesive manufacturer requirements, and moisture/alkalinity levels. This sequence catches most of the situations that lead to installation failures.
- Is the floor floating or adhesive-bonded? Floating click-lock floors typically skip the primer question entirely, though you should still confirm whether a vapor barrier is needed for your subfloor.
- What is the substrate? Concrete, plywood, OSB, gypsum, self-leveler, or existing flooring each carry different considerations.
- Is the substrate clean, sound, and approved? Not every substrate condition is solvable with primer. Some require a different panel or prep step entirely.
- What does the adhesive manufacturer’s system require? If their spec calls for primer, use the specific product they name, not a generic substitute.
- Does moisture or alkalinity exceed your adhesive’s limits? If yes, this moves into moisture mitigation territory, not a standard primer decision.
Working through that sequence handles the "should I prime" question. The next step is knowing how to select and apply the right product once you’ve confirmed you need one.
How Do You Choose and Apply the Right Primer?
Match the primer to your documented need: standard acrylic/latex primers for general porosity and adhesion, and manufacturer-approved moisture-control systems for elevated concrete moisture. Apply thin, even coats and confirm full cure before installation.
Selecting the Right Product
- Acrylic/latex primers: Common for general porosity control and adhesion on standard substrates.
- Moisture-control systems: Used when testing confirms moisture beyond your adhesive’s rated tolerance, and should be specifically rated and approved for that purpose, not assumed based on the word "primer" on the label.
- Specialty primers: Formulated for non-porous surfaces like tile or terrazzo, where standard primer may not bond well.
Tools and Prep
You’ll want a roller, brush for edges, a moisture meter, and a shop vac for dust removal. Clean the surface fully, degrease if there’s oil or residue, repair cracks, and vacuum thoroughly before priming. Primer applied over dust just traps the dust underneath instead of solving the problem.
Application and Drying
Apply thin, even coats rather than letting primer puddle in low spots, which creates an uneven surface that adhesive won’t grip consistently. Drying and cure time varies with temperature, humidity, and product, so always confirm the manufacturer’s stated cure window and verify the surface is fully cured, not just dry to the touch, before moving forward.
Even with the right product and process, there are still a few mistakes I see repeated on jobsites regularly. Here’s what to watch for.
What Happens If You Skip Primer or Prime Incorrectly?
Skipping primer when your system requires it can lead to adhesive failure and voided warranties. Using standard wall paint primer instead of flooring-rated primer is one of the most common and avoidable mistakes I see.
"What Happens If I Skip a Required Primer Step?"
The consequences usually show up gradually: tiles lifting at seams, planks shifting underfoot, adhesive losing grip months after the installation looked fine. These failures are expensive because they typically mean a full tear-out, not a quick patch.
"Can I Use Kilz or Standard Wall Primer?"
Generally, no. Paint primers are formulated for paint adhesion, not for flooring adhesive bonds or subfloor porosity control. They typically lack the film characteristics and chemical compatibility that flooring adhesives are formulated to bond with, and using them in place of a flooring-rated primer is a common reason installations fail early.
"Will Priming Void My Flooring Warranty?"
Using the wrong primer, or skipping one your system requires, is far more likely to void a warranty than using the correct one. Manufacturers publish compliance requirements specifically so you can verify compatibility before installing, not after something fails.
Over-Priming vs. Under-Priming
Too little primer leaves porous spots unsealed. Too much creates a slick film that adhesive can’t grip. Follow the manufacturer’s stated coverage rate per square foot rather than estimating.
With the common pitfalls covered, let’s answer a few of the specific questions I hear most often.
Часто задаваемые вопросы
Does self-stick vinyl need primer on plywood?
Often, yes, though this depends on the specific product and plywood grade. Peel-and-stick vinyl has a thin adhesive layer that benefits from a sealed, consistent surface, so check your manufacturer’s substrate requirements for confirmation.
How long does primer take to dry before laying vinyl?
Most primers dry within 30 minutes to a few hours, but cure time varies by product, temperature, and humidity. Always check the manufacturer’s data sheet and confirm full cure, not just surface dryness, before proceeding.
Can I put vinyl floor glue directly over self-leveler without primer?
It depends on the self-leveler and adhesive systems involved. Some combinations require a second primer step after the leveler cures, others don’t. Check both manufacturers’ instructions rather than assuming either way.
Is subfloor primer the same as paint primer?
No. They serve different purposes. Paint primer helps paint adhere to a wall; flooring primer is formulated to manage porosity, dust, and adhesive compatibility underfoot. Using paint primer under vinyl is a common and avoidable mistake.
Does primer stop concrete moisture problems?
Standard primer is not designed to solve elevated moisture on its own. If your concrete moisture testing exceeds your adhesive’s rated limits, you need a manufacturer-approved moisture mitigation system, which is a different product category from a standard primer.
Заключение
Whether you need primer always comes down to your specific substrate, vinyl type, and manufacturer’s documented system, not a one-size-fits-all rule.
Final Pre-Installation Checklist:
- Confirm installation method: floating vs. adhesive-bonded
- Test concrete for both moisture (RH or MVER) and surface alkalinity separately
- Verify your substrate is on the flooring manufacturer’s approved list, including plywood grade
- Check the adhesive manufacturer’s specific primer requirements for your system
- If moisture exceeds standard limits, use an approved moisture mitigation system, not just a stronger primer
If you’ve made it this far, you have a much clearer framework for making this call than a simple yes-or-no answer could give you. Every project’s substrate, adhesive, and vinyl combination is a little different, so if you’re still working through the specifics of your job, send me a message and I’ll help you sort through your system’s actual requirements before you start.
Об авторе
I work in engineering and installation for custom and bulk vinyl flooring manufacturing, with hands-on experience across substrate preparation, adhesive systems, and design optimization for a wide range of commercial and residential applications. My focus is helping product developers and contractors solve real installation challenges through manufacturing insight and technical consultation, not just production output.