The key is careful preparation. You must accurately measure, order 10-15% extra material for cuts, use a very sharp utility knife, and always cut from the turf’s backing. This prevents mistakes and ensures a clean, professional finish around any obstacle in your gym.
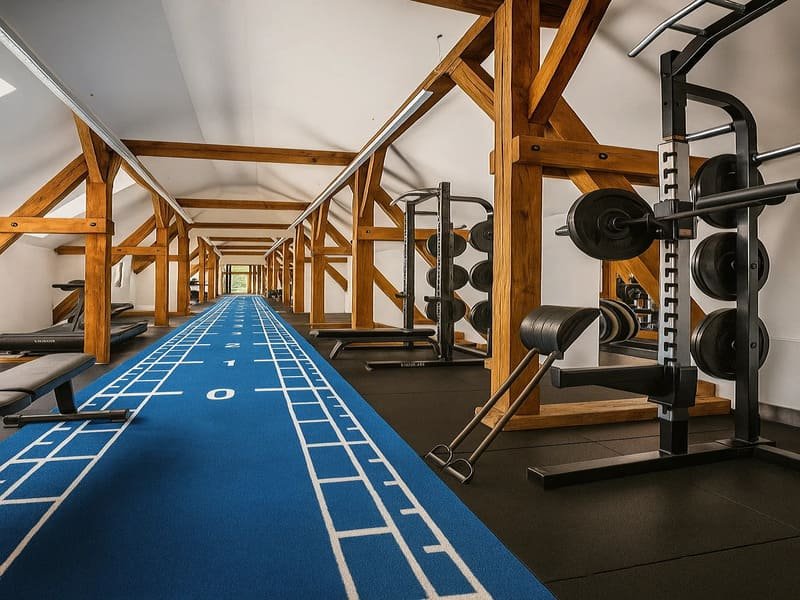
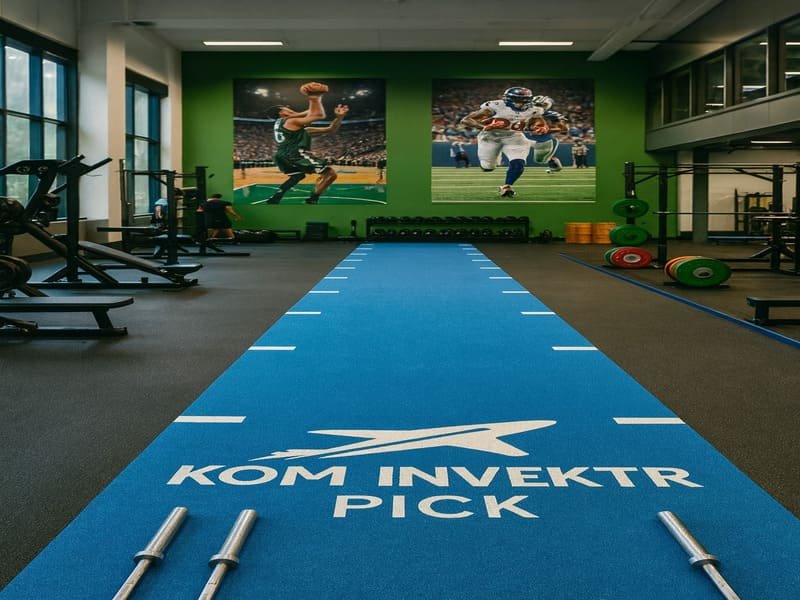
Installing gym turf can transform a space, but permanent fixtures like support columns or pillars present a real challenge. I’ve seen many projects get derailed at this stage. People fear making a wrong cut and ruining an expensive roll of turf. A bad cut leads to ugly gaps or a sloppy finish that undermines the entire look of the gym floor. This guide will walk you through the exact process we use as professional installers. We will cover the critical planning steps, the specific tools you need for a clean cut, and the step-by-step technique to make your gym turf fit perfectly around any pillar, giving you a seamless, wall-to-wall result.
Getting a perfect fit starts long before you ever unroll the turf. The planning phase is where a professional job is made or broken. You have to be precise and think ahead.
What is the most important step before cutting gym turf?
You must accurately measure your space and calculate a "waste factor." This means ordering 10-20% more turf than the room’s total square footage. This extra material is your insurance policy against cutting errors and is essential for fitting turf around pillars and along walls.
Before you even think about ordering, you need a detailed plan. The golden rule is "measure twice, cut once," and it’s non-negotiable in flooring installation. Measure the entire room, noting the exact location and dimensions of every single pillar. Then, you must calculate your tolerance, or waste factor. This is the extra turf you order to account for all the material that gets cut away.
Calculating Your Tolerance
For a simple rectangular room with one or two columns, I recommend adding 10-15% to your total square footage measurement. If you have an irregularly shaped room or many complex cuts around multiple pillars, you need to be safer. A 15-20% waste factor is a much better target. It might seem like a lot, but this extra material is what allows for a perfect fit and covers any potential mistakes. Always map out how the rolls will lay in the room to minimize seams before you place your final order.
Once you have your material on-site, having the right equipment is the difference between a clean cut and a damaged product. This is not a job for scissors or a weak blade.
What tools are essential for a professional cut?
A heavy-duty utility knife with a fresh, sharp blade is your most important tool. A sharp blade cuts cleanly through the turf’s tough backing without snagging or fraying the grass fibers. You will also need a measuring tape, chalk line, and a straight edge.
Using the correct tools is critical. The wrong tool will not only give you a poor result but can also be a safety hazard. Your most essential tool is your knife.
Why Blade Sharpness is Everything
A sharp, new blade is non-negotiable for three main reasons. First, it makes a clean cut. The blade will slice through the thick turf backing without catching or tearing it. Second, it protects the turf fibers. A dull blade doesn’t cut; it pulls. This pulling action will fray the grass fibers at the edge of your cut, creating a messy, damaged look around the pillar. Third, it is safer. You need to apply much more force with a dull knife, which increases the risk of the blade slipping and causing injury. I tell my crews to change their blades frequently, sometimes after just a few major cuts.
| Инструмент | Назначение | Pro-Tip |
|---|---|---|
| Heavy-Duty Utility Knife | Main cutting tool. | Use a new blade for every major cut. Hooked blades also work well. |
| Измерительная лента | For precise measurements. | A locking tape measure is essential for accuracy. |
| Chalk Line or Marker | To mark cut lines on the back. | Use a color that is easy to see on the black backing. |
| Straight Edge / Ruler | To guide your knife for straight cuts. | A metal T-square or framing square is ideal. |
| Cardboard / Kraft Paper | For creating a pillar template. | This is the professional secret to getting perfect curves and angles. |
With your plan and tools ready, you can now begin the cutting process. The technique requires patience and precision. Rushing this step is the most common and costly mistake.
What is the correct technique for cutting turf around obstacles?
Always cut from the backing side of the turf. Make a single "relief cut" from the edge of the turf to the pillar to release tension. Then, use a cardboard template of the pillar to trace a perfect line on the backing and trim away small pieces until it fits perfectly.
The single most important rule is to always cut from the back. The black or grey backing gives you a flat, clear surface to draw your cut lines. Cutting from the back also ensures you are only slicing the backing material, not the grass fibers on the front, which keeps the edge looking clean and full.
Step-by-Step Cutting Guide
- Position the Turf: Roll the turf out and lay it flat. Push it up against the base of the pillar in its final installation position.
- Make a Relief Cut: From the nearest edge of the turf roll, make one straight cut toward the center of the pillar. This cut releases the material’s tension and allows the turf to lay flat around the sides of the column instead of bunching up.
- Create a Template: This is the professional method. Take a piece of cardboard and press it against the pillar, tracing its exact shape. Cut this template out. Place it on the turf’s backing in the correct position and trace around it with your marker. You now have a perfect cut line.
- Trim in Small Increments: Do not try to cut the final shape in one go. Fold the turf flap back and carefully start cutting along your traced line. Remove small pieces at a time, then lay the turf down to check the fit. It is much better to cut too little and trim more than to cut too much and create a gap. Repeat this process until the turf sits snugly around the pillar base.
Following these steps will ensure your installation looks clean, seamless, and professional, without any frustrating mistakes or wasted material.
Заключение
A great turf installation around pillars requires planning, the right tools, and a patient cutting technique. By following these professional steps, you can achieve a flawless and durable result.
Planning a complex installation? Our technical team can help. Contact us with your room dimensions, and we can assist you in calculating the right amount of turf and provide a quote for your project. Request a free sample to see the quality for yourself!